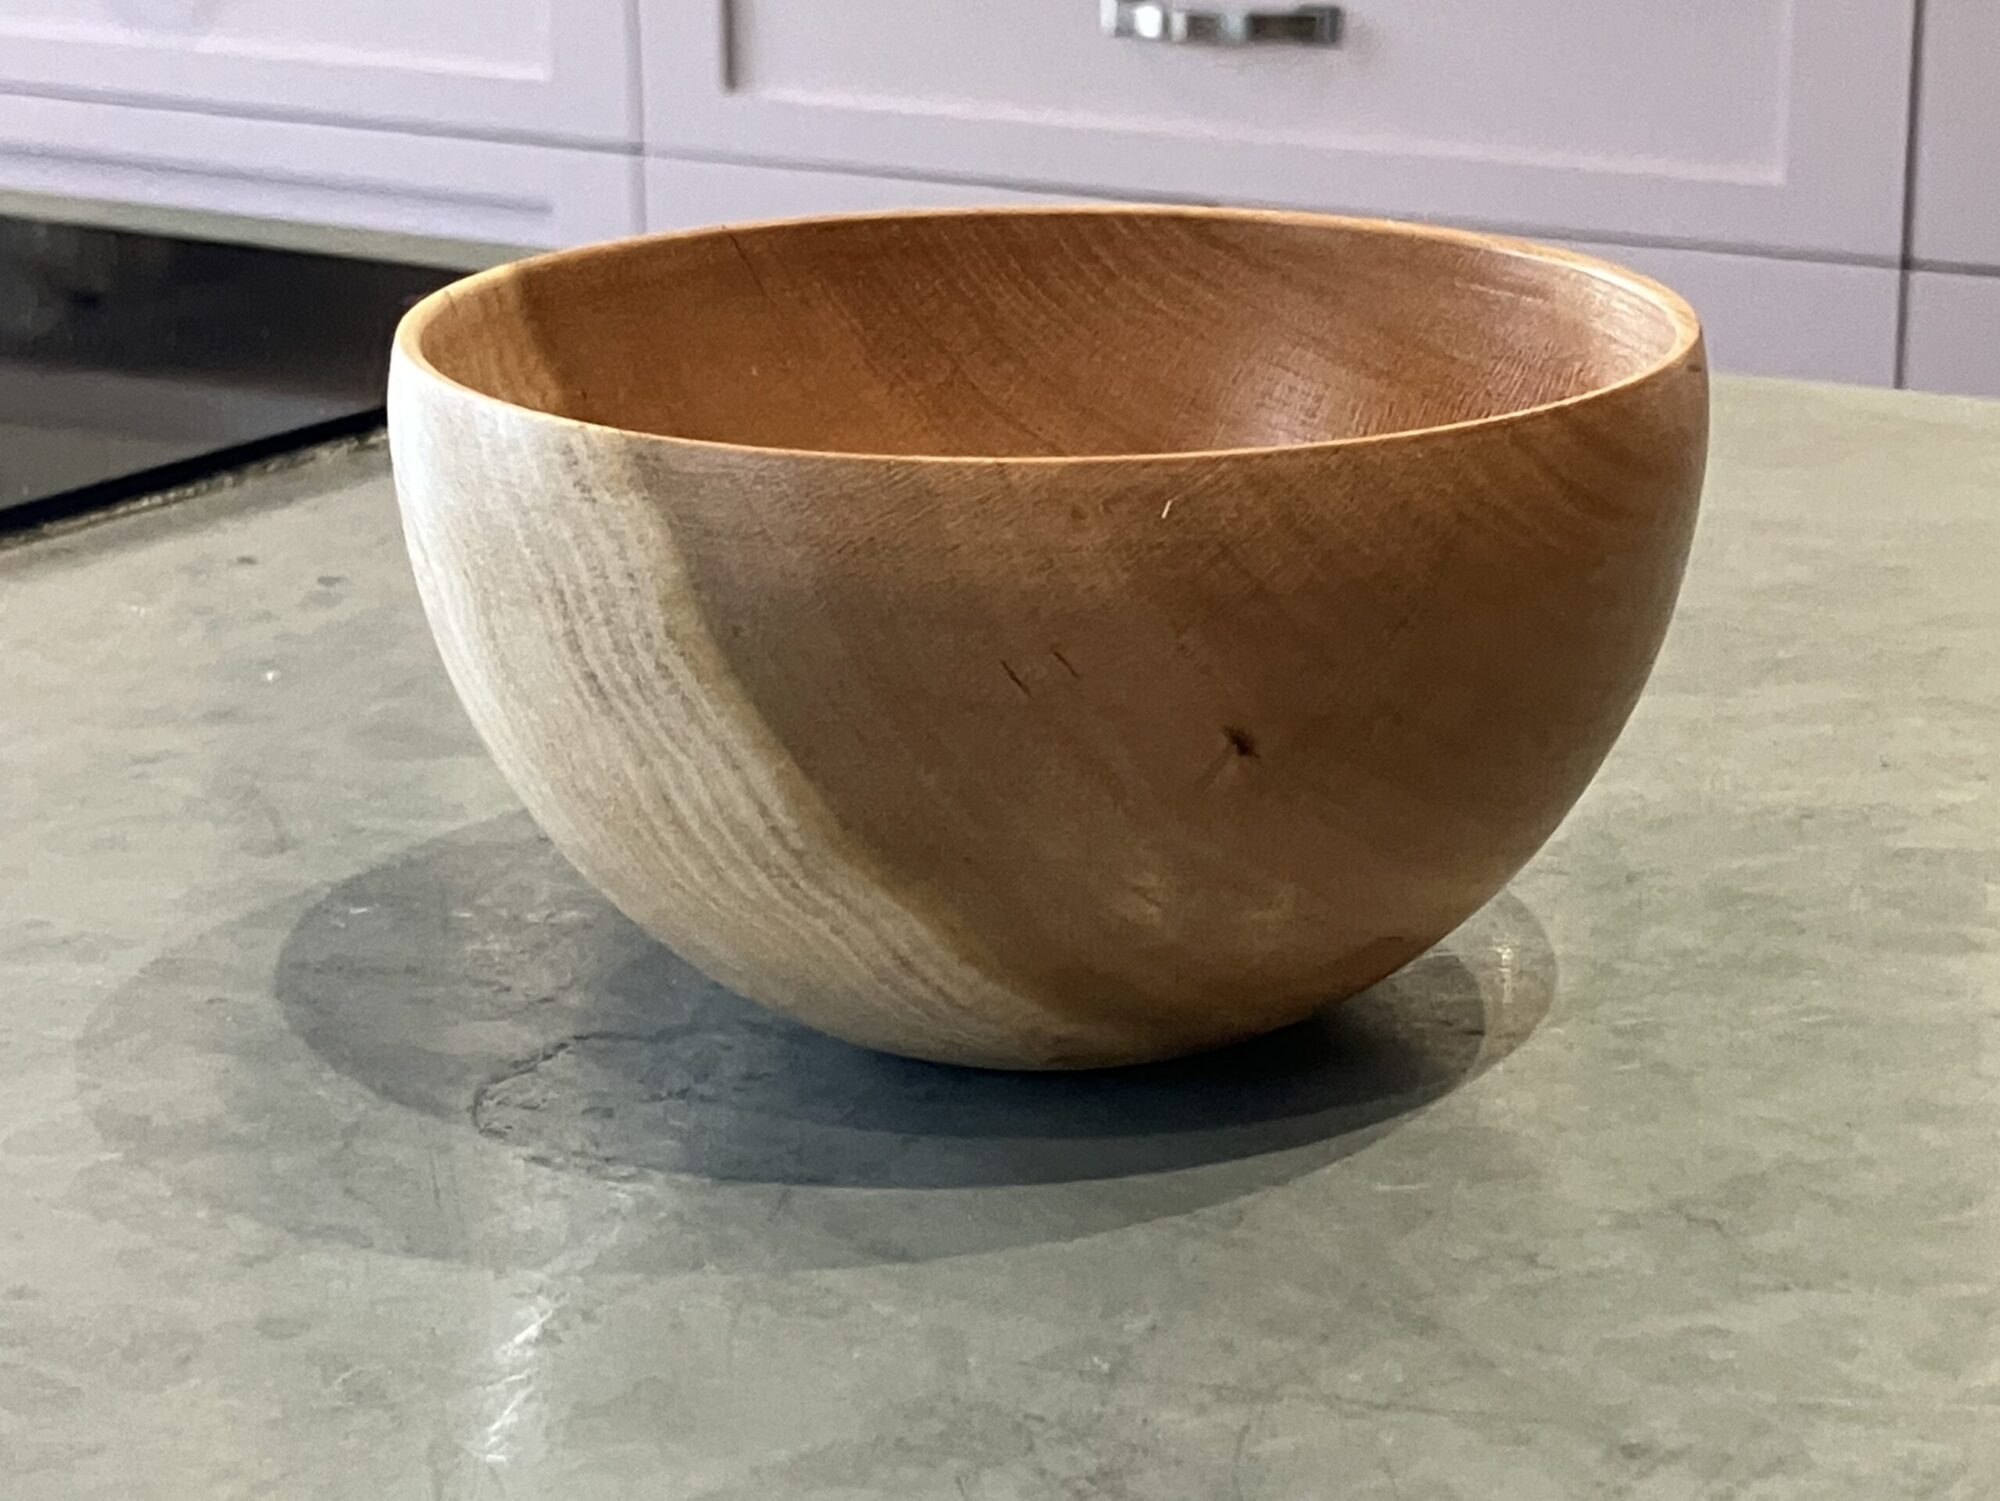
(sorry …. 🙂 )
Let’s see some success stories with blemishes! First holes and otherwise gnarly wood. These two are both maple. I knew going in that they might be a challenge. I think I just wanted to see what was up with them. Could I make something out of these less than wonderful lumps?
This one is pretty big. If I remember, it’s 8-9 inches diameter. It had a rotten spot where a branch was
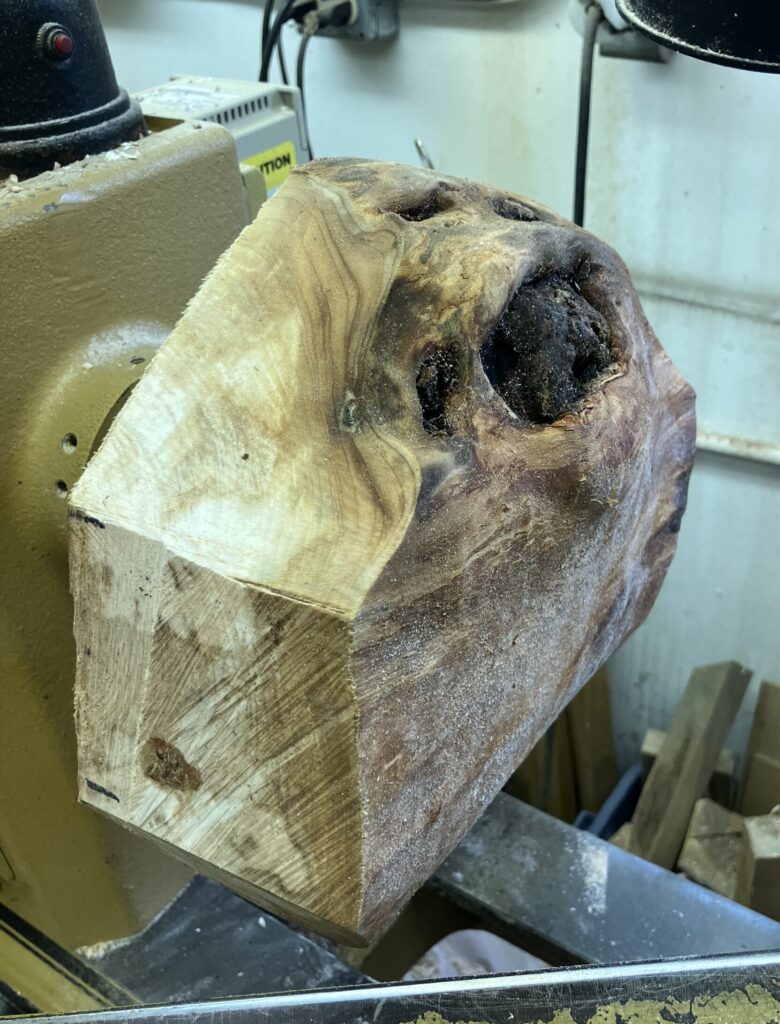
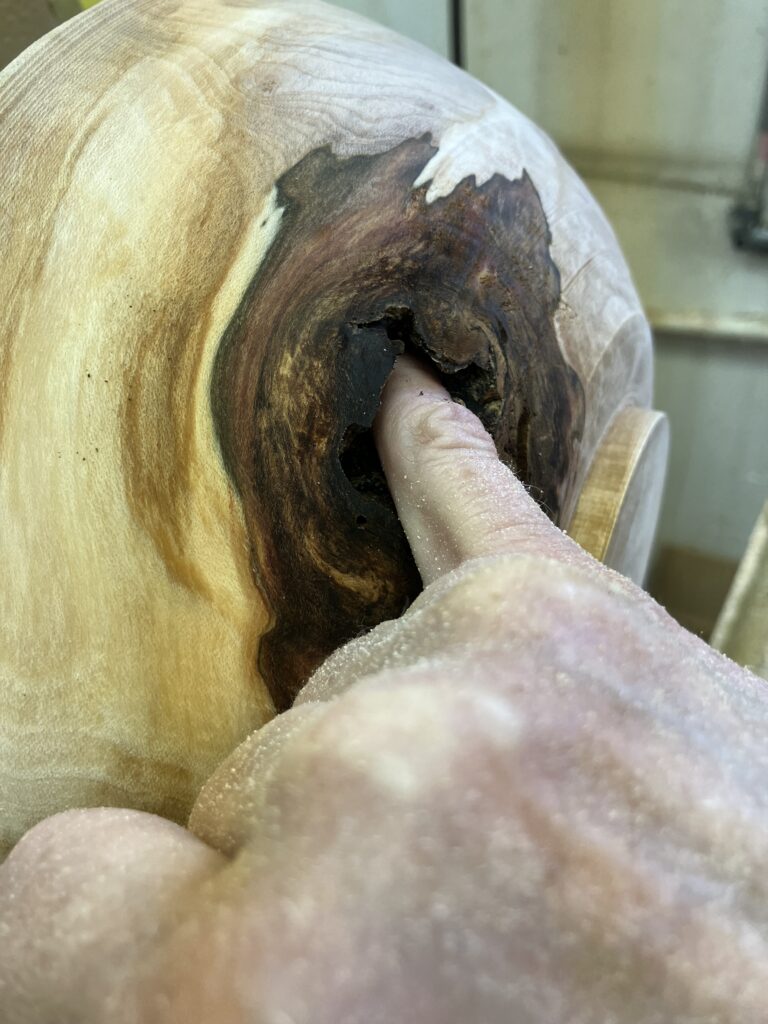
Other than the hole, it was stable, so I kept going.
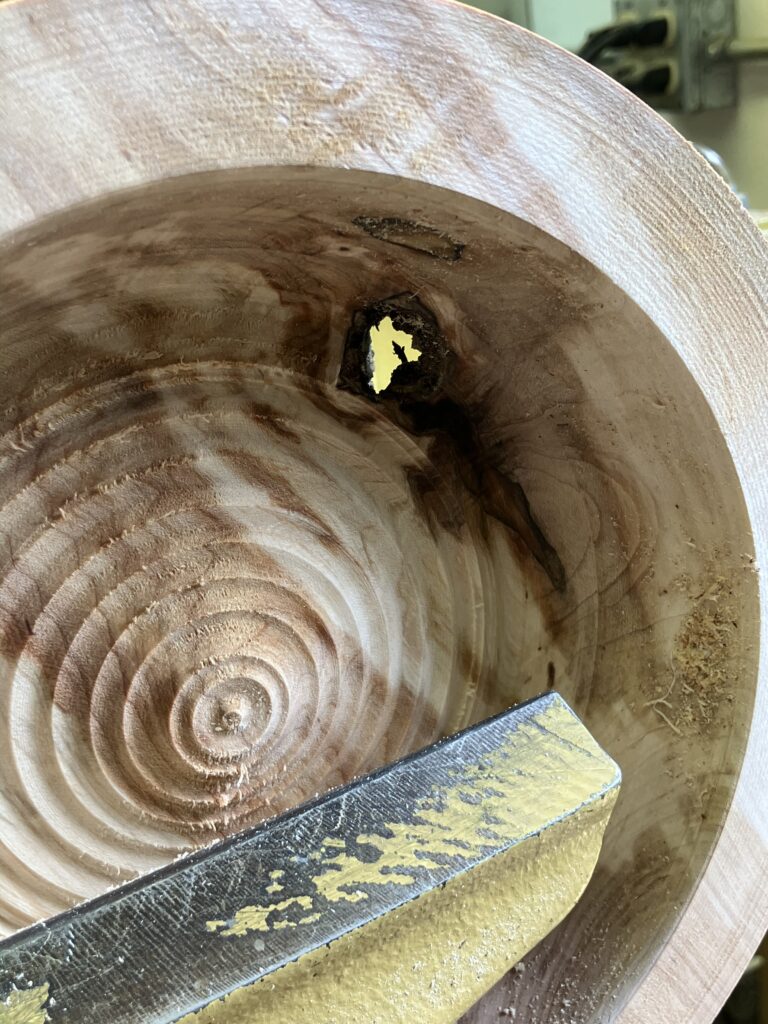
It’s drying in the loft.
The second one is smaller.
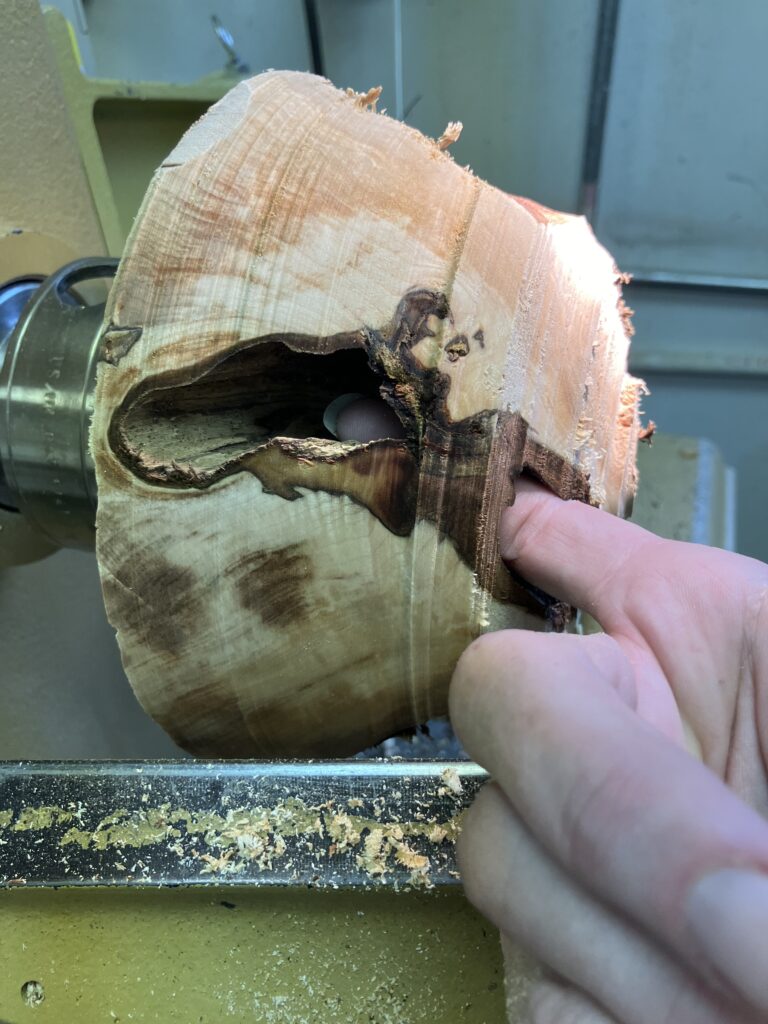
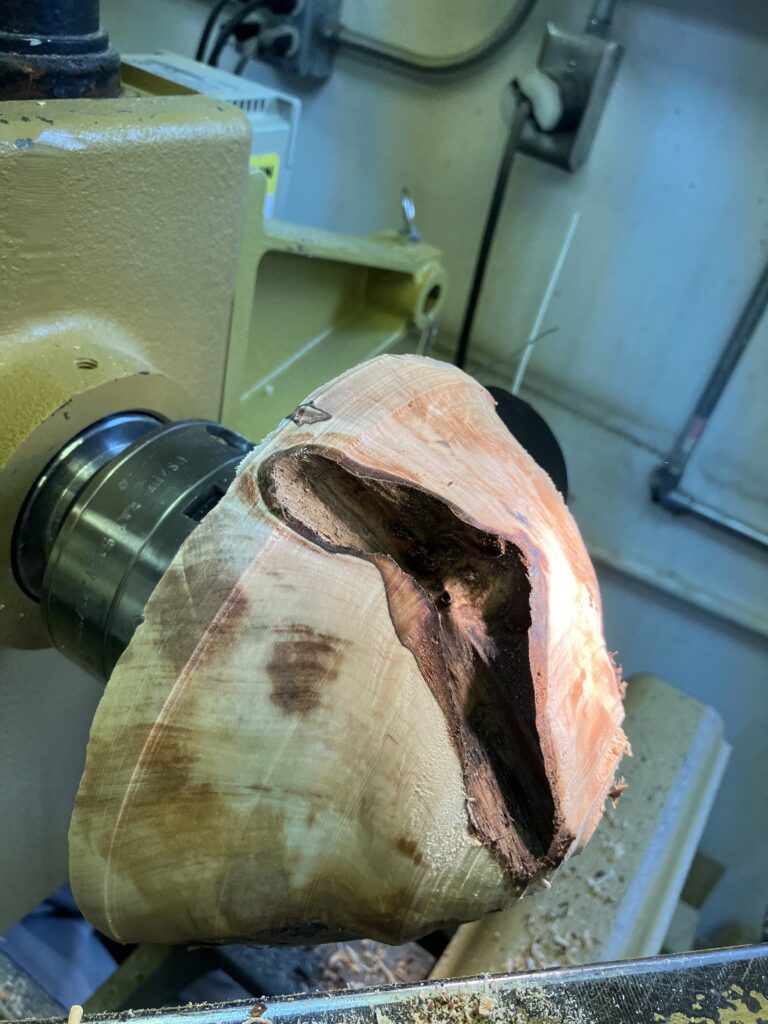
I followed Richard Raffan’s rule. First, remove what you can’t use and see what’s left. Only then should you decide what shape you make. This is the approximate shape I was left with when I finally removed the tunnel.
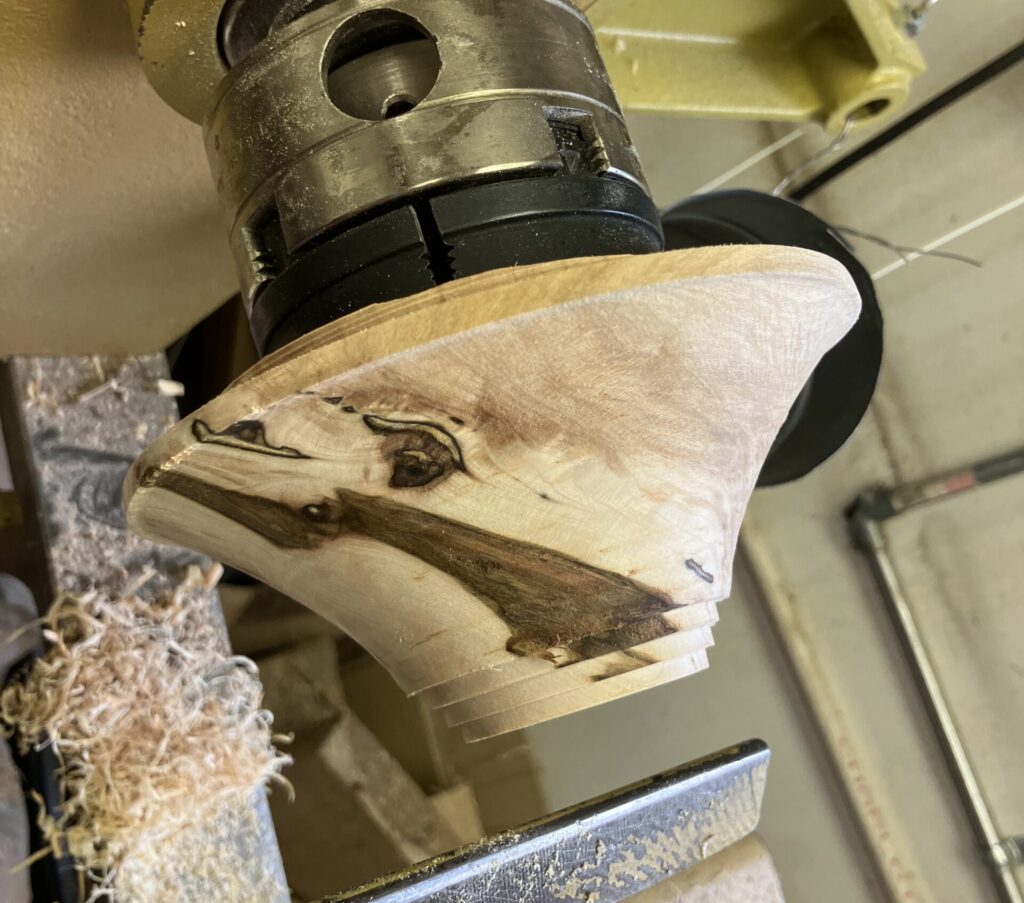
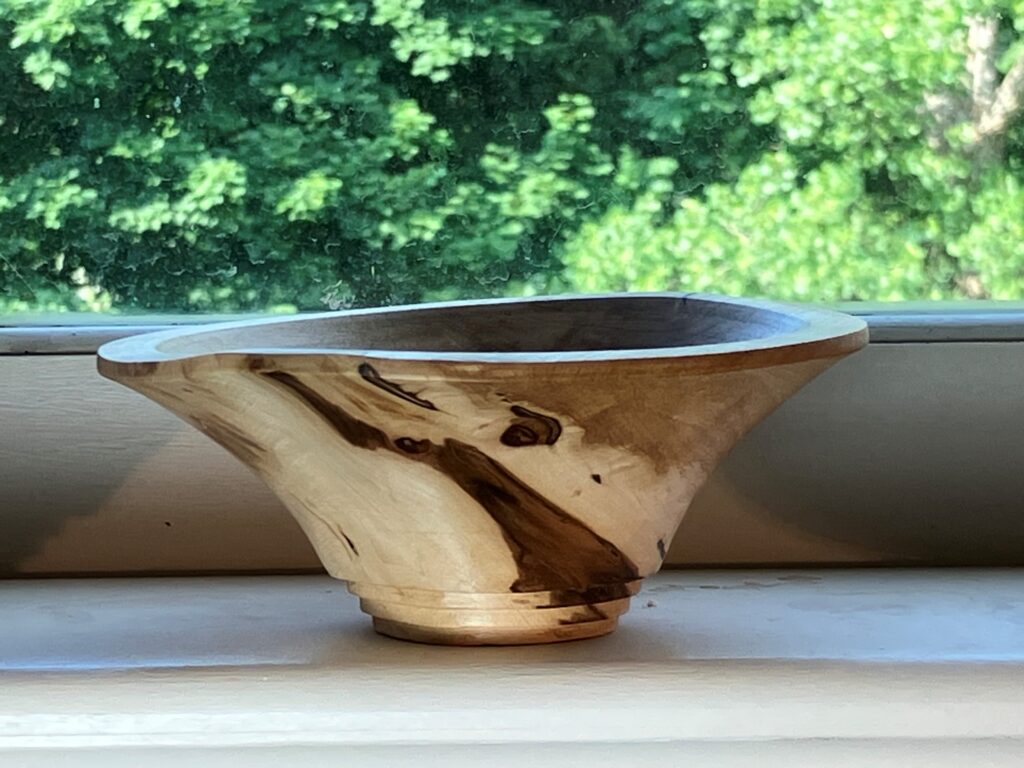
Here’s the final product. Remember that it was (semi) wet maple, so it distorted as it dried. I didn’t get it quite thin enough, but I like this shape. I want to try again sometime.
On to the cracks. First an ash bowl. It had a big crack that I started getting nervous about when I put it in my jumbo jaws to clean up the foot. So I took it back out without finishing the foot. It was a decent bowl, and it was the first bowl I rough turned. I held onto it like you see it here for awhile, with crack and ugly tenon.
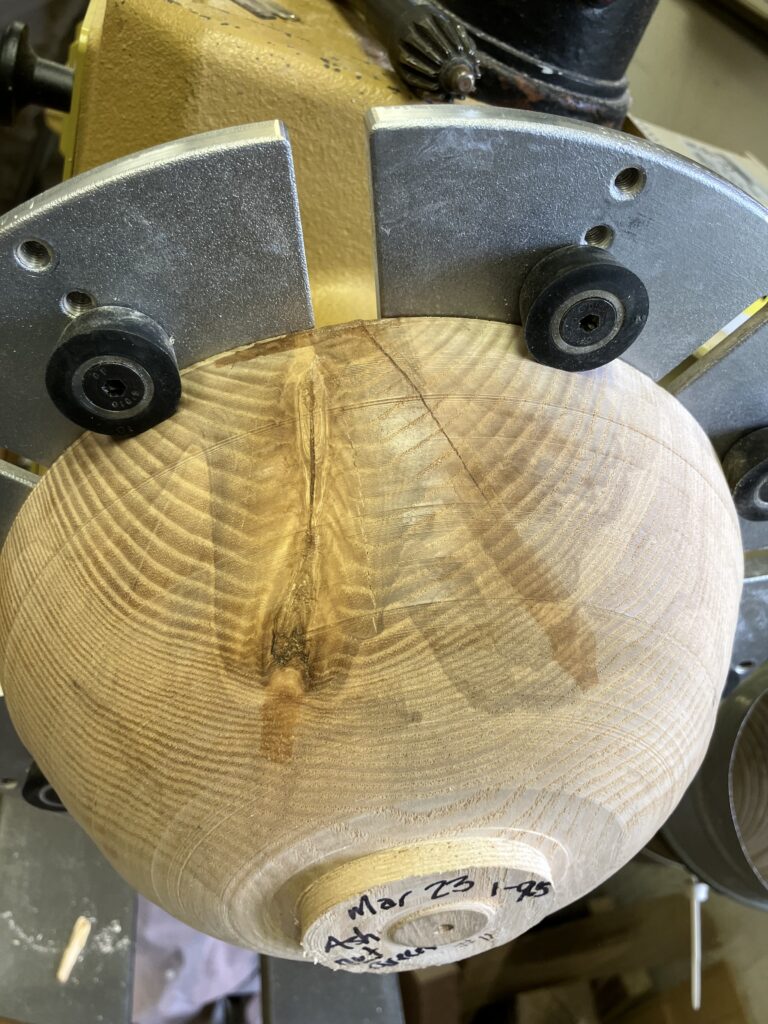
Then I finally decided I owe it to myself to finish it. So I made a jam chuck (which is basically a rounded piece of wood that I jammed the bowl onto), held it in place on the jam chuck with the tail stock, and cleaned up the foot. It ain’t a beauty, but it’s kind of my first. So I even signed it.
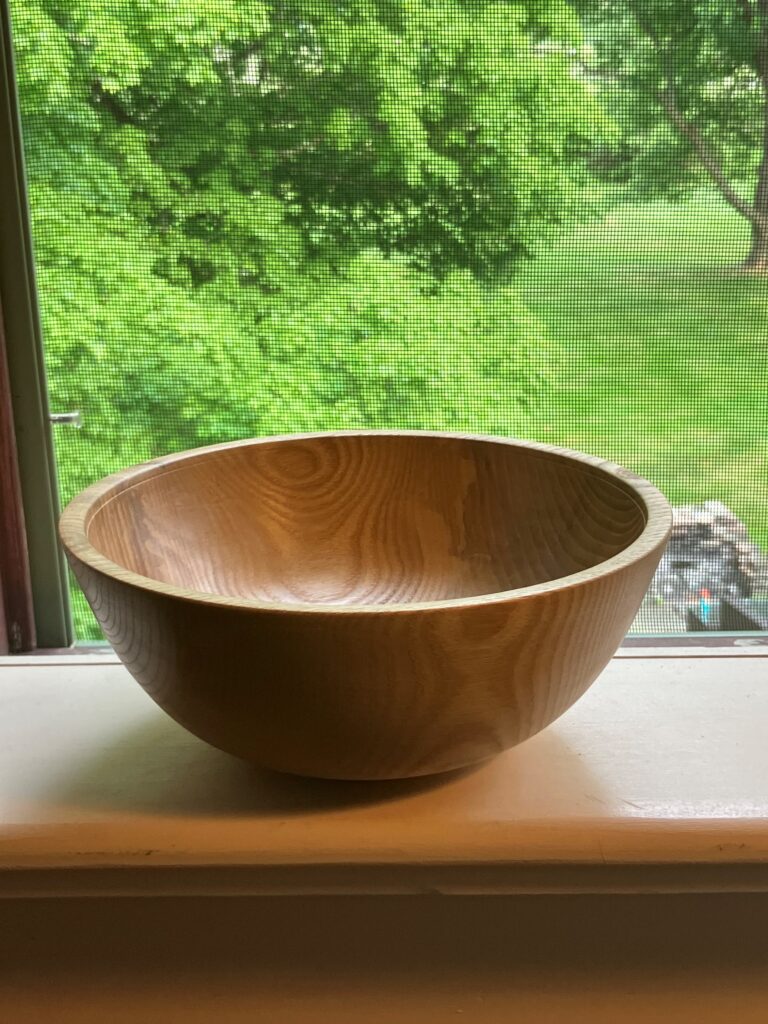
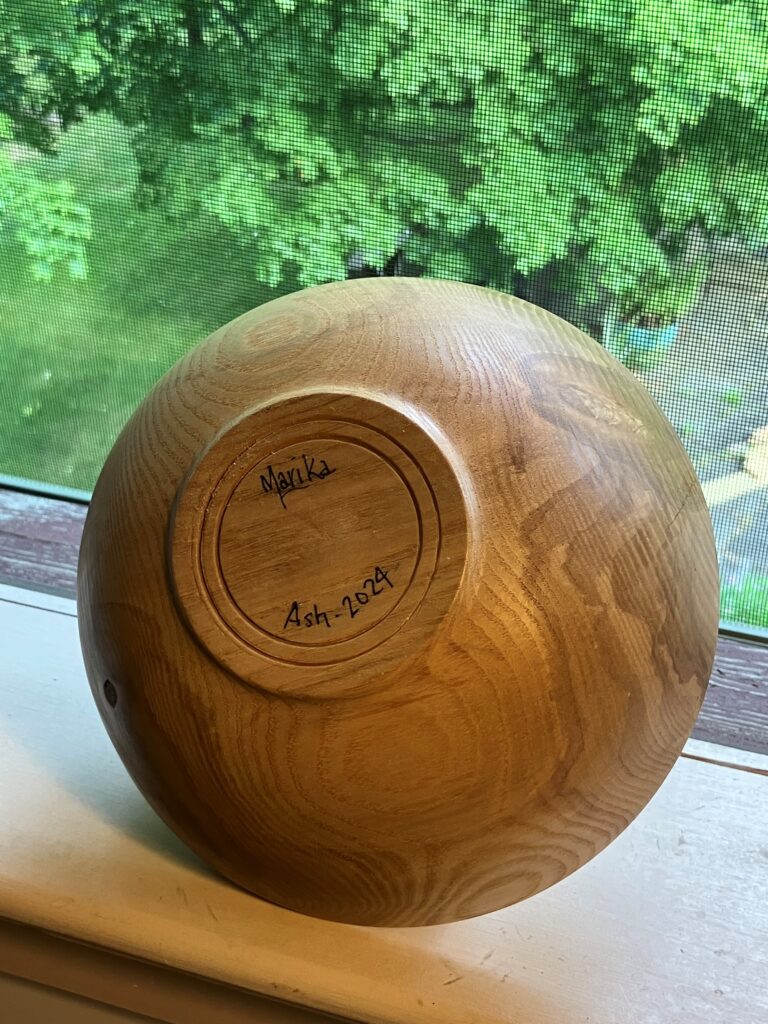
I also finish turned a stack of beech. One of them had a crack. But the rest came out nice. I didn’t think to take a photo of the uncracked ones, and I think I’ve already given them away.

