I’m a member of the Rochester-based Finger Lakes Woodturners Club. A couple times a year, they have well-known turners in to teach day long workshops. I went to one taught by Laurent Niclot. I was intrigued because he works in the less common areas of turning, and his creations are much more heavily influenced by art than craft. You can see some of his stuff here.
It was so much fun. He was a perfect instructor, and he really just wanted to help you turn whatever you were interested in. We each got to pick what we wanted to try–no predetermined project. I started with hollowing a mini vessel. I’ve never done hollowing before, and small seemed like a comfortable place to start.
The club provided small blocks of wet cherry and maple. I picked a cherry block, and immediately gravitated to one of my favorite shapes, influenced by Greek wine amphorae.
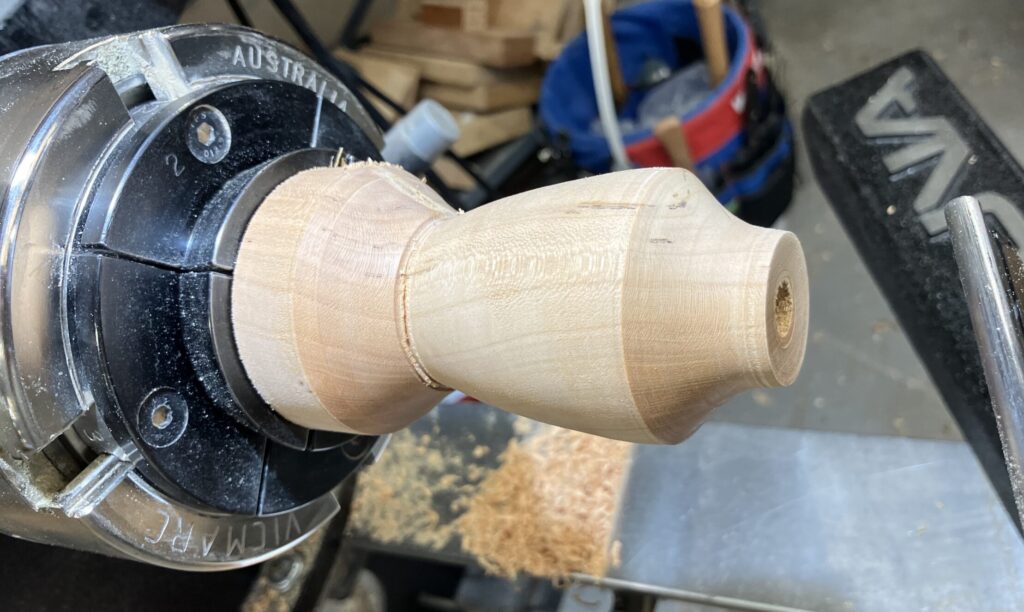
After shaping the outside and drilling a depth hole to define the inside bottom and give your hollowing tools a place to get in, it’s time to start hollowing.
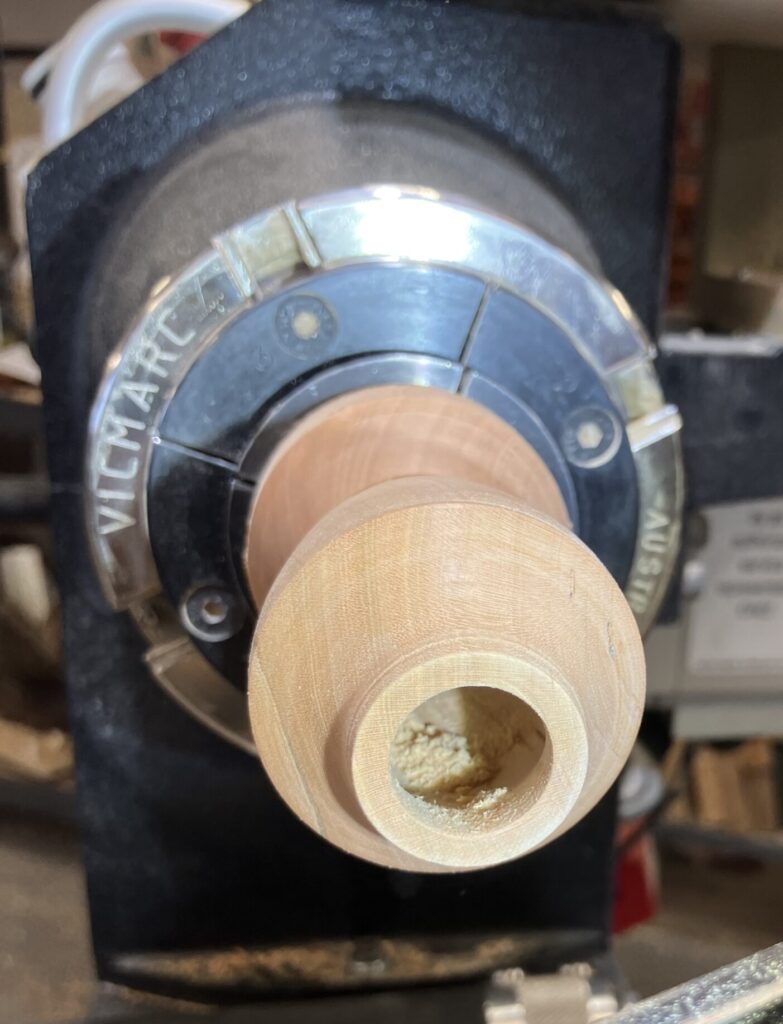
Unknowingly, I picked a first-timer-friendly shape. The way I shaped the top shoulder made it easier to get the tool in there at enough of an angle. Even so, I was probably one of the slowest in the class. I’ve learned that I’m a bit less aggressive than most turners. but I figure if I enjoy it and I get to the end, who cares if I take longer? (If I ever get to the point of selling my turnings, I might think differently 🙂 )
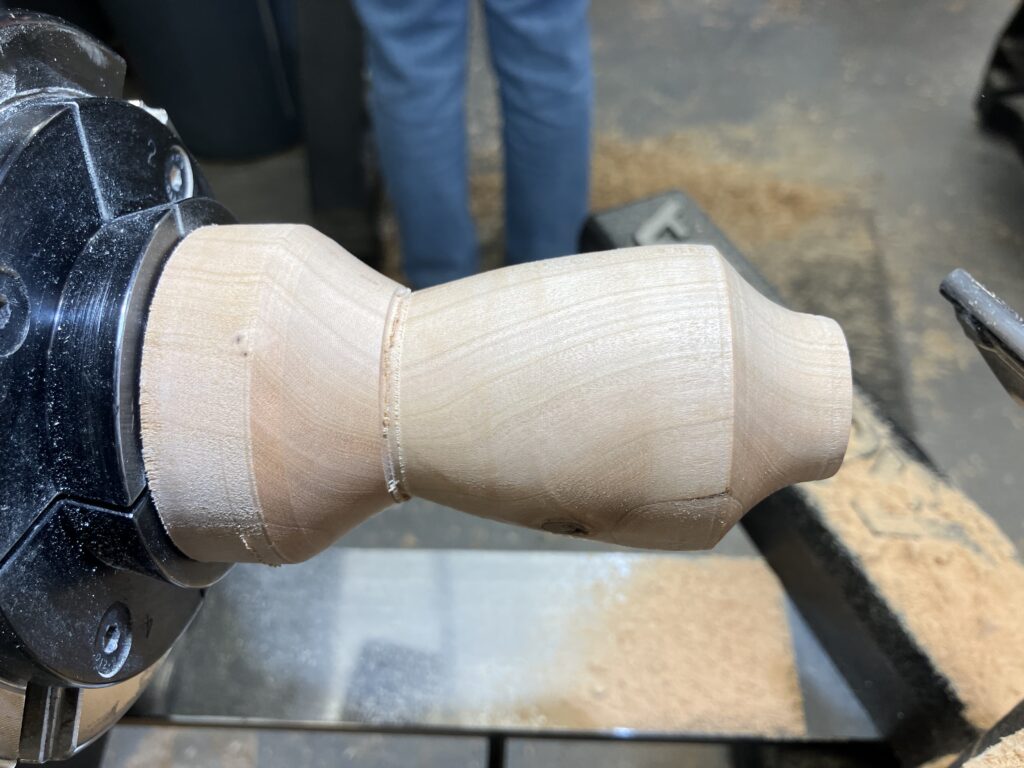
The last step is parting the vase off from the waste end of the block. I don’t want to end at the current thin point in the photo above–that would be a heavy, clunky shape. Laurent helped me by showing me how he visualizes the “true” bottom and how to figure out the best way to uncover it.
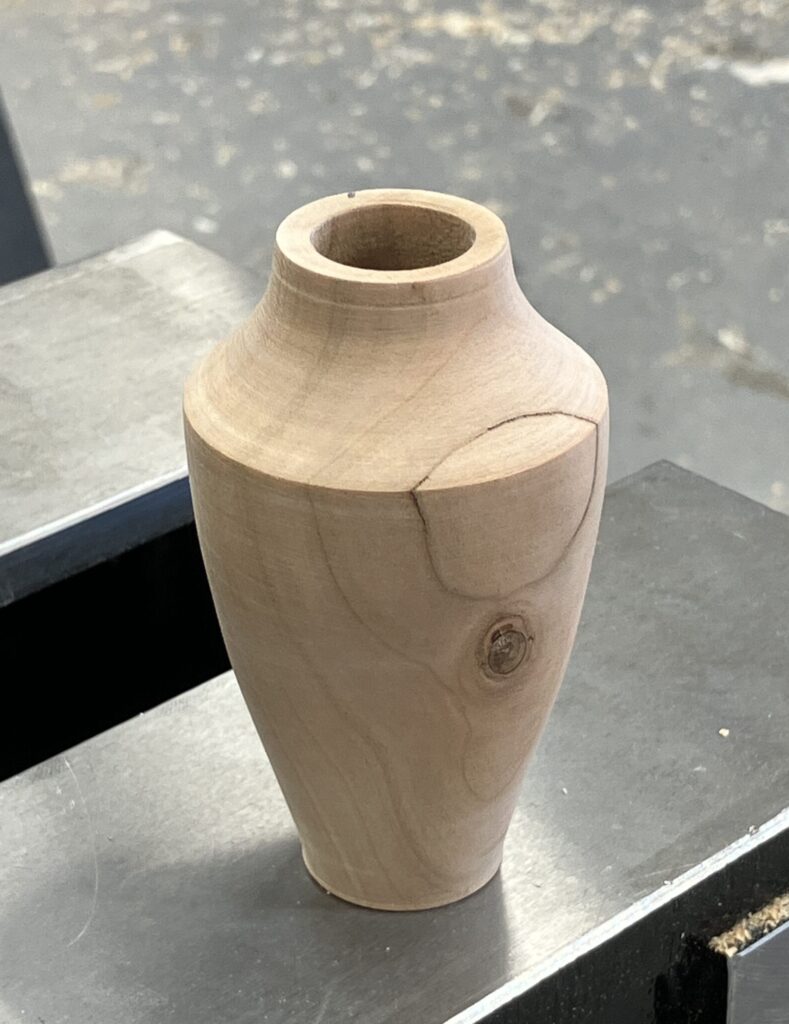
Here it is finished and fresh off the lathe.
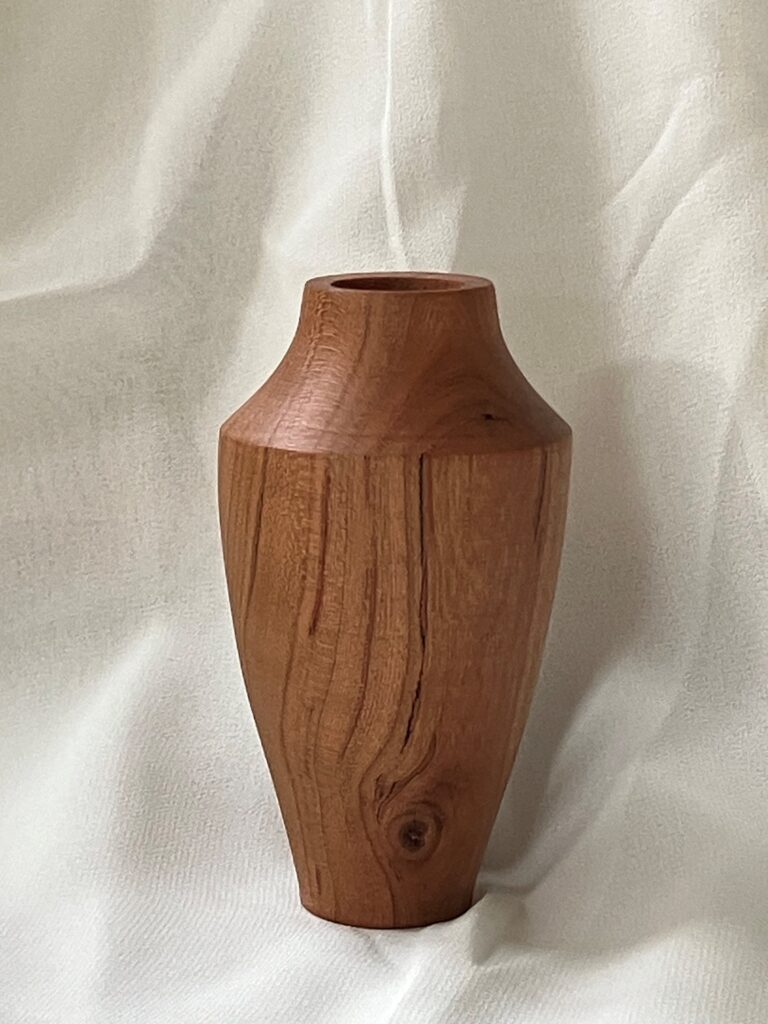
And here it is after it dried (remember, this was wet cherry), and I sanded and oiled it at home. It’s 3.5 inches tall and 2 inches wide at its widest.
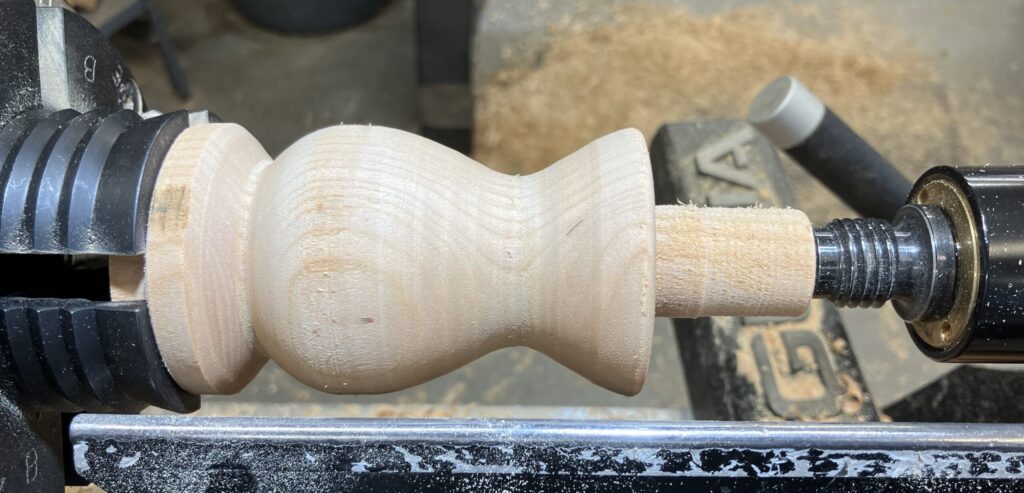
I may be slow, but that didn’t take me ALL day. I had time to try a second project. So I mounted up another piece of cherry and learned about multi axis turning. My goal here is to turn a water droplet like what Laurent does.
Let’s break down the wood by sections to lay out what’s going to happen. From the left, we have the waste material next to the jaws. The fat part will be the body of the droplet. The flare (looks like the top part of a vase) will be partially turned away to create the bent tip of the droplet. Then the last cylinder portion is also waste.
Here’s the multi-axis part. I removed the waste at the top and I’ve loosened the wood in the jaws and skewed the wood so now the central axis it spins on is not the center of the wood. I’m about to cut on a different axis than above. When I start up the lathe again, I’ll just cut away some wood at the very top.
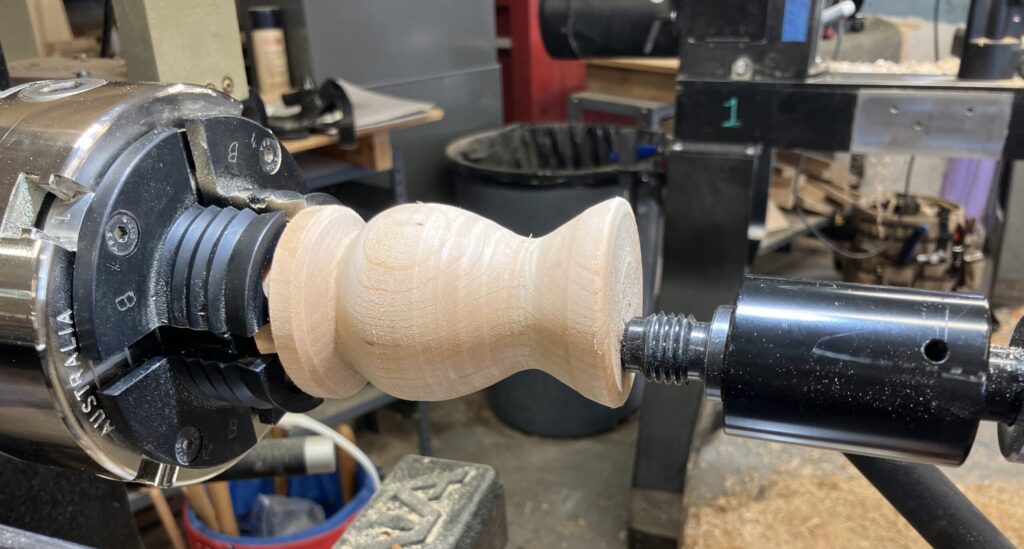
Here you can see how the section of the top that stuck out farther was the part that met my gouge and was cut away, while the side that didn’t stick out as far wasn’t cut at all. On the left side, you might also make out how the jaws do not have as firm a grip on the wood as they did when cutting on the primary axis. Because of this, light cuts are better–right up my alley!
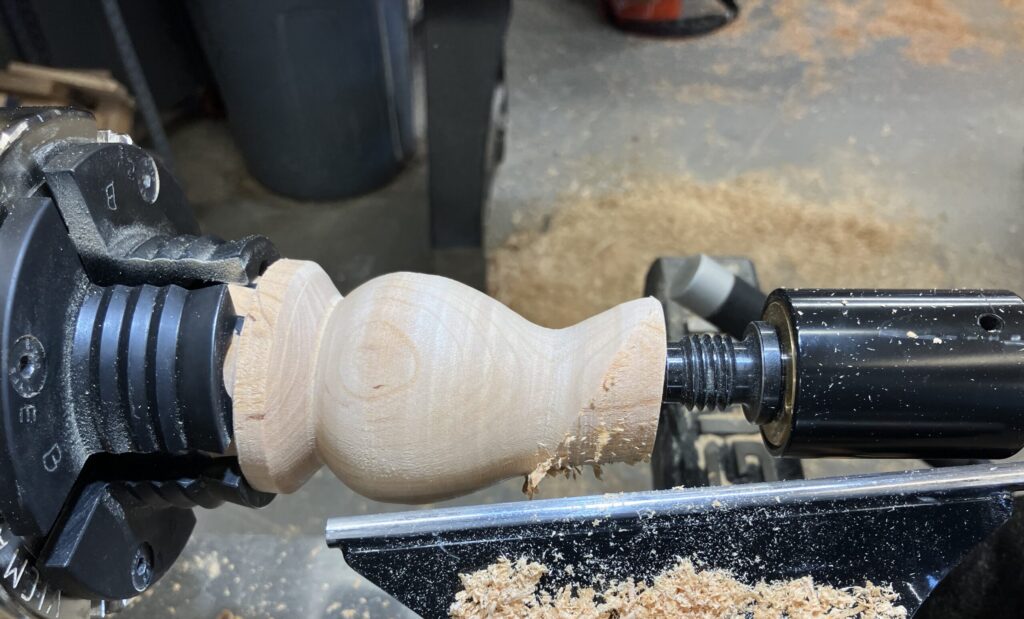
When I cut away as much as I could (which was determined as the moment my arc of cutting almost met itself along the top rim), I squared it back in the jaws and got set up to manually rasp away the rest of the material. You can see pencil marks on some of what still needed to go. At this step, I learned that I really want a nice French rasp. What a fun tool to have.
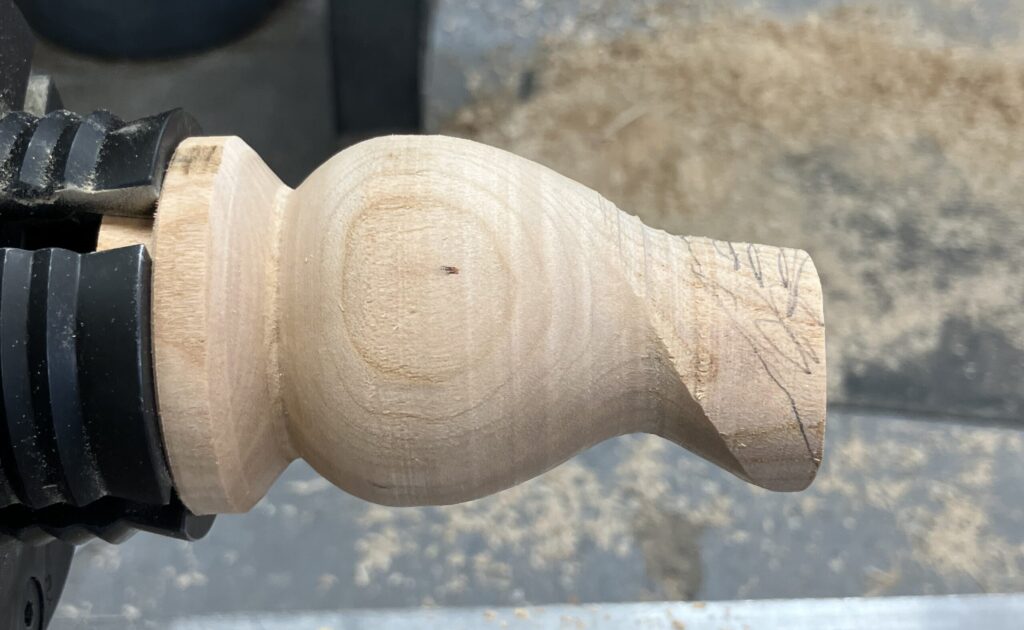
I brought it home and finished the shaping (with some old metal rasps I found in Chris’ toolbox). Now all that’s left to do is mount it on my lathe and remove the waste at the bottom.
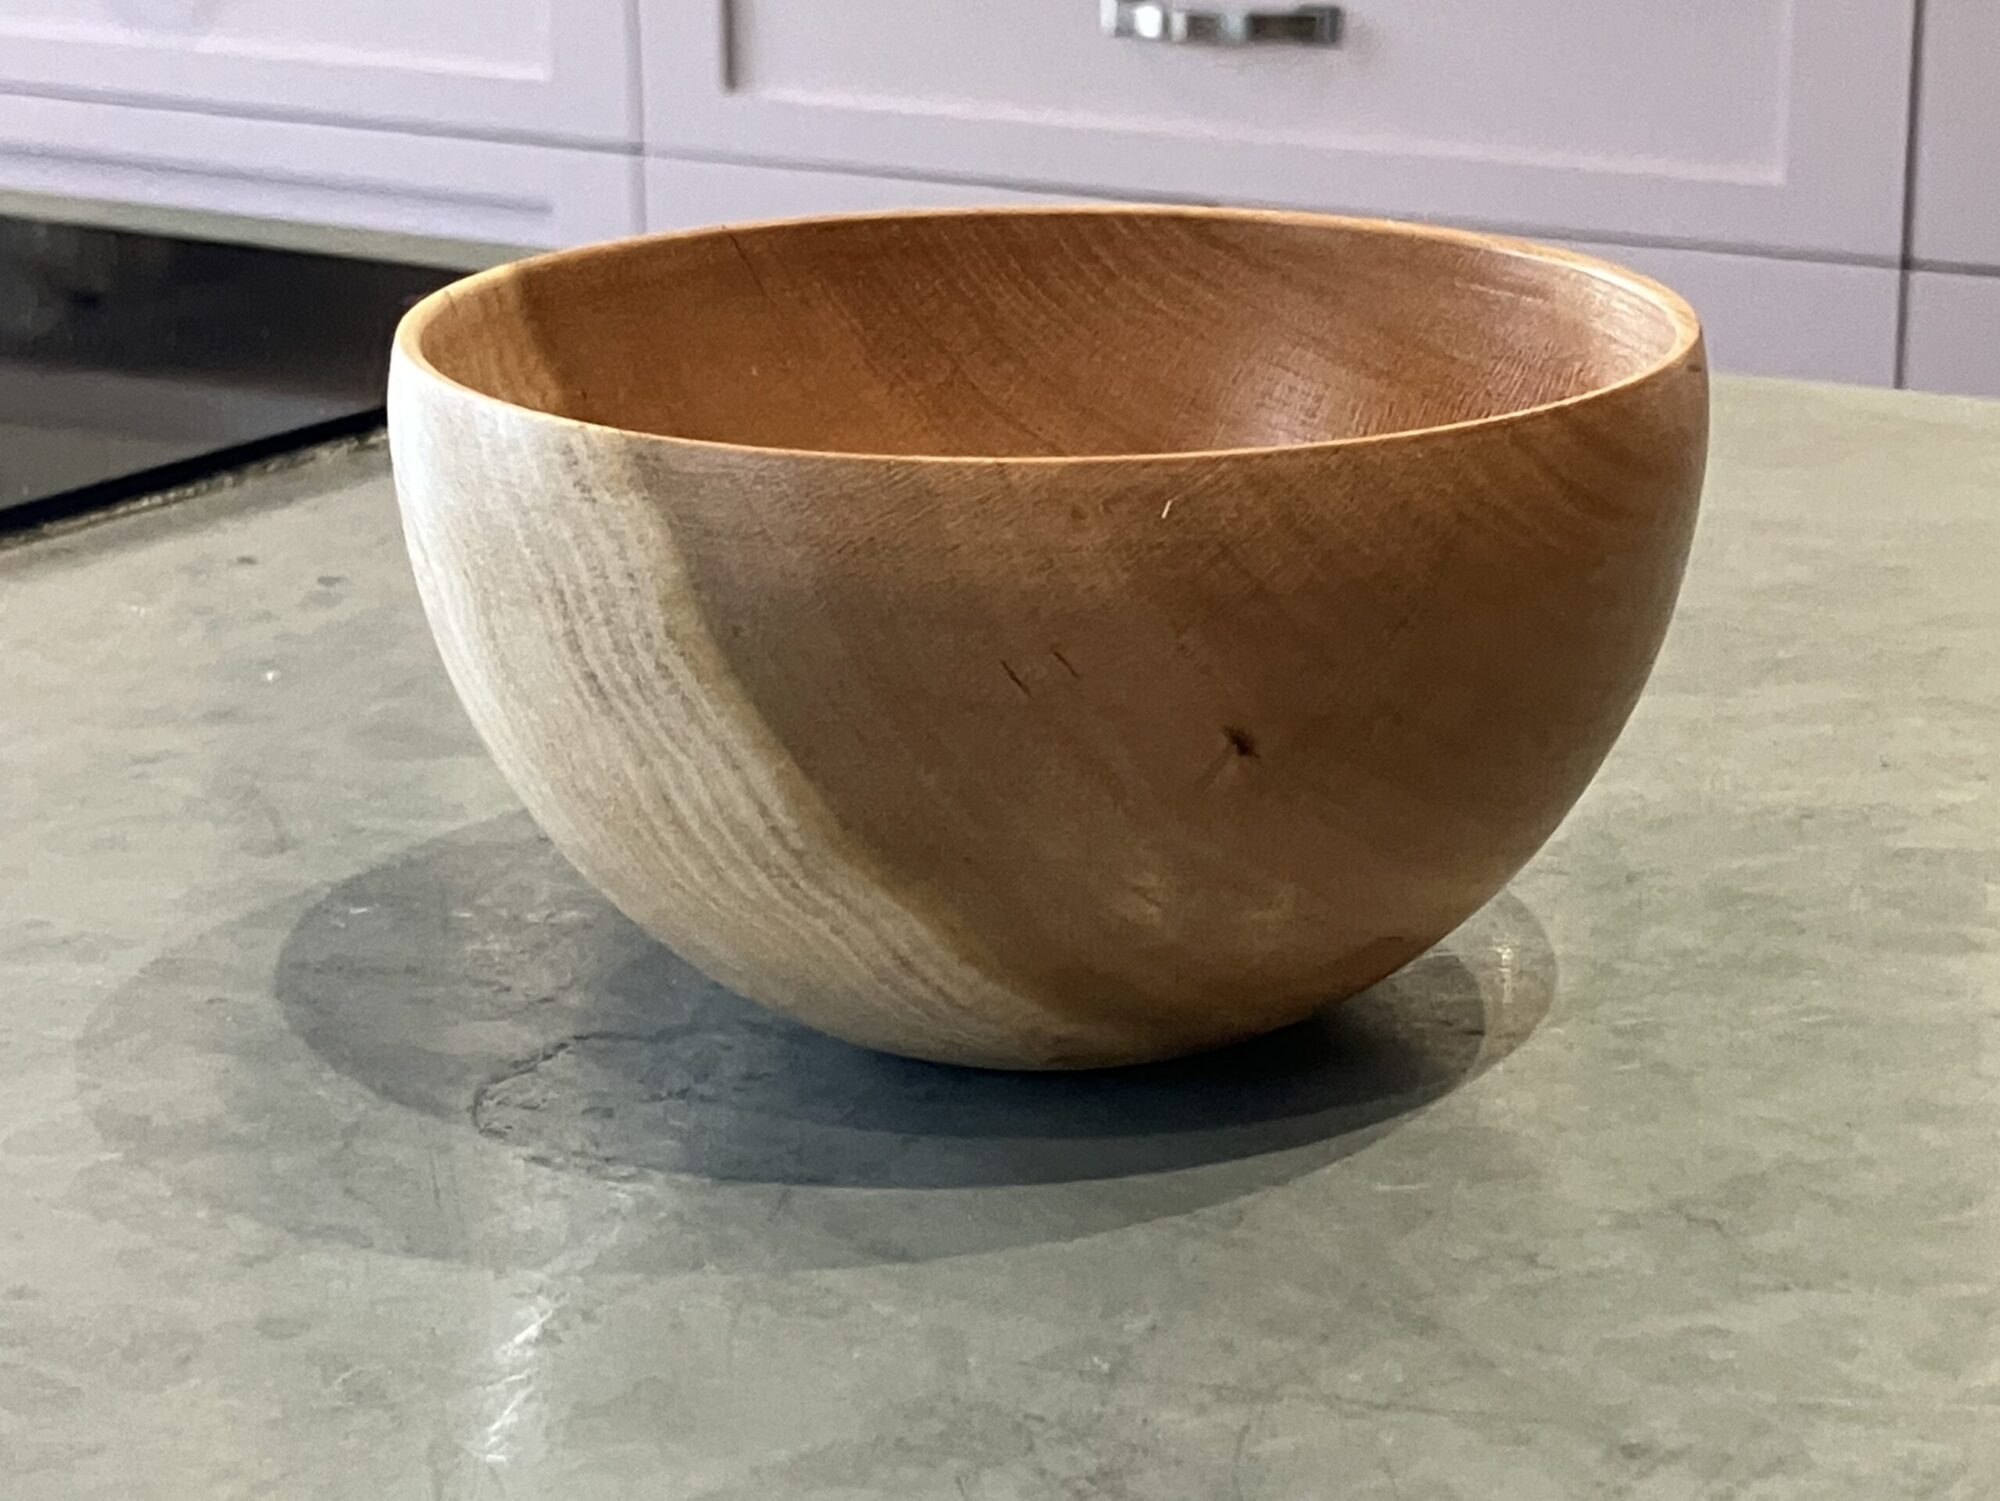
(In the background is a maple bowl I turned all the way to finished from semi-wet maple. My mom has this now, and I don’t think I have any other photos to share, but it’s very pretty.)
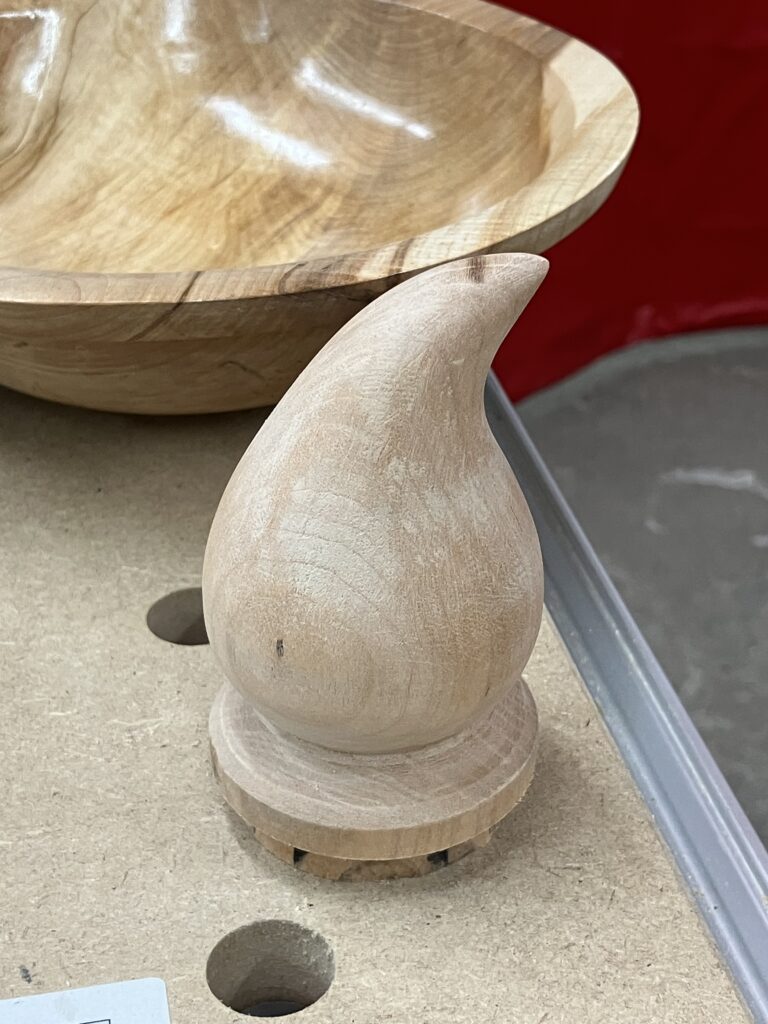
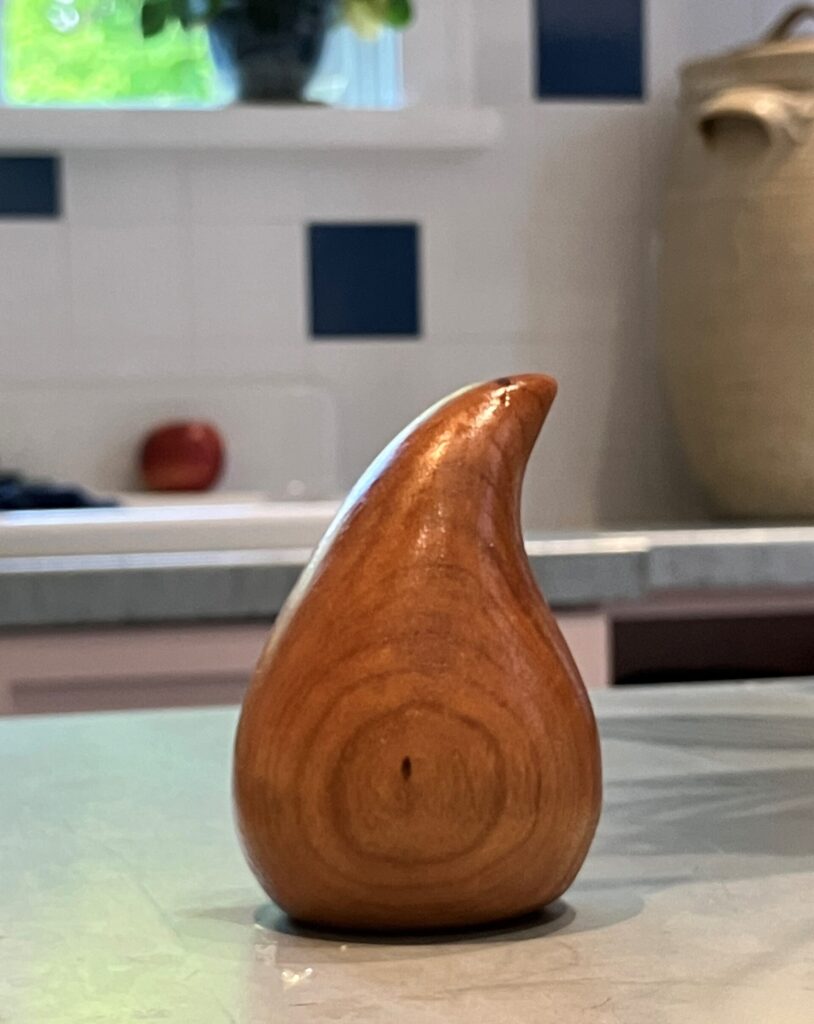
And finally, the finished cherry drop. I’ve seen multi-axis stuff before this, and usually dismissed it as something that aesthetically didn’t excite me. But I learned that the process is interesting, and I really like this shape. I’d like to find more ways to use this technique–but in a way that makes sense artistically, not simply as a way to make something quirky.
