Workshop with Laurent Niclot

I’m a member of the Rochester-based Finger Lakes Woodturners Club. A couple times a year, they have well-known turners in to teach day long workshops. I went to one taught by Laurent Niclot. I was intrigued because he works in the less common areas of turning, and his creations are much more heavily influenced by art than craft. You can see some of his stuff here.

It was so much fun. He was a perfect instructor, and he really just wanted to help you turn whatever you were interested in. We each got to pick what we wanted to try–no predetermined project. I started with hollowing a mini vessel. I’ve never done hollowing before, and small seemed like a comfortable place to start.

The club provided small blocks of wet cherry and maple. I picked a cherry block, and immediately gravitated to one of my favorite shapes, influenced by Greek wine amphorae.
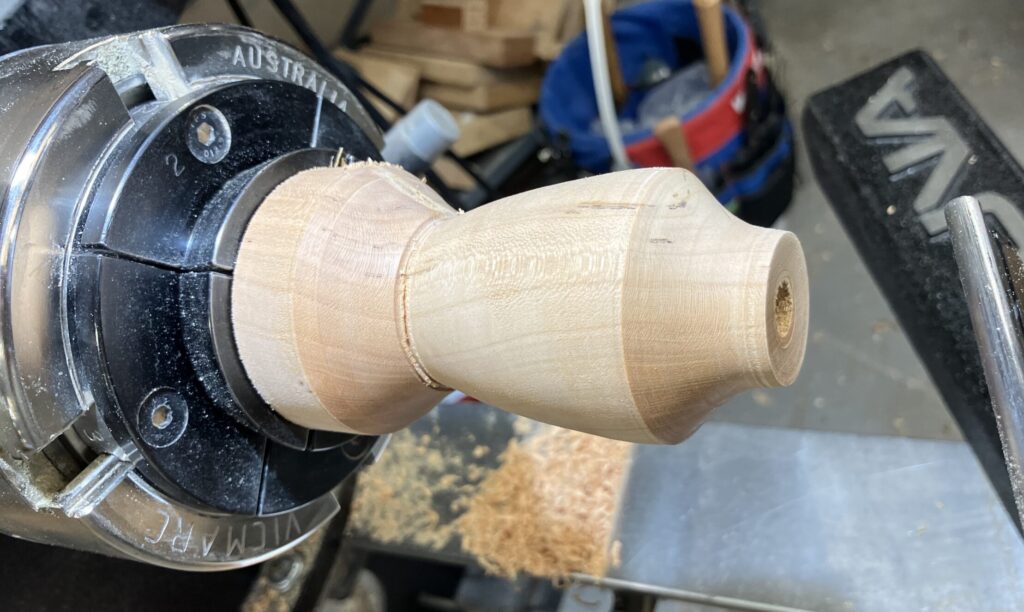
After shaping the outside and drilling a depth hole to define the inside bottom and give your hollowing tools a place to get in, it’s time to start hollowing.
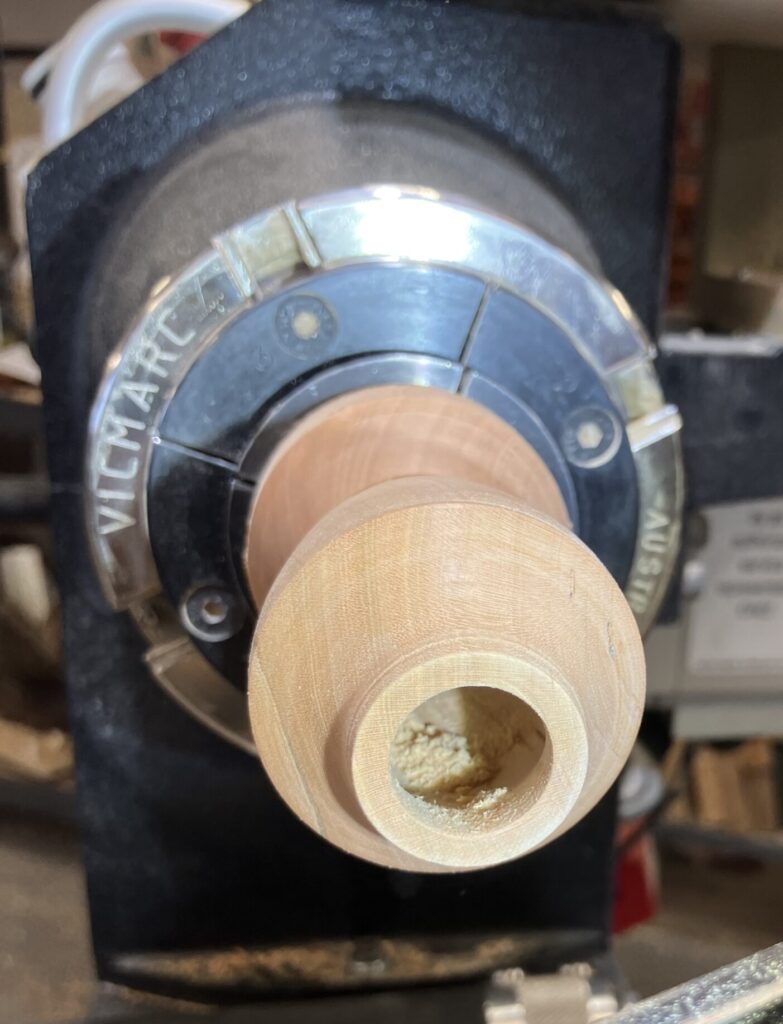
Unknowingly, I picked a first-timer-friendly shape. The way I shaped the top shoulder made it easier to get the tool in there at enough of an angle. Even so, I was probably one of the slowest in the class. I’ve learned that I’m a bit less aggressive than most turners. but I figure if I enjoy it and I get to the end, who cares if I take longer? (If I ever get to the point of selling my turnings, I might think differently 🙂 )
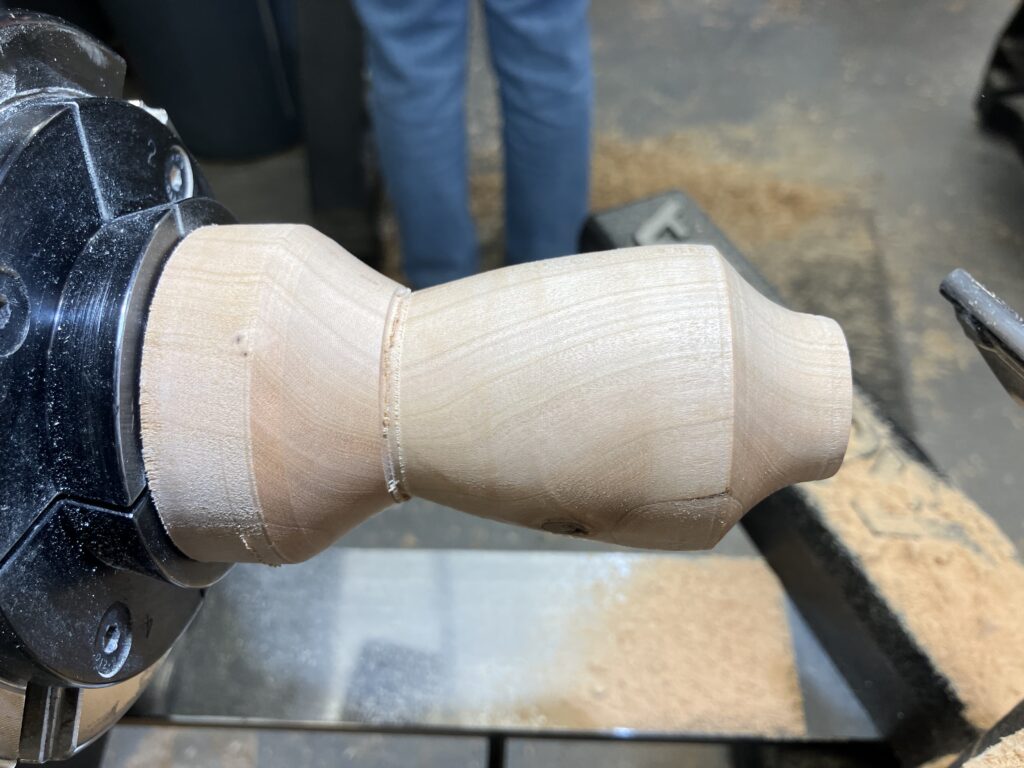
The last step is parting the vase off from the waste end of the block. I don’t want to end at the current thin point in the photo above–that would be a heavy, clunky shape. Laurent helped me by showing me how he visualizes the “true” bottom and how to figure out the best way to uncover it.

Here it is finished and fresh off the lathe.
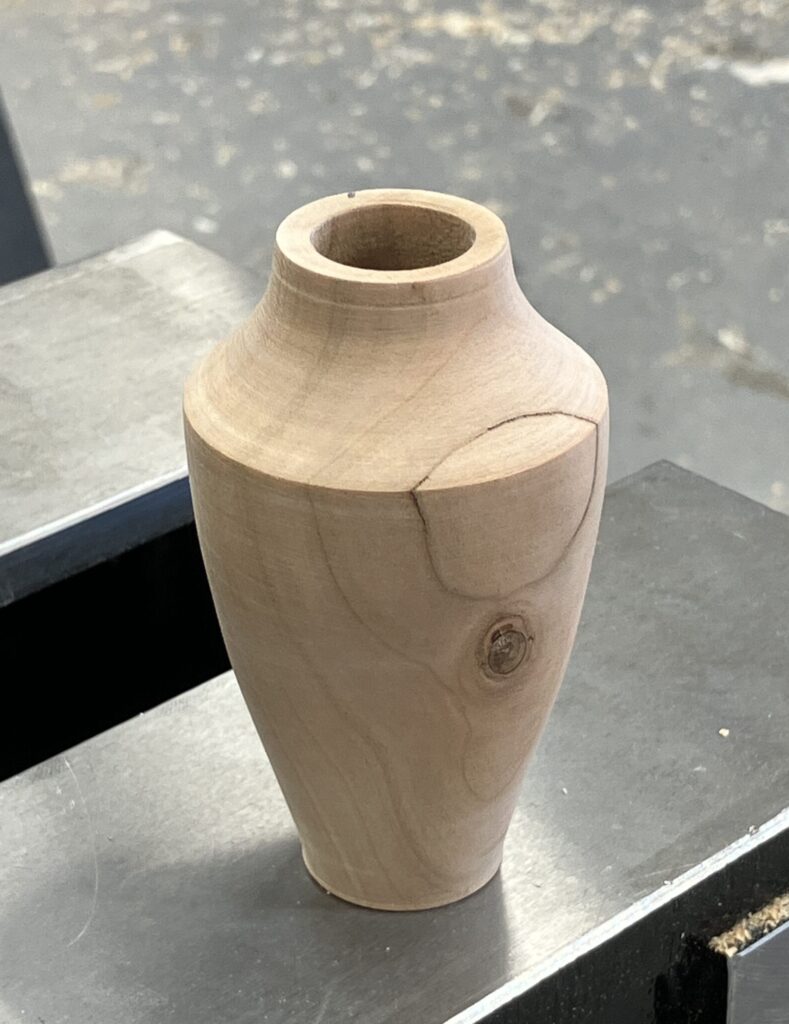
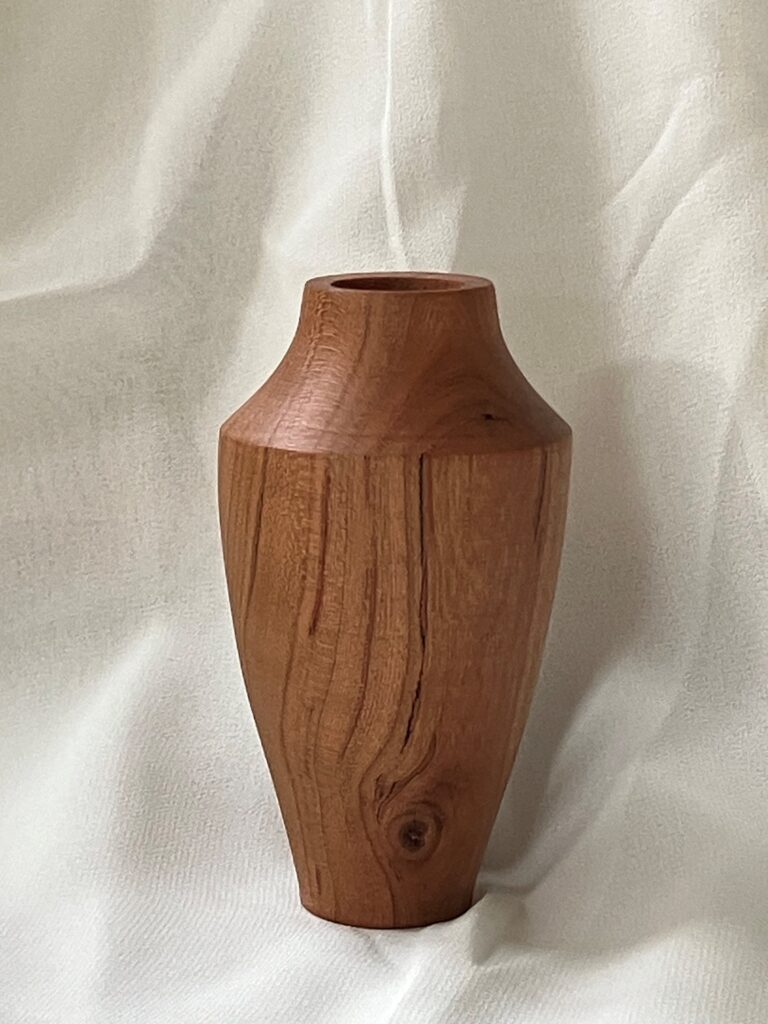
And here it is after it dried (remember, this was wet cherry), and I sanded and oiled it at home. It’s 3.5 inches tall and 2 inches wide at its widest.
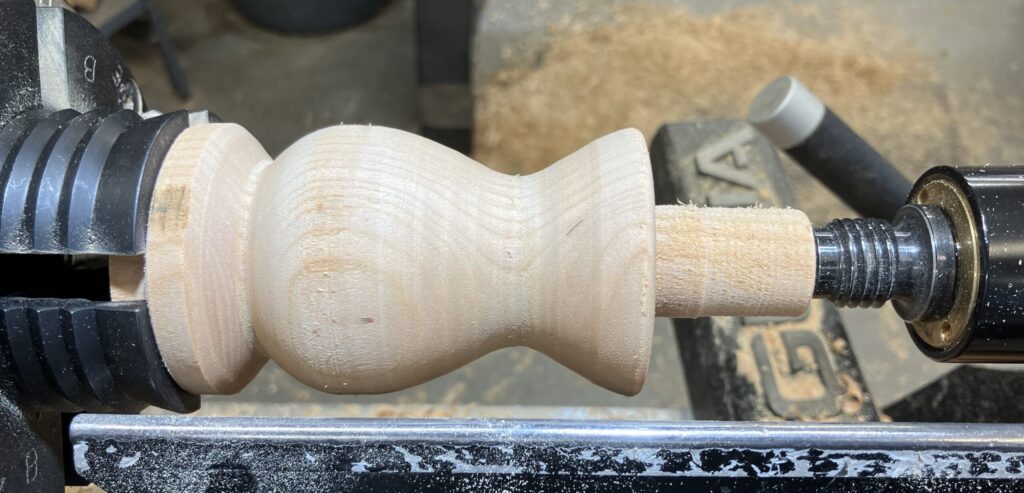
I may be slow, but that didn’t take me ALL day. I had time to try a second project. So I mounted up another piece of cherry and learned about multi axis turning. My goal here is to turn a water droplet like what Laurent does.

Let’s break down the wood by sections to lay out what’s going to happen. From the left, we have the waste material next to the jaws. The fat part will be the body of the droplet. The flare (looks like the top part of a vase) will be partially turned away to create the bent tip of the droplet. Then the last cylinder portion is also waste.
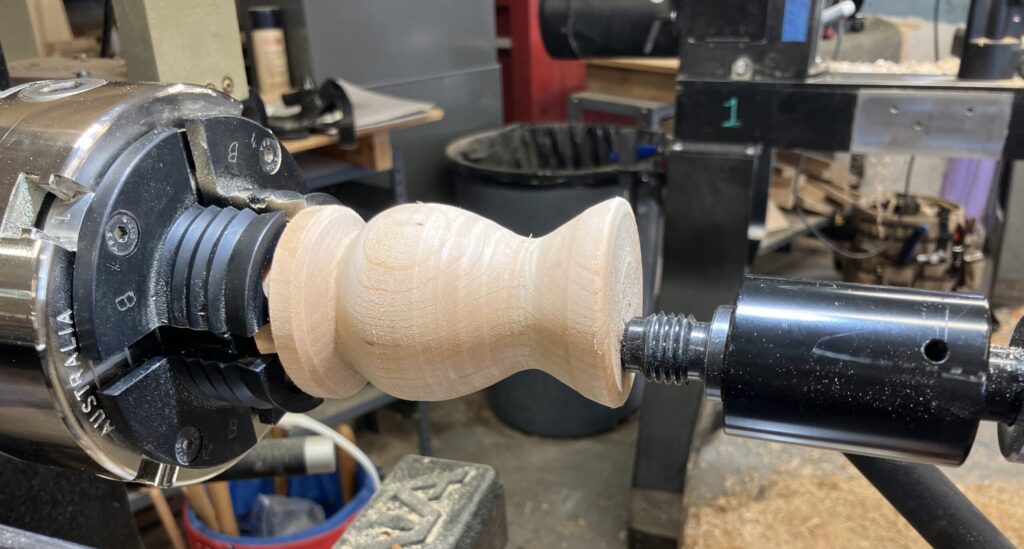
Here’s the multi-axis part. I removed the waste at the top and I’ve loosened the wood in the jaws and skewed the wood so now the central axis it spins on is not the center of the wood. I’m about to cut on a different axis than above. When I start up the lathe again, I’ll just cut away some wood at the very top.
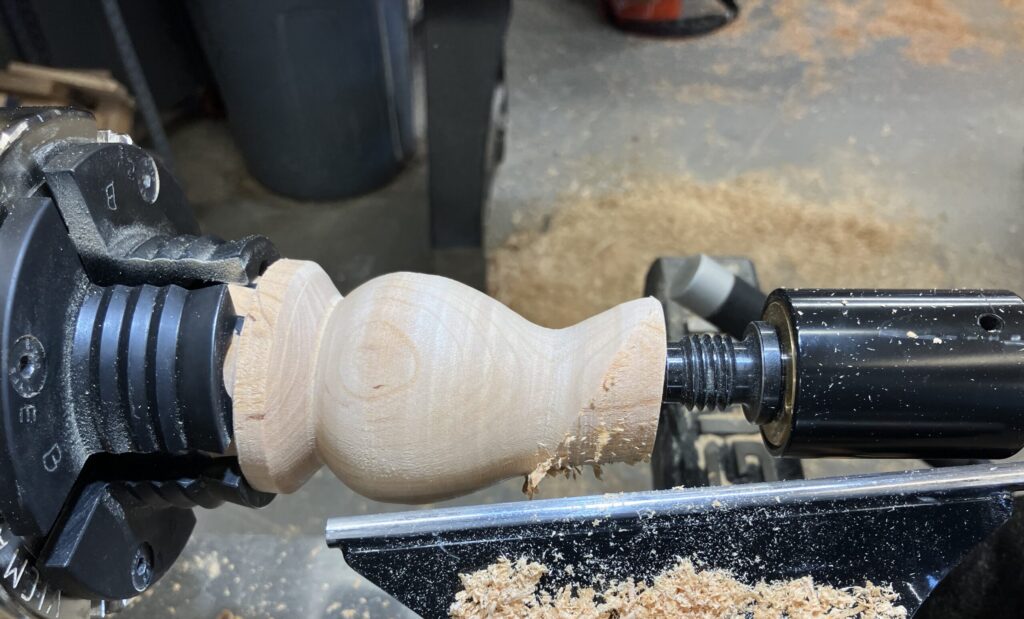
Here you can see how the section of the top that stuck out farther was the part that met my gouge and was cut away, while the side that didn’t stick out as far wasn’t cut at all. On the left side, you might also make out how the jaws do not have as firm a grip on the wood as they did when cutting on the primary axis. Because of this, light cuts are better–right up my alley!
When I cut away as much as I could (which was determined as the moment my arc of cutting almost met itself along the top rim), I squared it back in the jaws and got set up to manually rasp away the rest of the material. You can see pencil marks on some of what still needed to go. At this step, I learned that I really want a nice French rasp. What a fun tool to have.
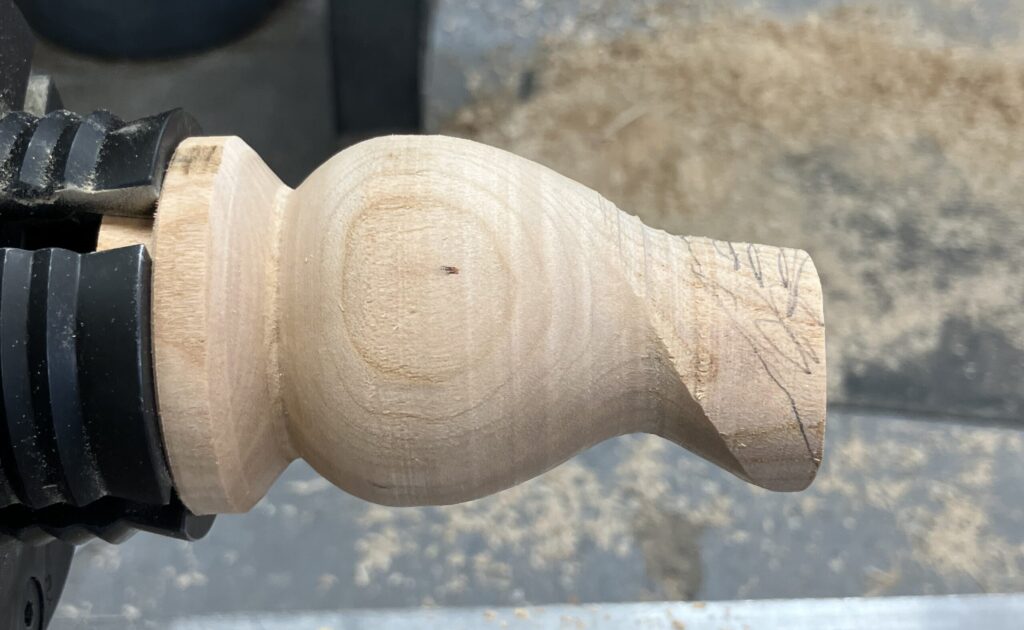
I brought it home and finished the shaping (with some old metal rasps I found in Chris’ toolbox). Now all that’s left to do is mount it on my lathe and remove the waste at the bottom.

(In the background is a maple bowl I turned all the way to finished from semi-wet maple. My mom has this now, and I don’t think I have any other photos to share, but it’s very pretty.)
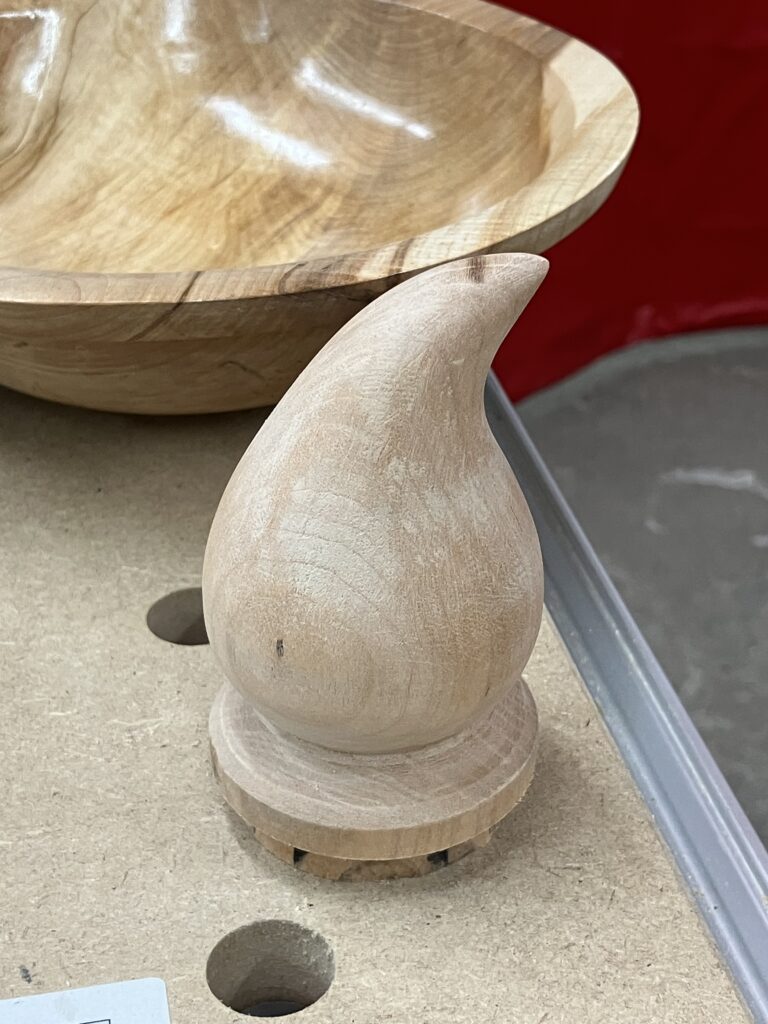
And finally, the finished cherry drop. I’ve seen multi-axis stuff before this, and usually dismissed it as something that aesthetically didn’t excite me. But I learned that the process is interesting, and I really like this shape. I’d like to find more ways to use this technique–but in a way that makes sense artistically, not simply as a way to make something quirky.
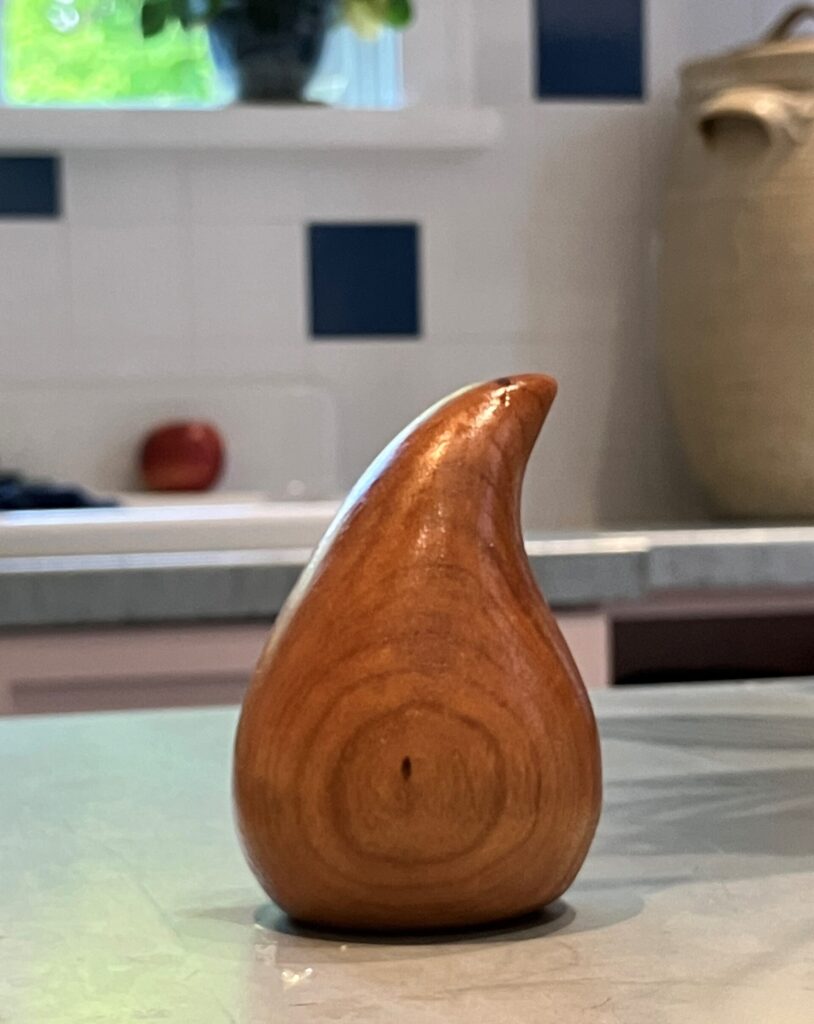
I’m still at it!

The first part of this year has been a bit hectic, but I’ve managed to squeeze in a bit of lathe time in between other stuff. So here’s a recap of the last couple months…

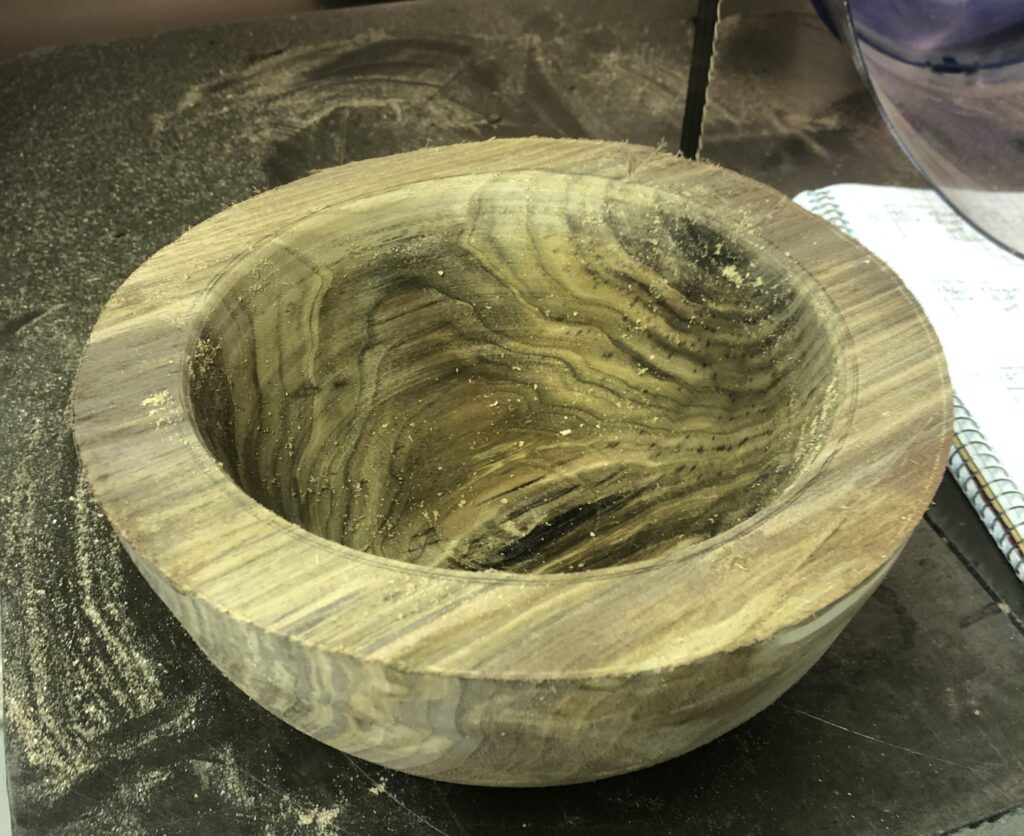
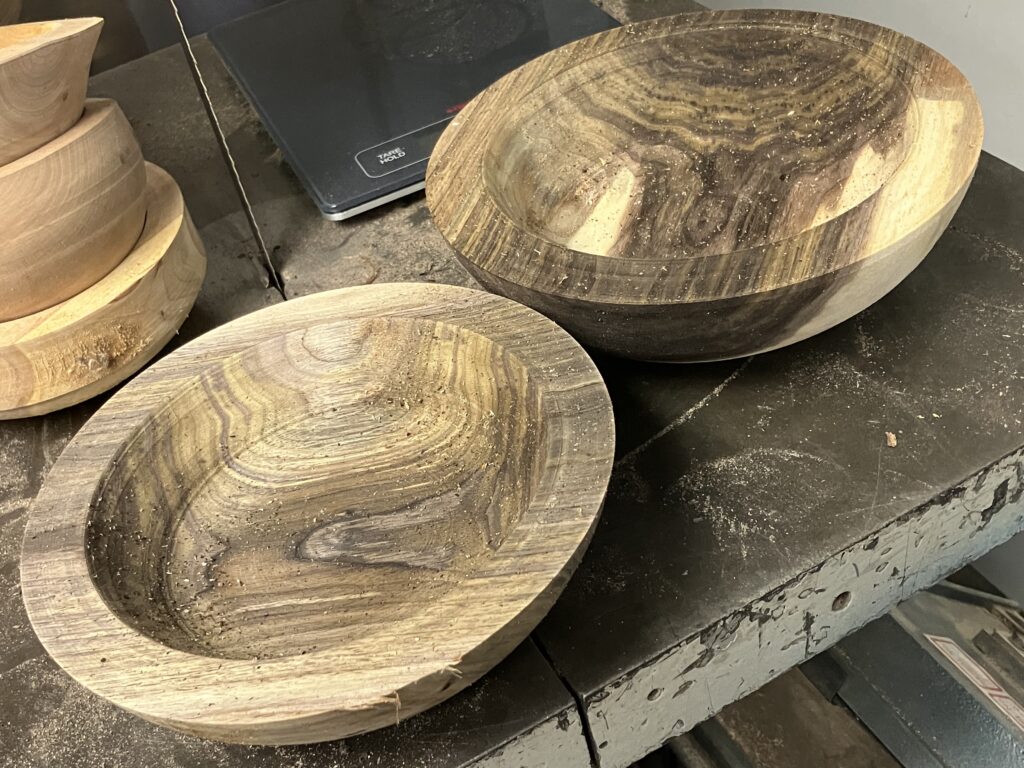
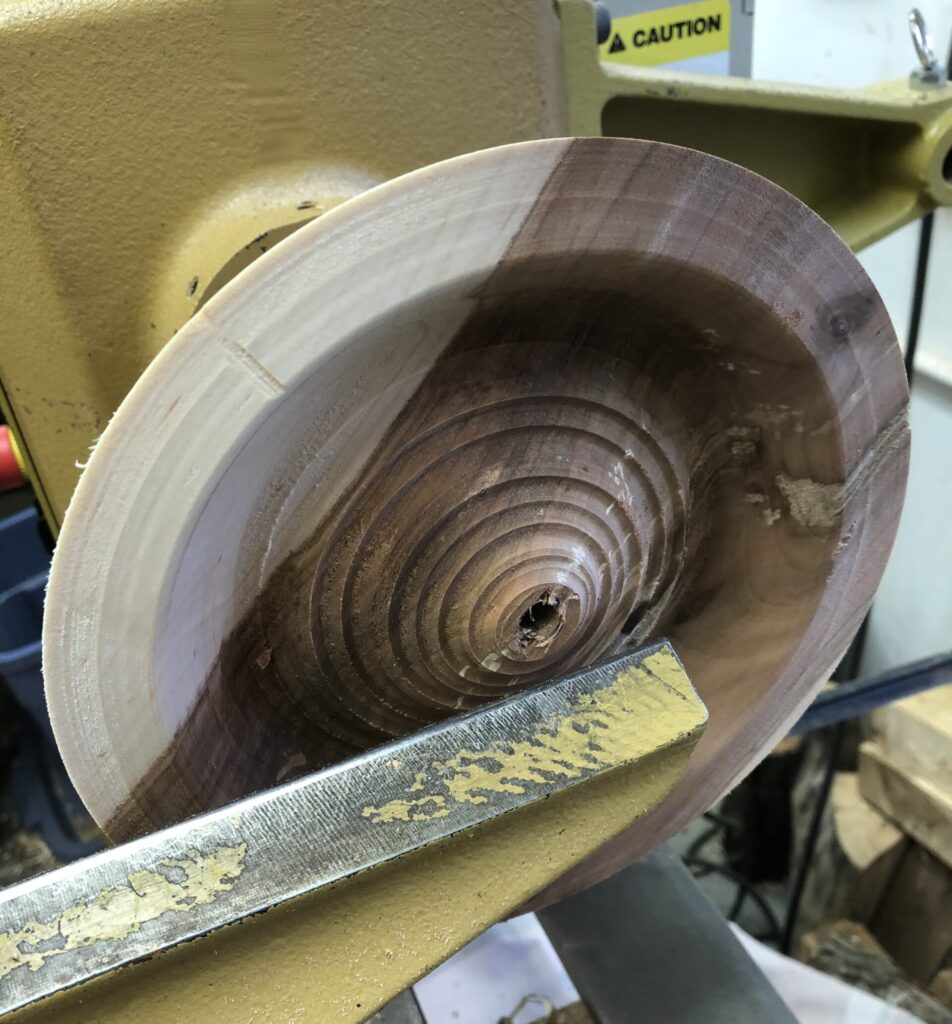
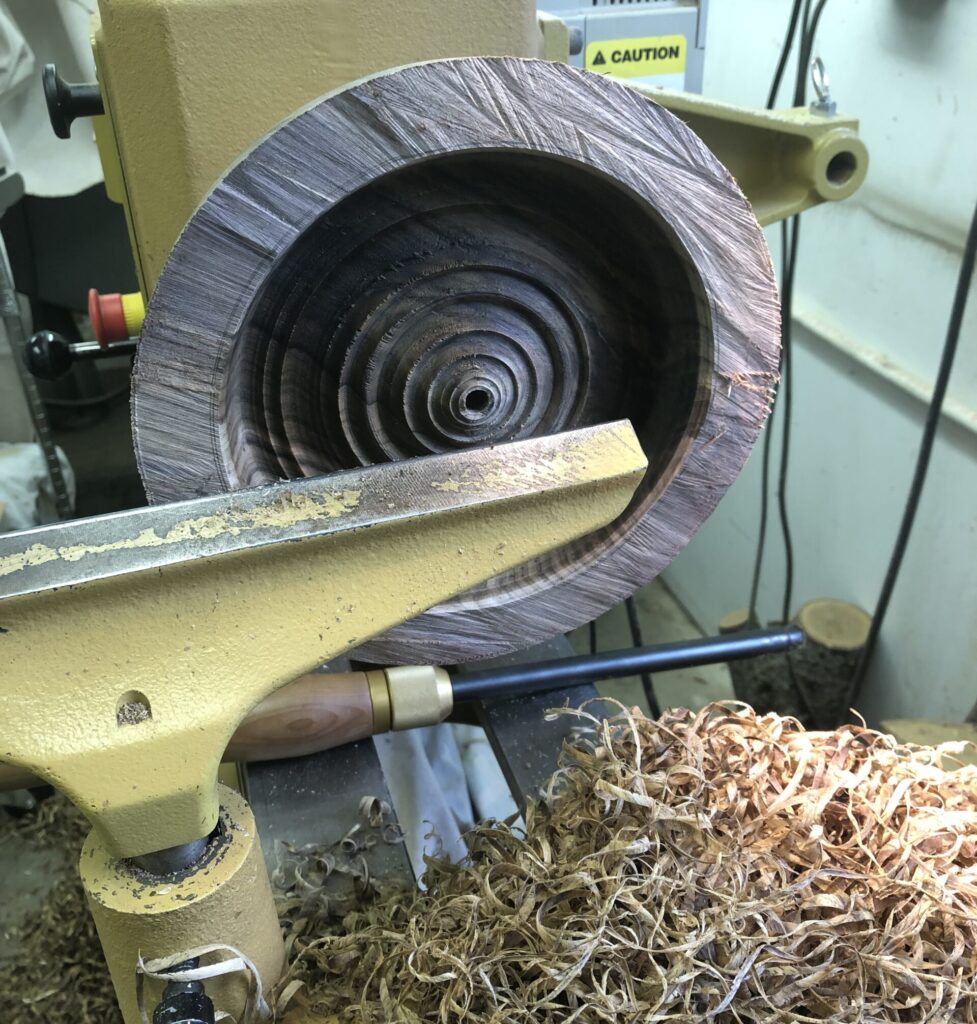
This is some black walnut that I got from a friend of my mom (I’ll take free wood from anyone!). The darkness of the wood really surprised me. I guess I thought it only got that dark when it had finish applied. It’s beautiful wood, but actually gives you an unpleasant taste. Guess I need better face protection!

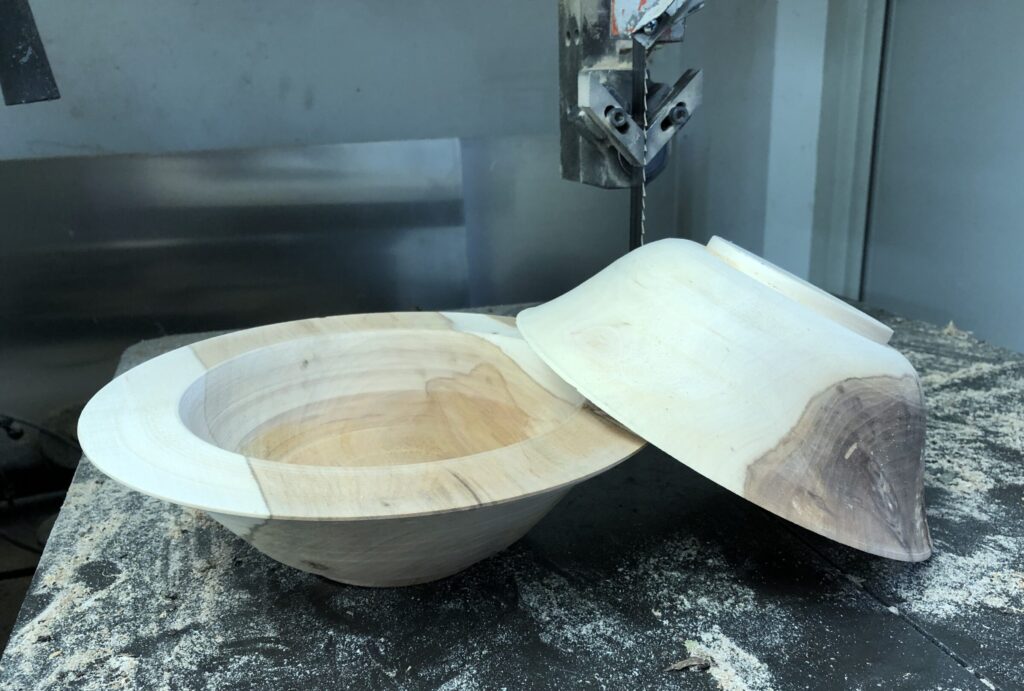
Here’s the same walnut bowl in different light and maybe slightly drier. I actually got three rough turned bowls from the bit of walnut I had (the other two are posted below). Despite trying to dry them slowly, they have started cracking. I’m trying to stabilize them with CA glue, but TBD if this will work 🙁

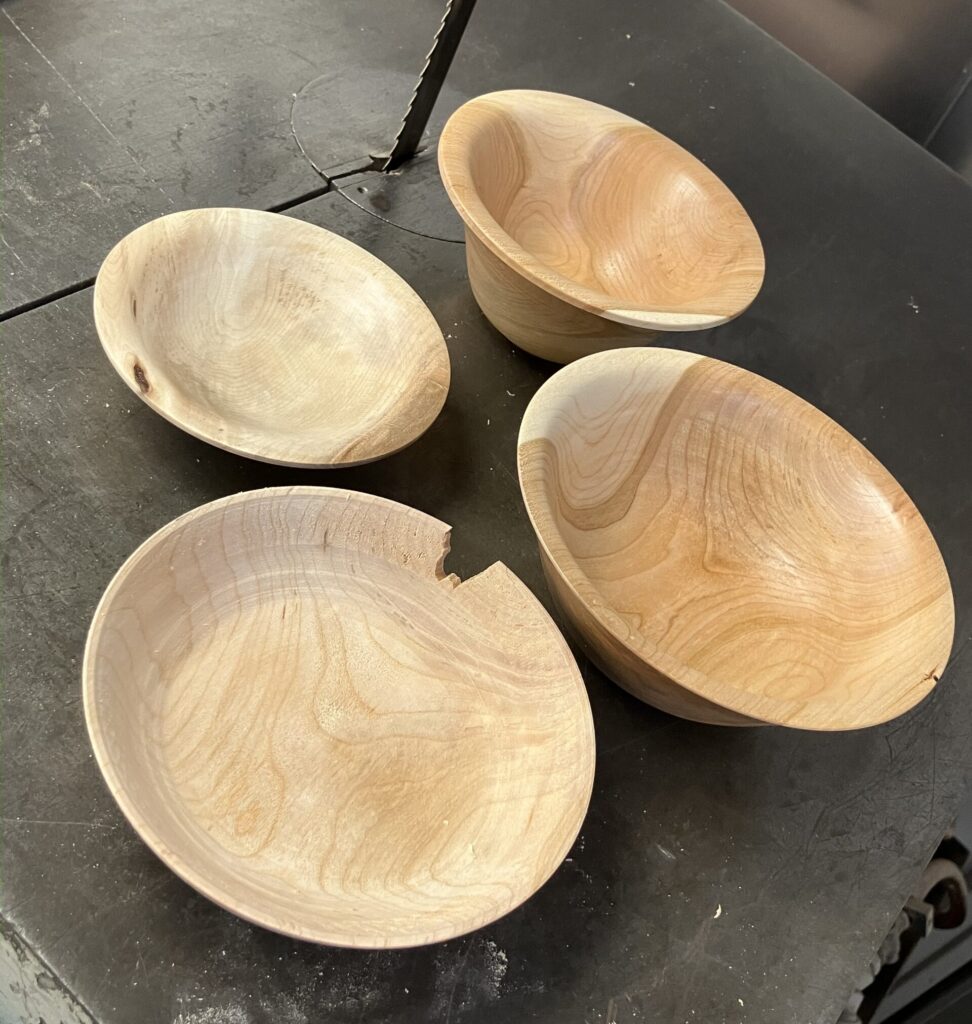
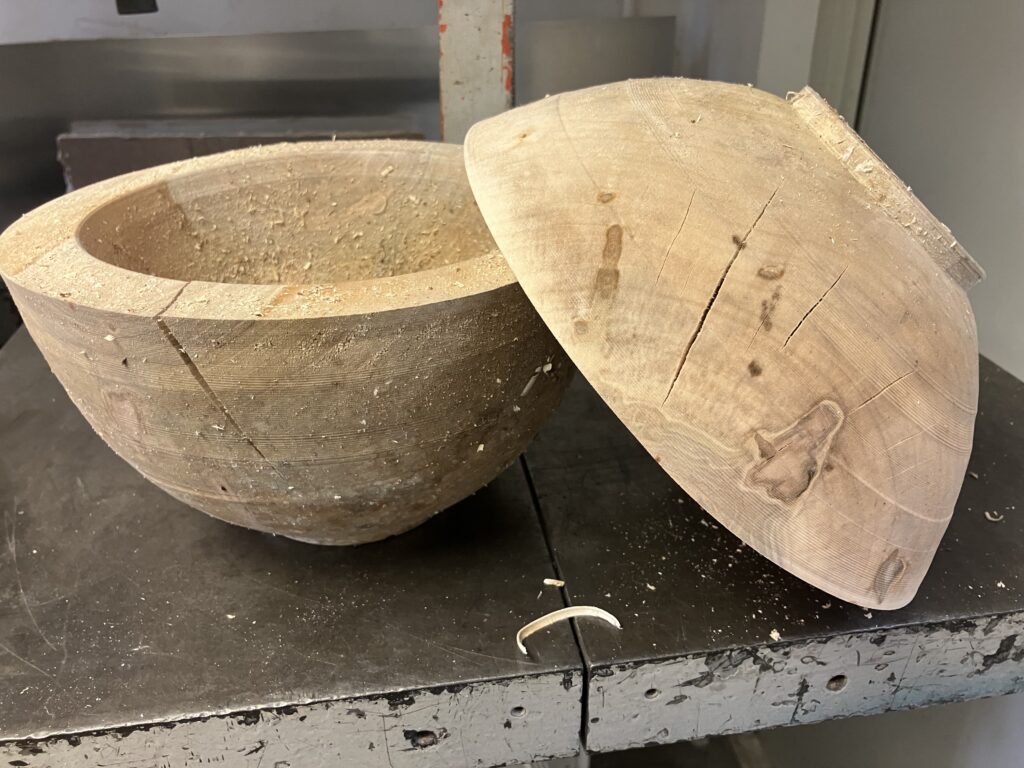
Some more of the bowls I turned in the spring (the oak I got from my brother’s yard) are ready for finish turning. You can see that one had a crack that blew apart when I was turning. If I had been able to find the piece, I perhaps could have glued it back, or done something creative …

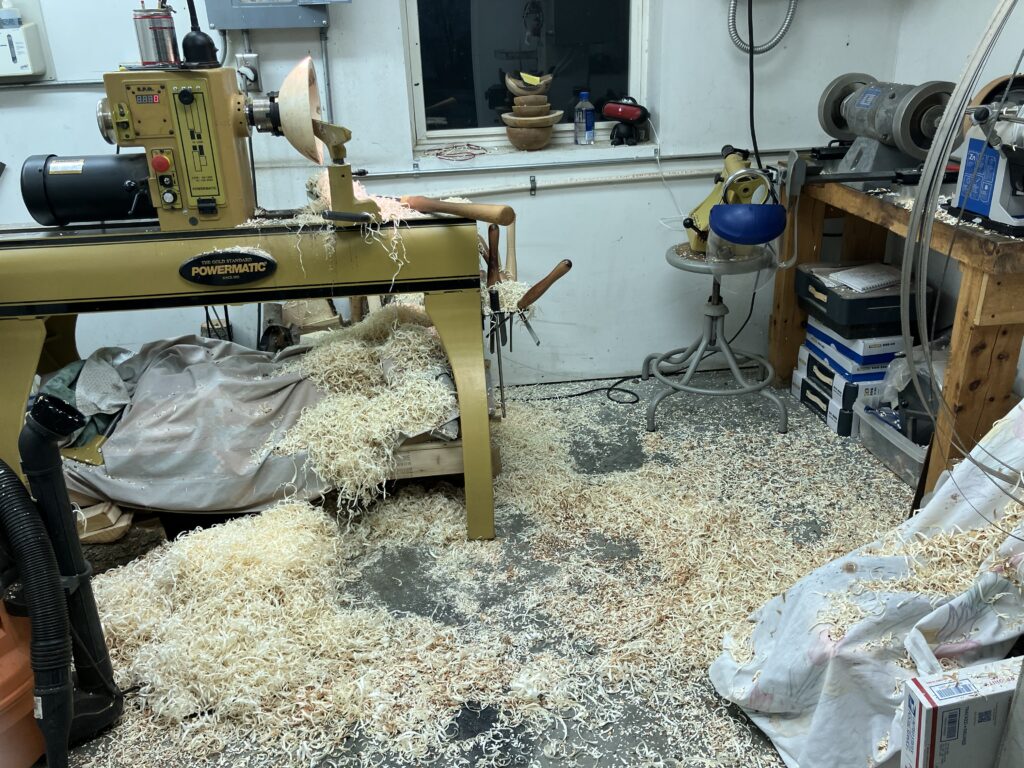
… but this is what the workspace looks like after a bit of turning. I wasn’t going to find that chip.

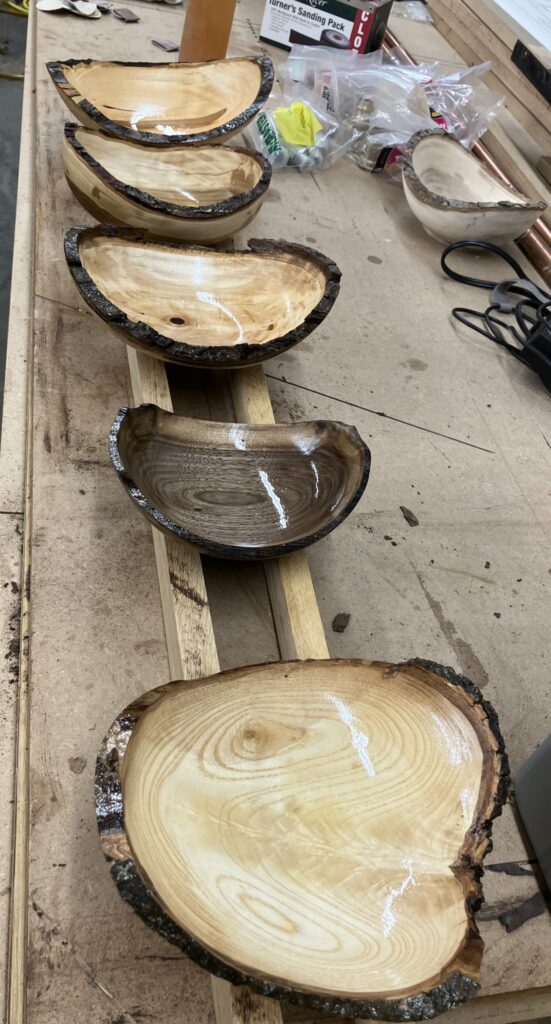
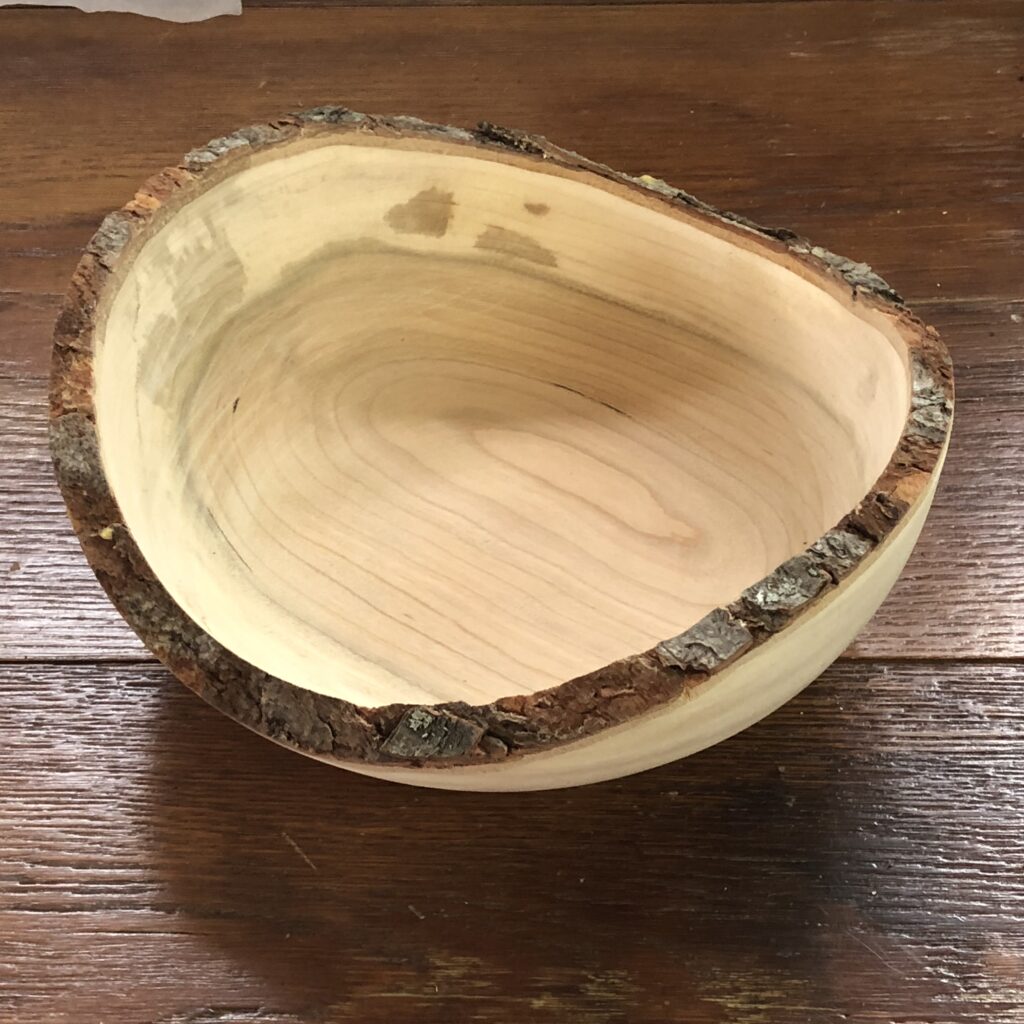
I’ve been doing a bunch of live edge bowls, with varying success. Here are the best ones, with a still wet coat of oil on them. From the bottom: butternut, walnut, maple, cherry, maple. The unfinished on off to the side is also cherry

Two more walnut. These are probably about 9′ diameter. The lighter colored stack are more oak from spring ready to be finished. You’ll see the middle one in just a minute.

This is some silver maple I got from a tree that fell on the barn, RV and house across the street. Silver maple is softer than sugar maple (the other kind of maple I’ve turned). Again, I had it drying in wet shavings like usual, but wow! This was not salvageable. They’re sitting next to the fire pit as I type. I don’t know if the cracks are typical of silver maple, or if the tree was stressed from falling. Its a shame, too. These were nice big bowls–at least 10″ diameter.

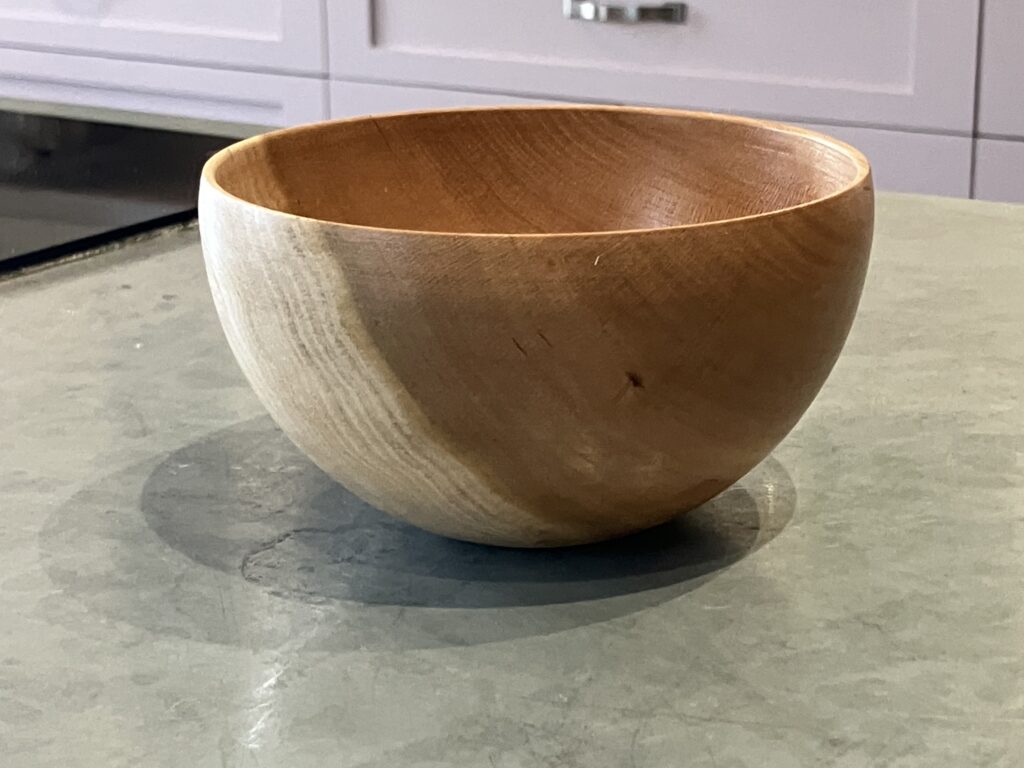
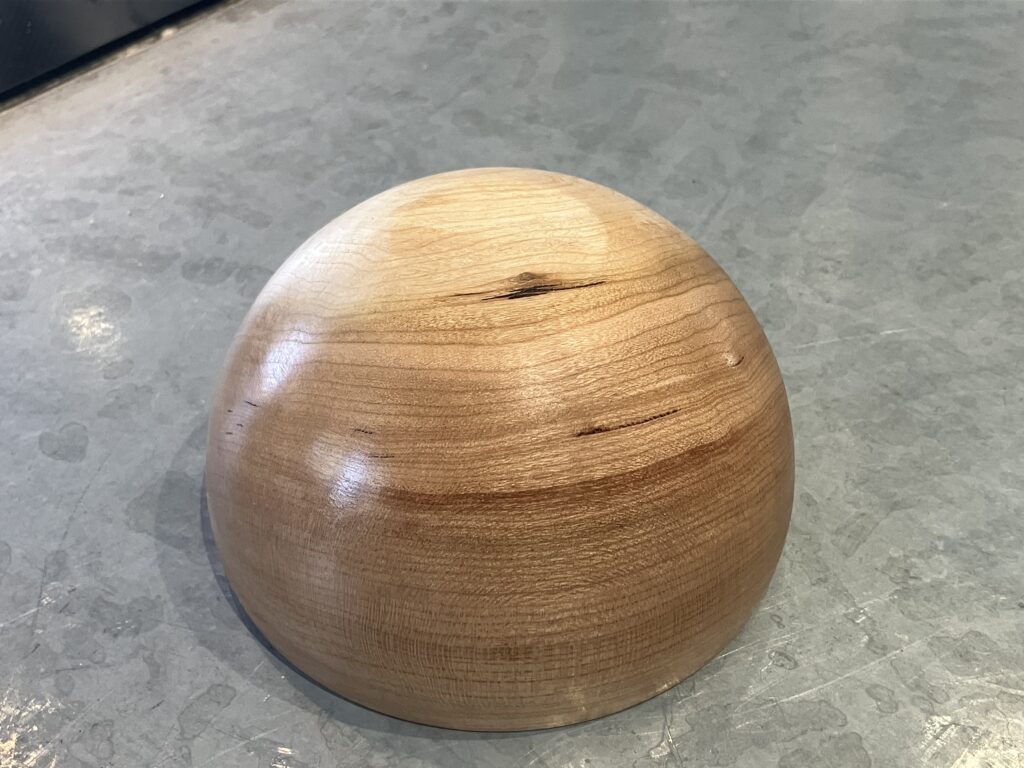
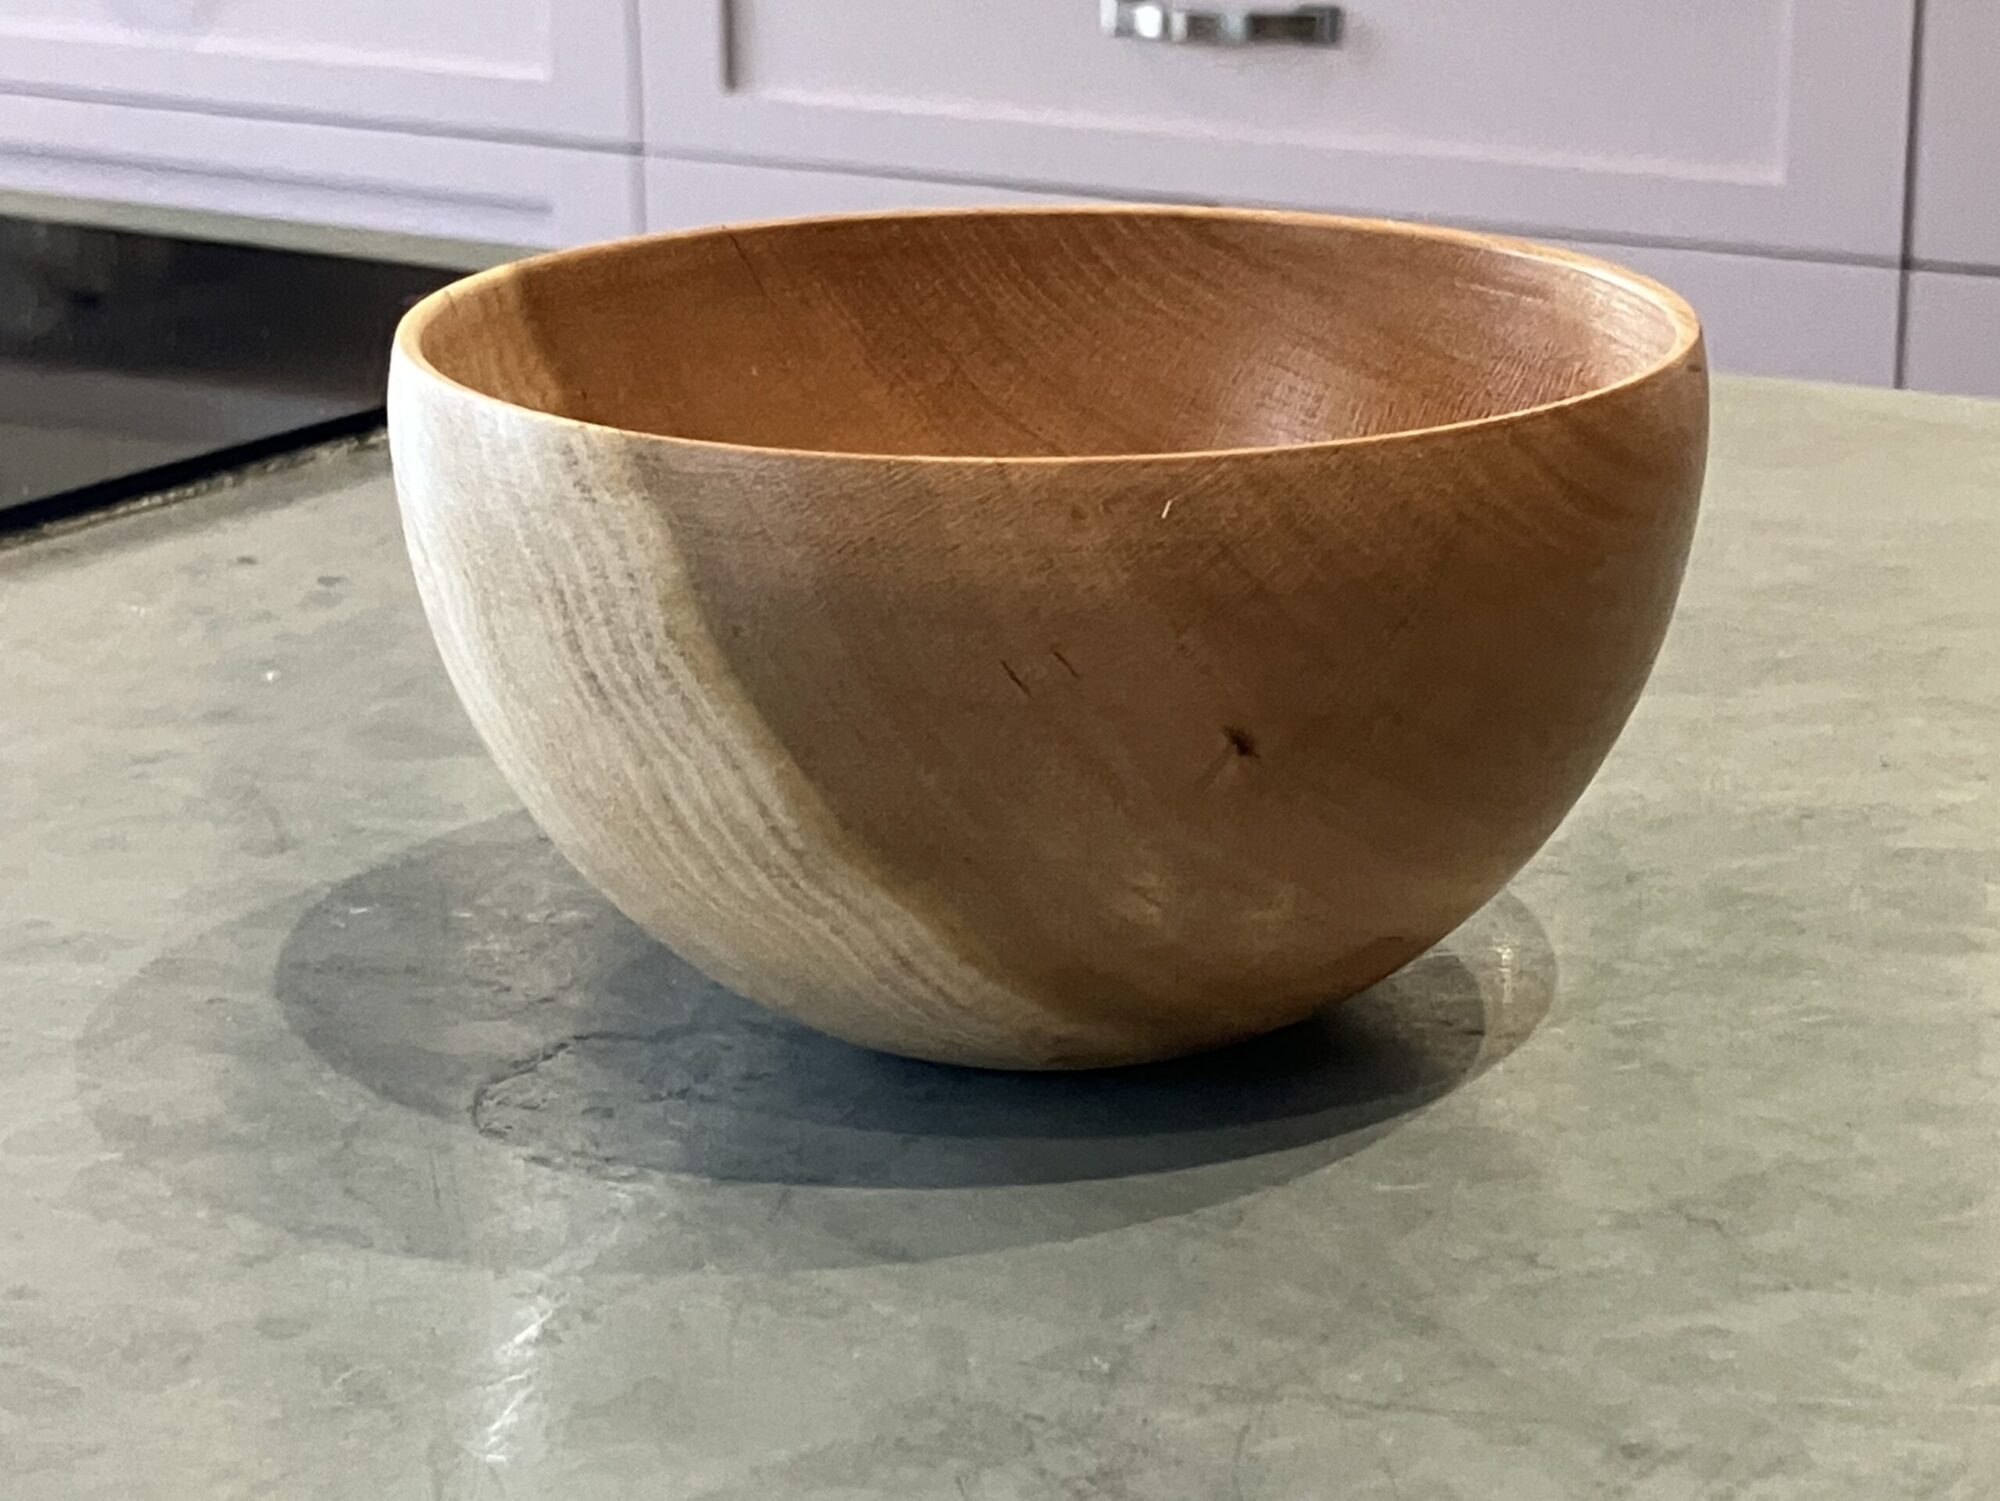
This is the finished oak I mentioned a couple photos ago. i am really, really proud of this one–the shape, the thinness of the walls…

…the trickery to have no foot.

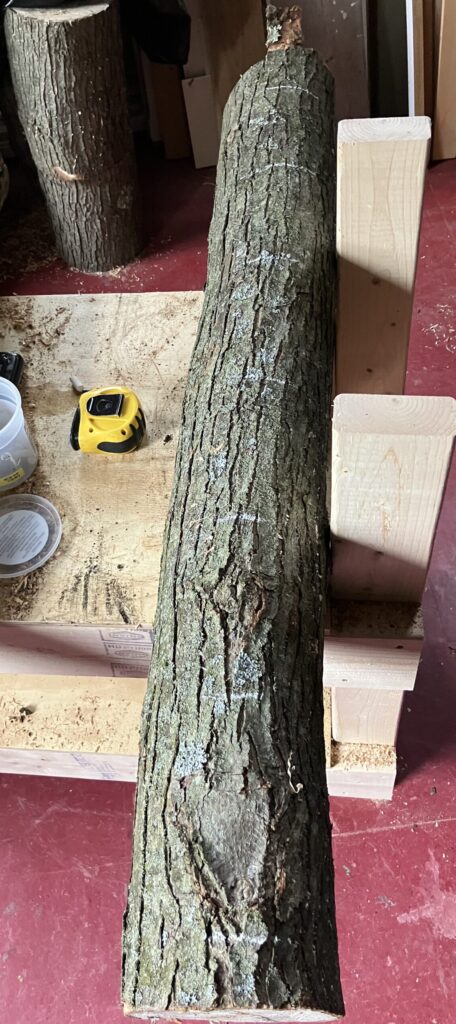
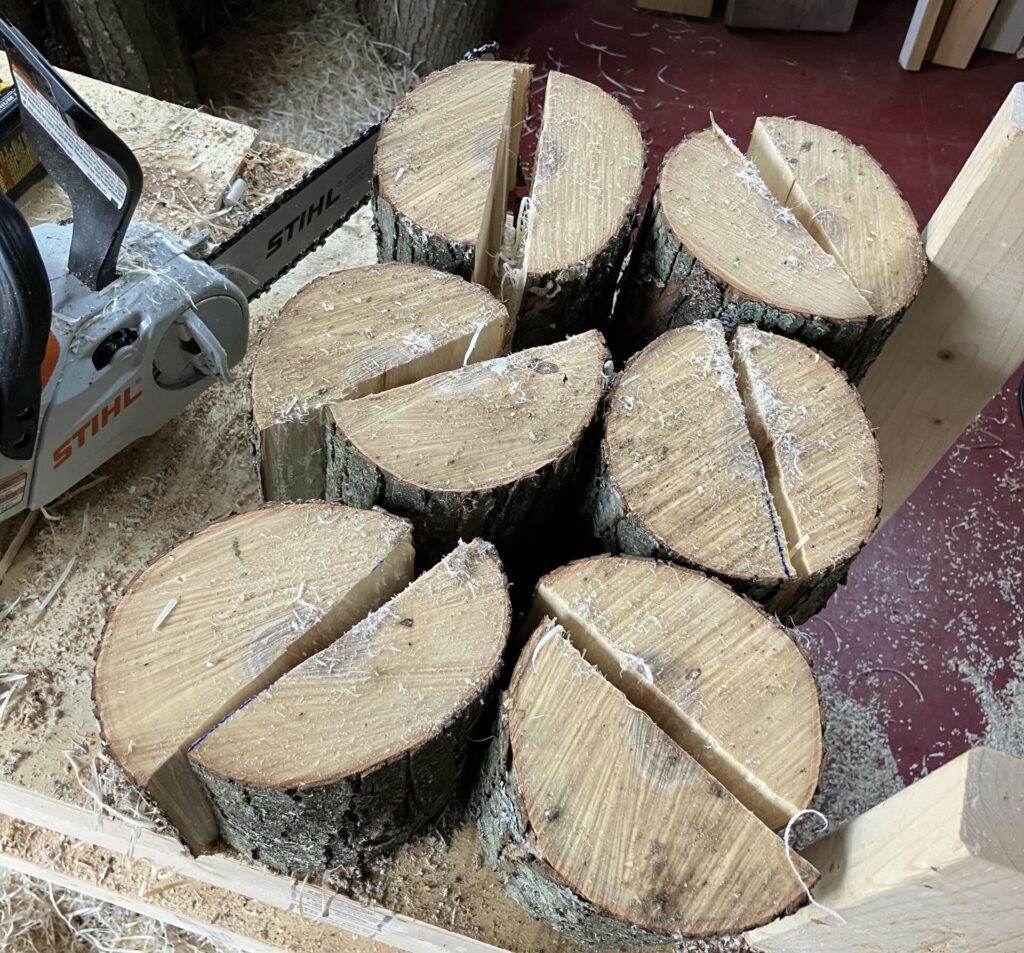
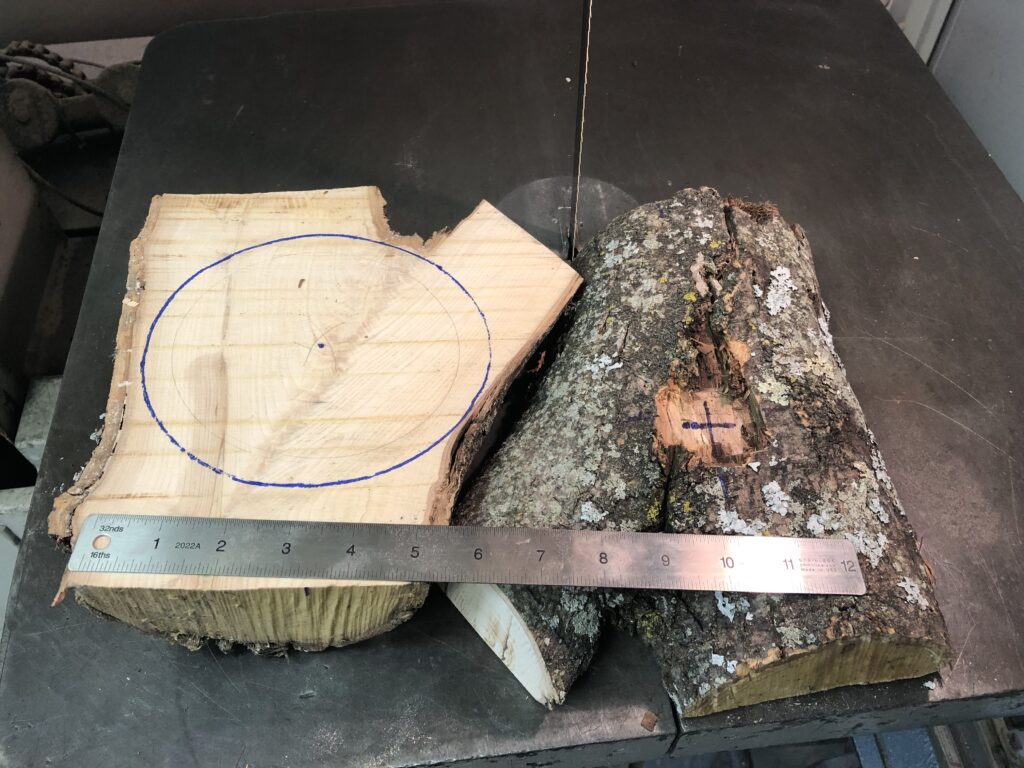
More free wood. Maple from our friend, John. I think this might be silver maple again. I cut this limb up into 6″ sections (you can see my chalk marks). I cut each segment in half for 12 blanks.

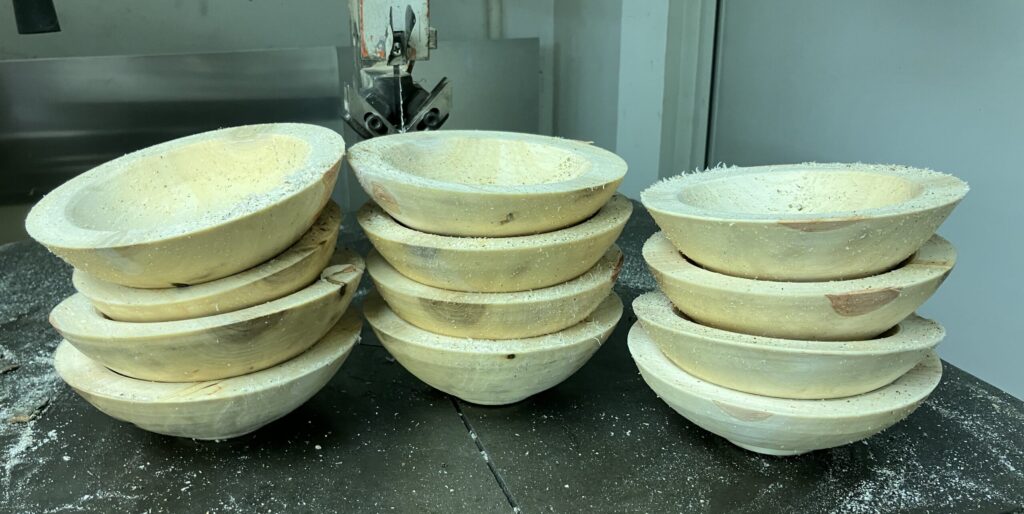
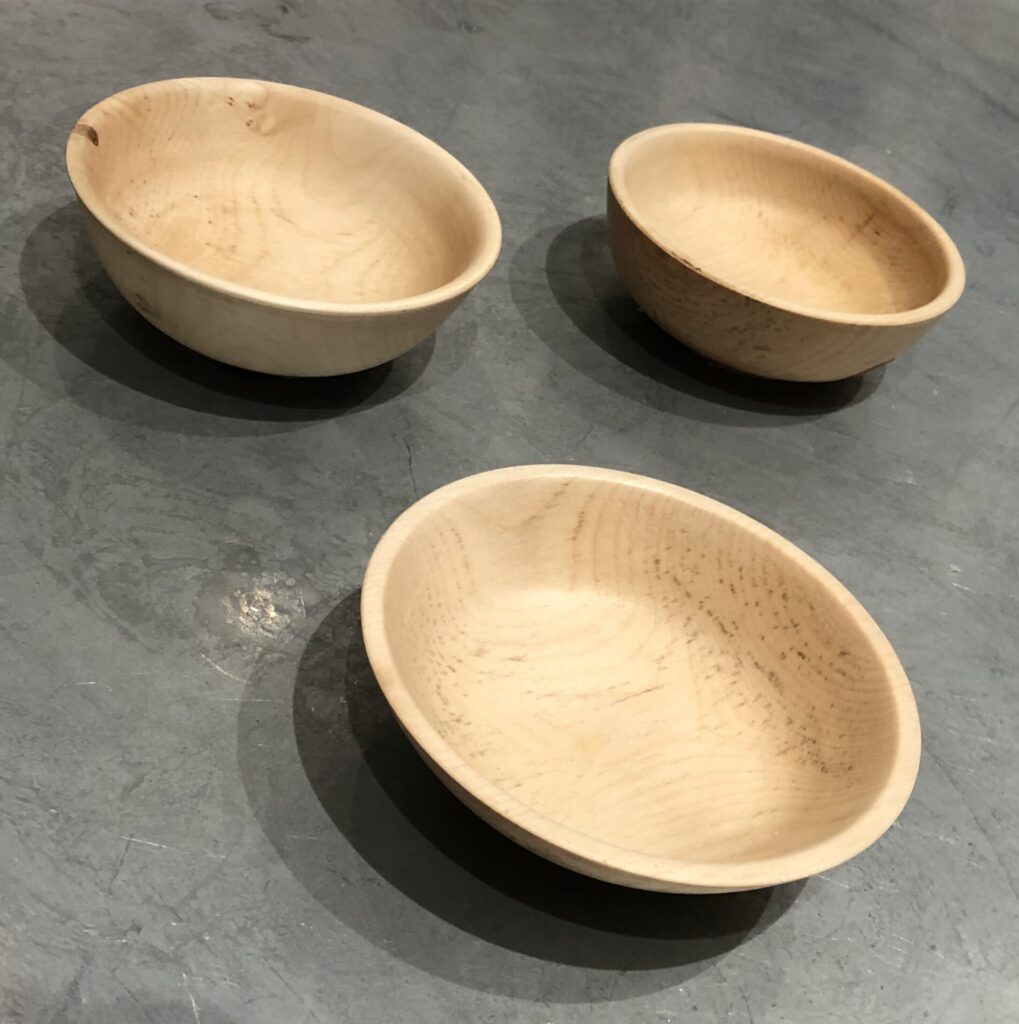
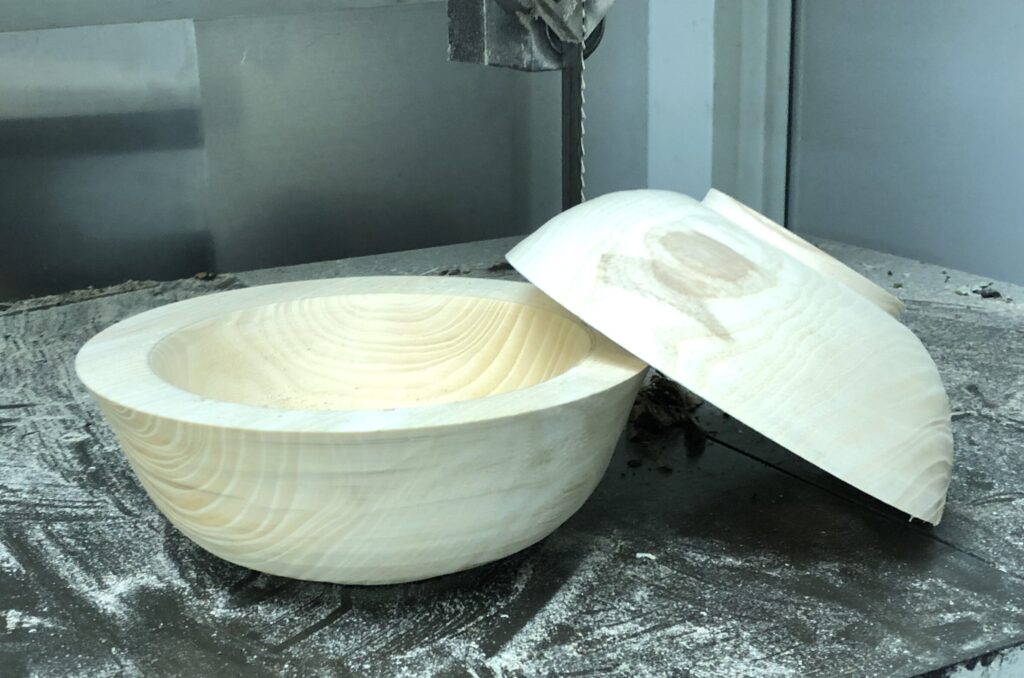
Here are the 12 rough turned bowls. For this project, I was trying to make them all as similar as I could. I’d love to try to get some “matched” sets out of them. The rough are all 140-150mm diameter and 45mm tall. Now lets hope I have better luck with drying this maple than the last.

Finish turning, last of the butternut, ornaments

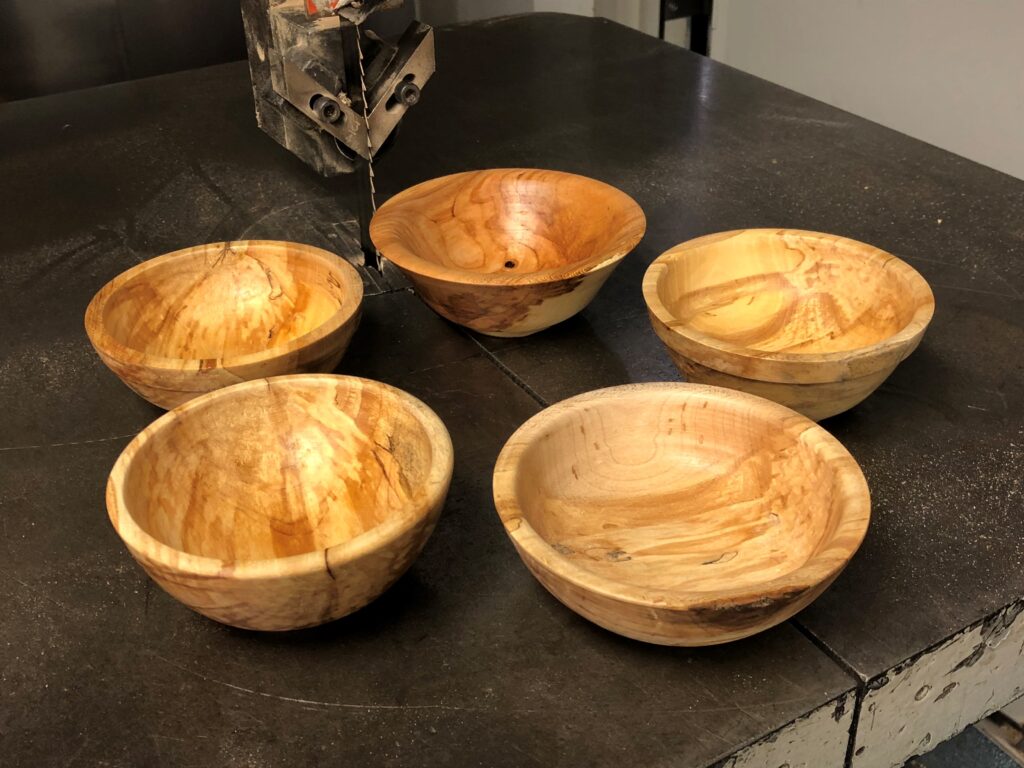
I have started bringing some of the smaller ones down to finish turn. The one farthest away is oak from my brother that I turned in the spring. The other four are maple from our backyard. They look good in the photo, but they have issues. I give them all a B- to B+.

Finish turned six of these guys. the American Beech also from my brother’s yard.

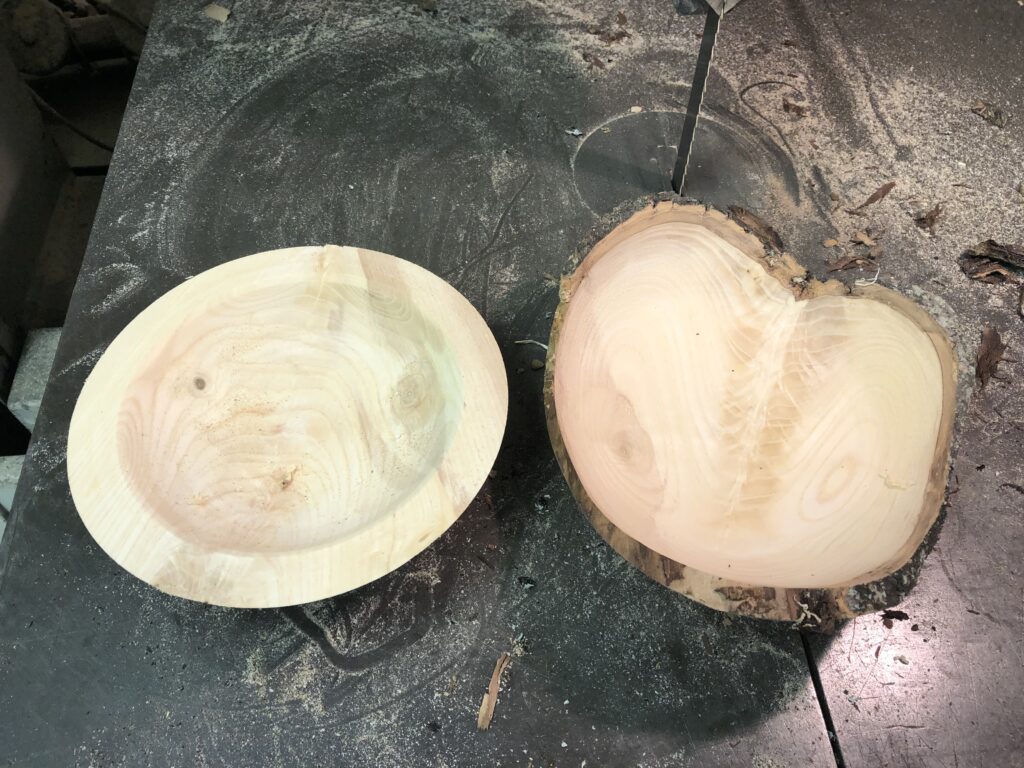
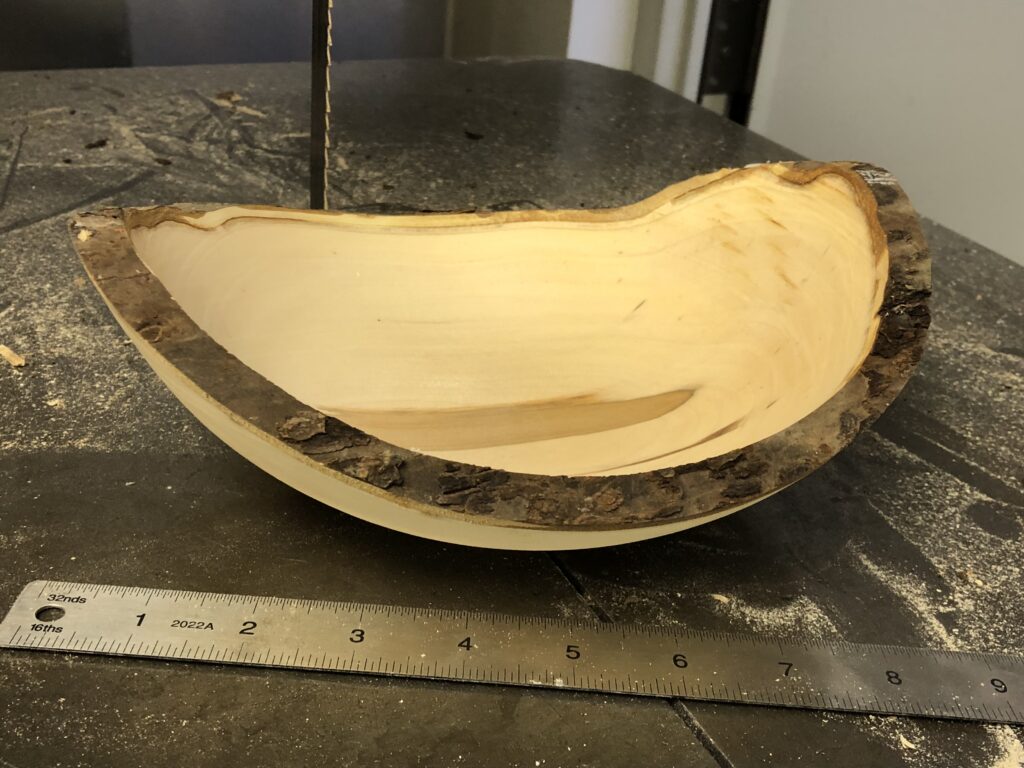
The last piece of butternut. I turned one in the usual way (top of bowl in the center of the log) and one as natural edge. I’m happy with this natural edge! Definitely getting there. It still needs to be sanded and sealed. I’ll try to remember to post a photo when that is done. We’ll see what the feather running down the middle looks like.

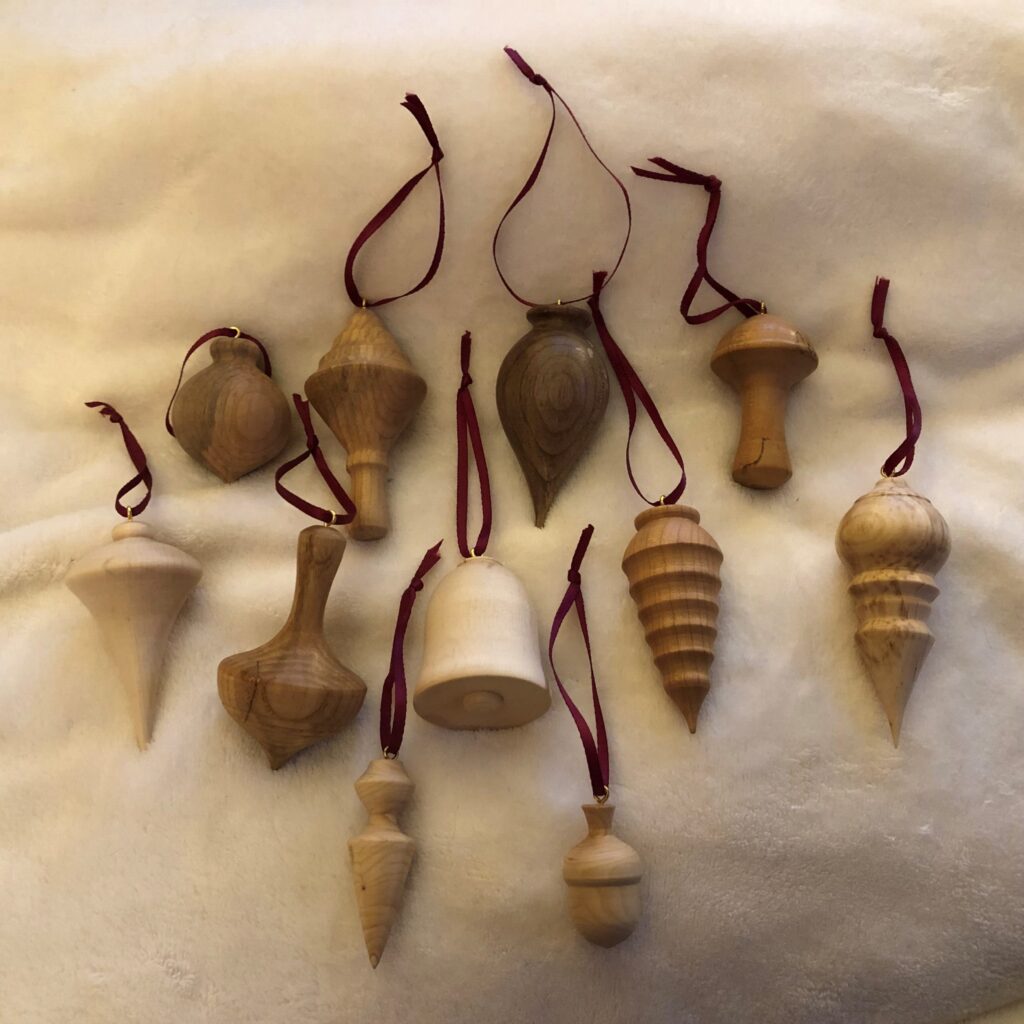
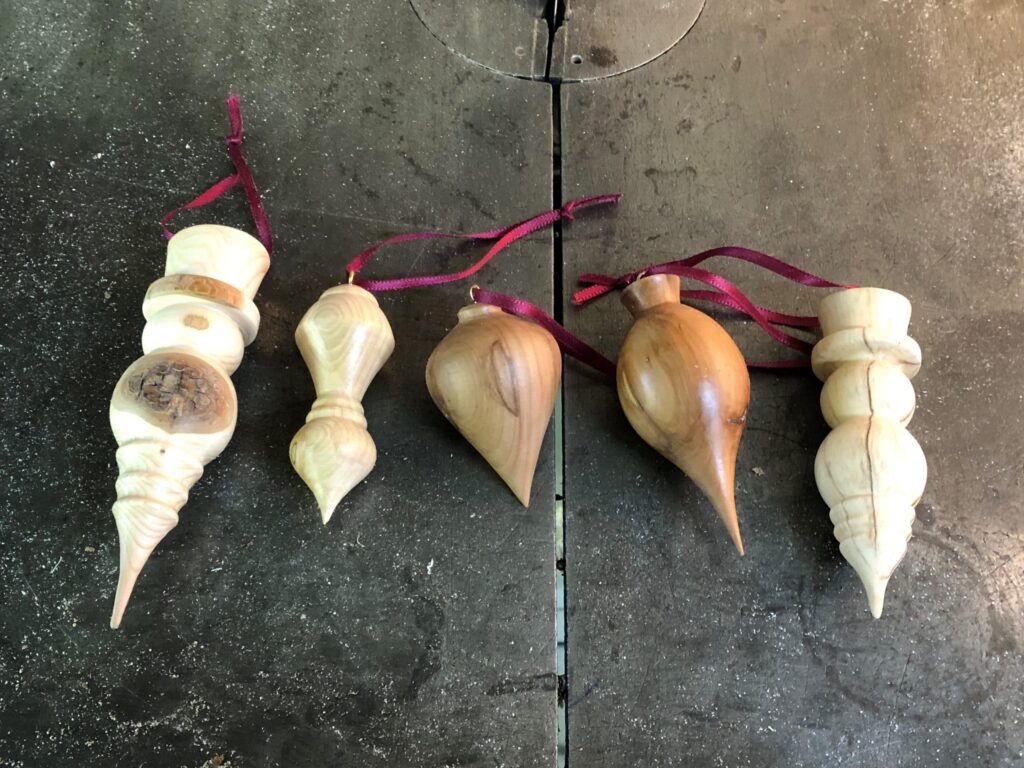
Some ornaments from scraps. Woods are (in no particular order), beech, ash, cherry, silver maple, sugar maple, lilac.

Left to right: lilac with bark left, butternut, cherry x 2, spalted maple. Merry Christmas!

More free wood, natural edge bowls

Here I’ve been trying to keep my wood hoarding under the radar, and Chris brings me more! The really ugly piece is walnut, the others we think are butternut.

This is the ?butternut? The person who cut the wood thought it was also walnut. The only tree I know that looks like a walnut from the leaves and nuts, but is pale inside is a butternut. Very cool wavy-gravy ring pattern. I made about a half dozen rough turned bowls from those pieces.

Now THIS is walnut. As was obvious from first photo, this log had seen better days, So I didn’t get much good out of it. but this is kinda cool! I love leaving the sap wood on it for contrast, but I don’t know if it will dry okay like this. Will the heartwood and sap wood dry differently and crack the bowl? I guess I’ll know in a few months

Two more to add to the pile drying up in the loft.

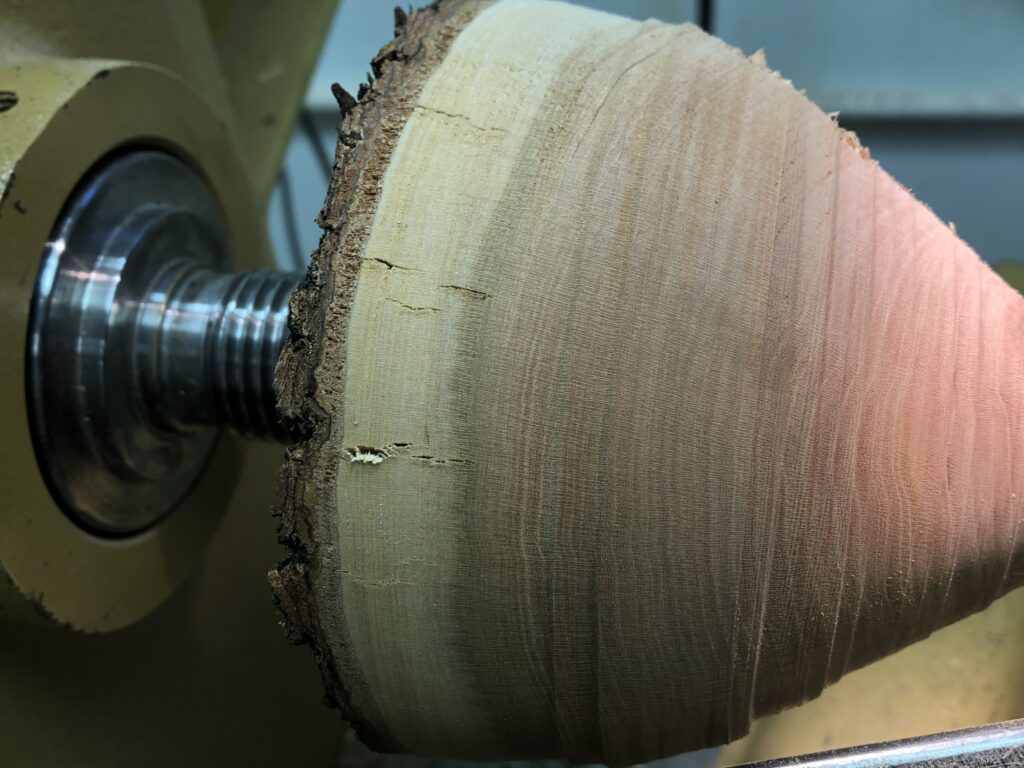
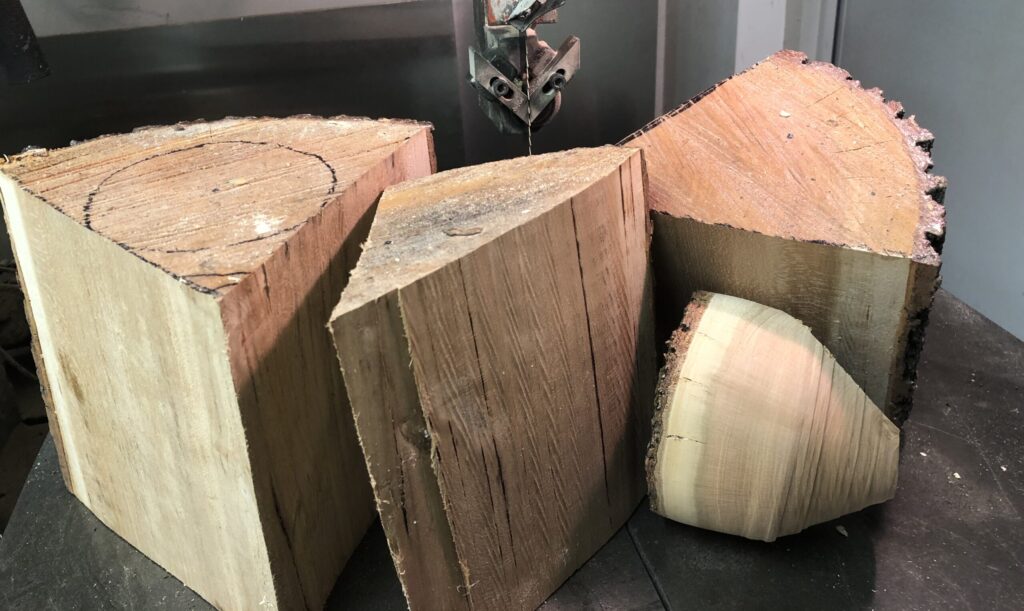
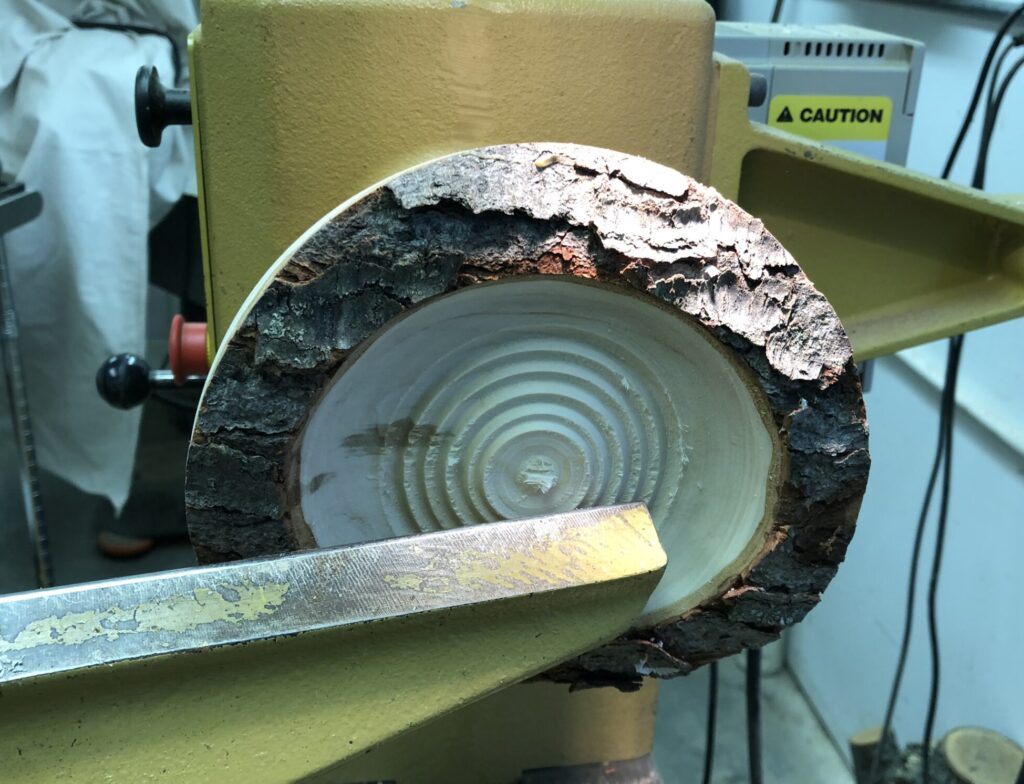
I went back to the cherry. I thought I’d try a natural edge bowl and this piece with a flat area of bark seemed perfect, but you can see it was already cracking. Here it is with it’s matching wedges from the same log. You can see the cracking.

I picked a different piece to try again anyway. Big crack here.

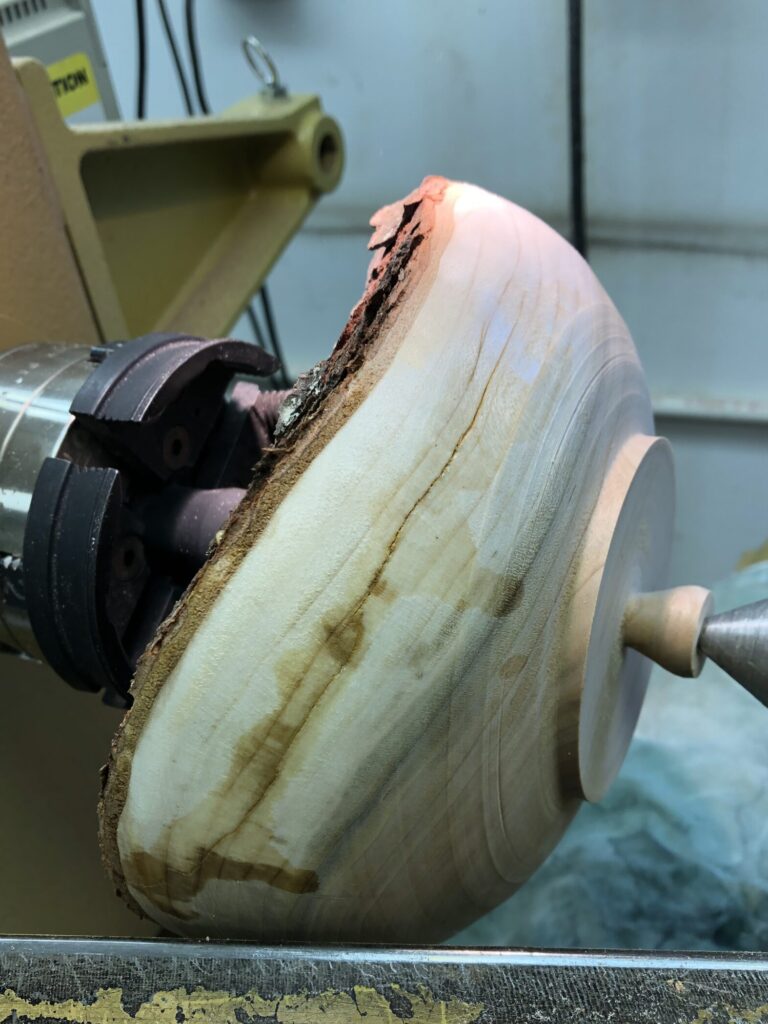
Enh … let’s keep going anyway. Its a learning experience. I stabilized the crack with CA glue so at least the thing won’t explode on me (I hoped).

Very pretty wood. And good for learning. But walls are too thick, it’s cracked and the profile is a little clunky.

This is a maple natural edge bowl. Much better than the cherry.

Cherry!

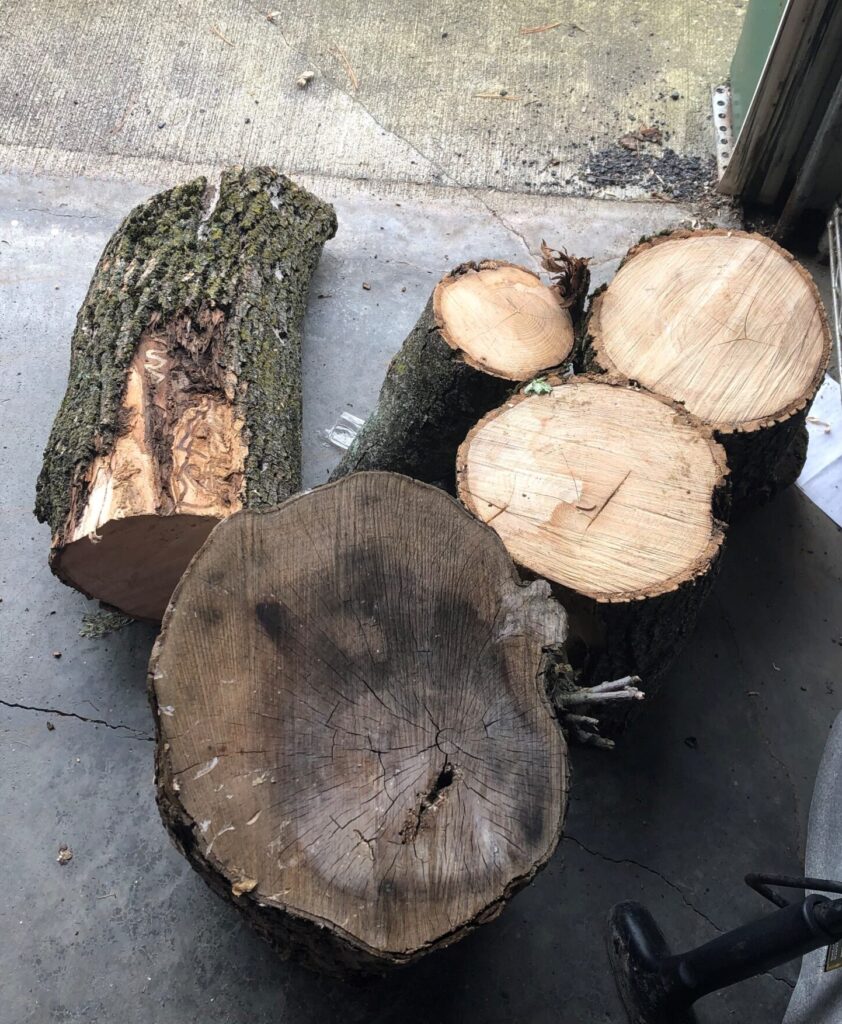
Cory (family down the road) had a bunch of trees taken down. Most were dead ash, but one accidental victim was a beautiful large cherry. After a brief mourning and a wake with coffee and donuts, we cut up and hauled away the portion of the tree we could get to and manage. We left the large trunk and the whole top half of the tree, that was hanging over a deep ravine.

Continue reading “Cherry!”