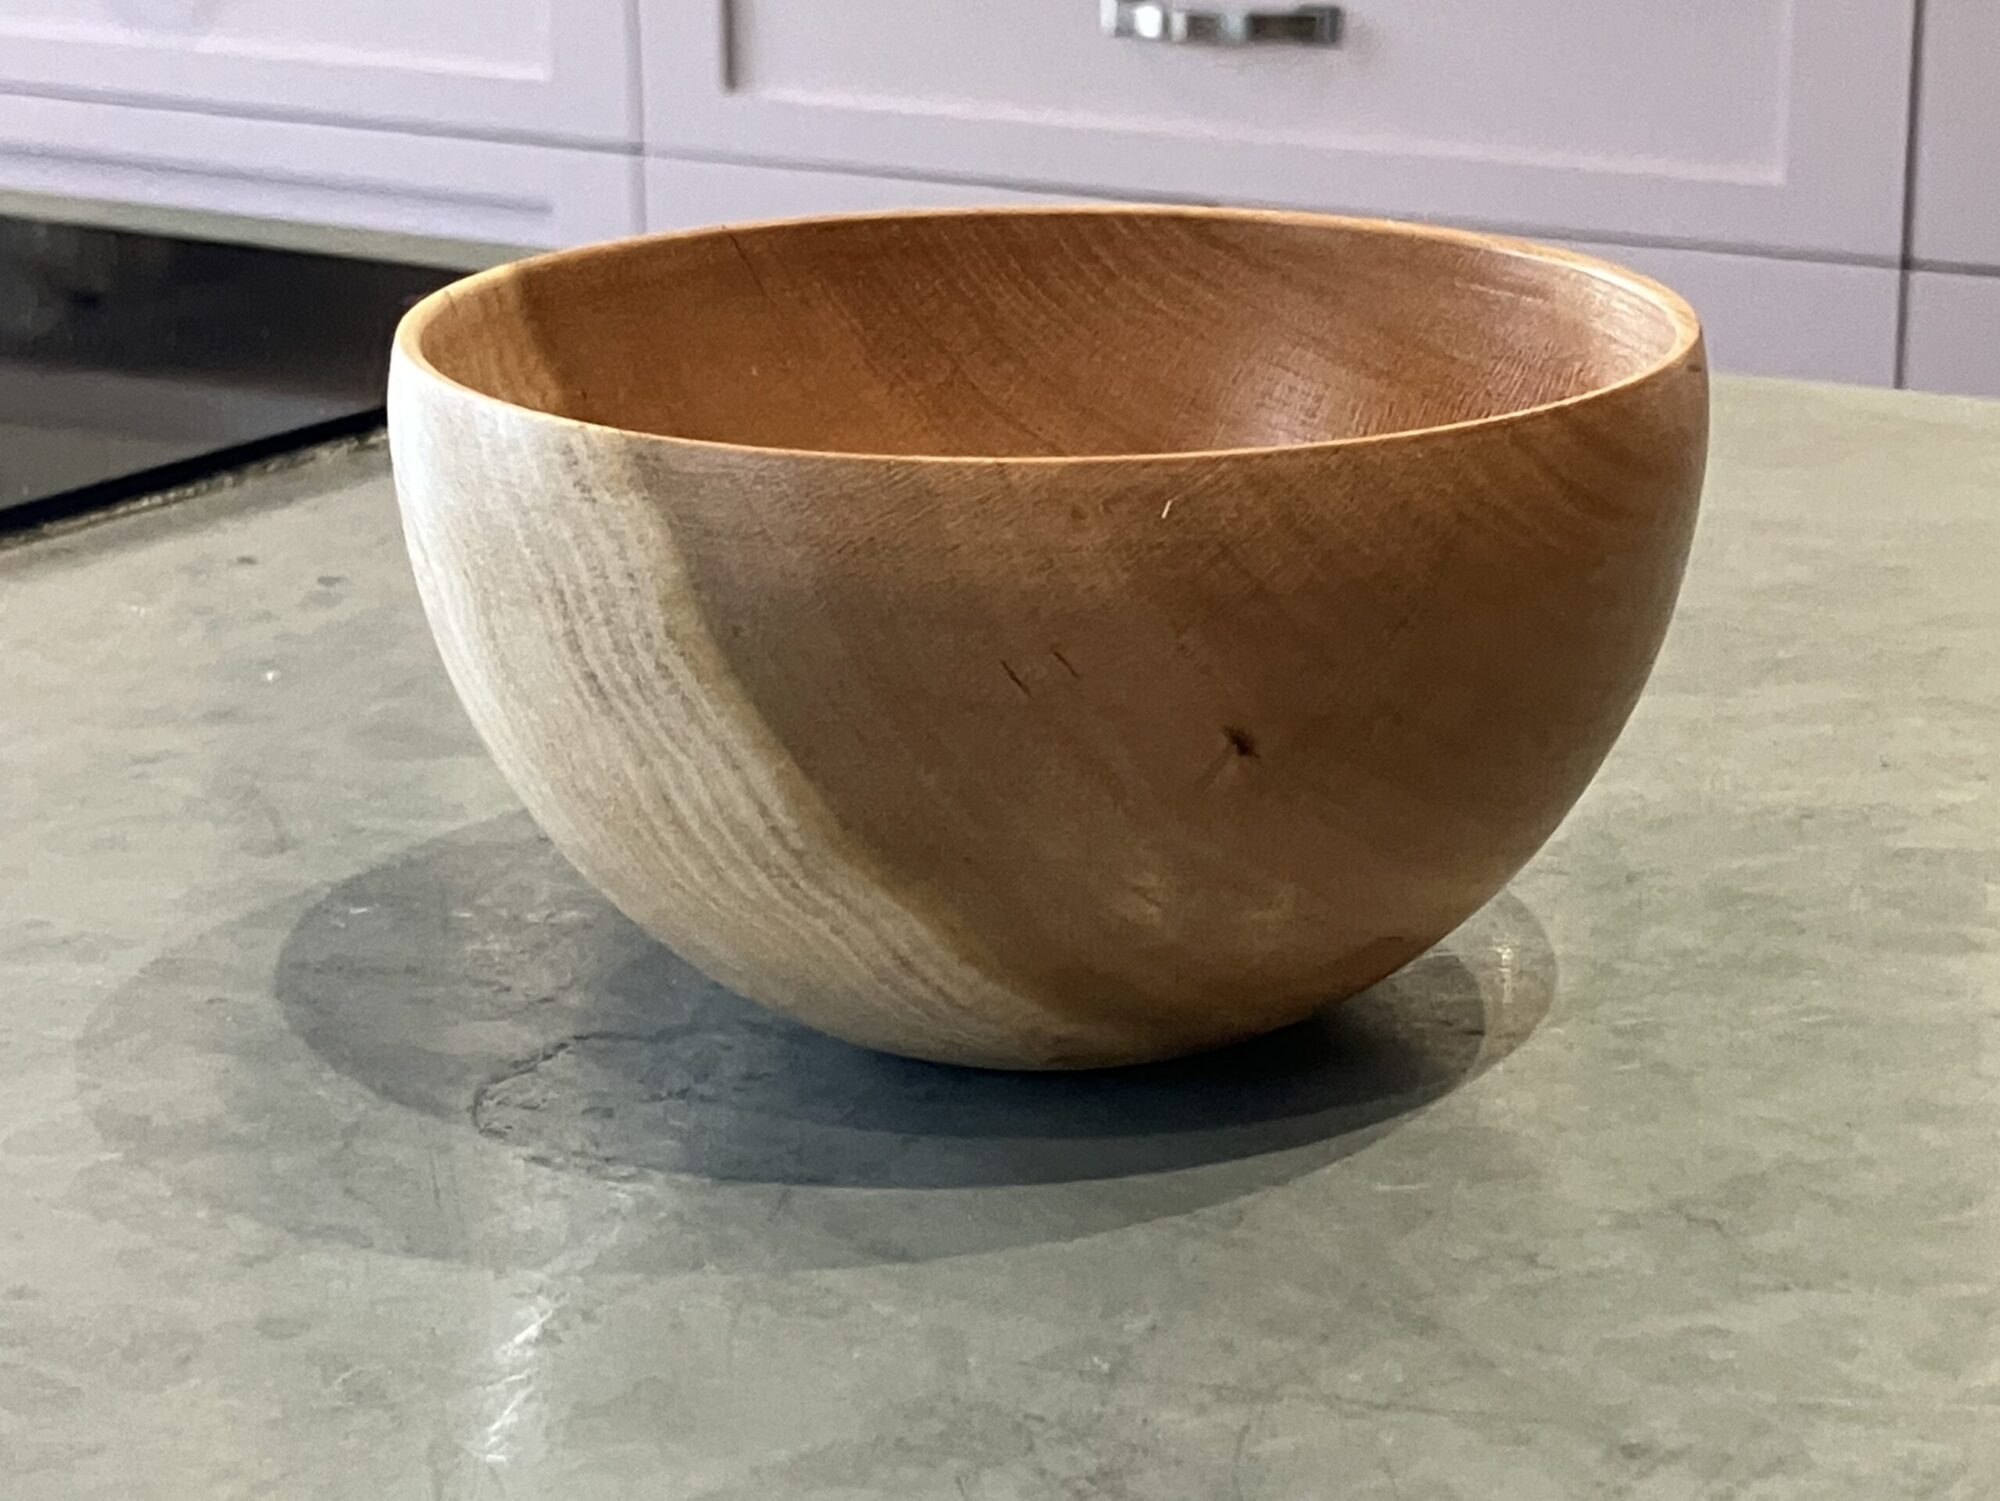
A few weeks ago, I decided to spend some time doing spindle turning. To oversimplify, that’s when you put a stick on the lathe instead of a block of wood. The grain of a spindle runs the long way, from one end of the stick to the other. Think stair balusters or cocktail muddlers. In this case, I turned small sections of branches into simple vases.
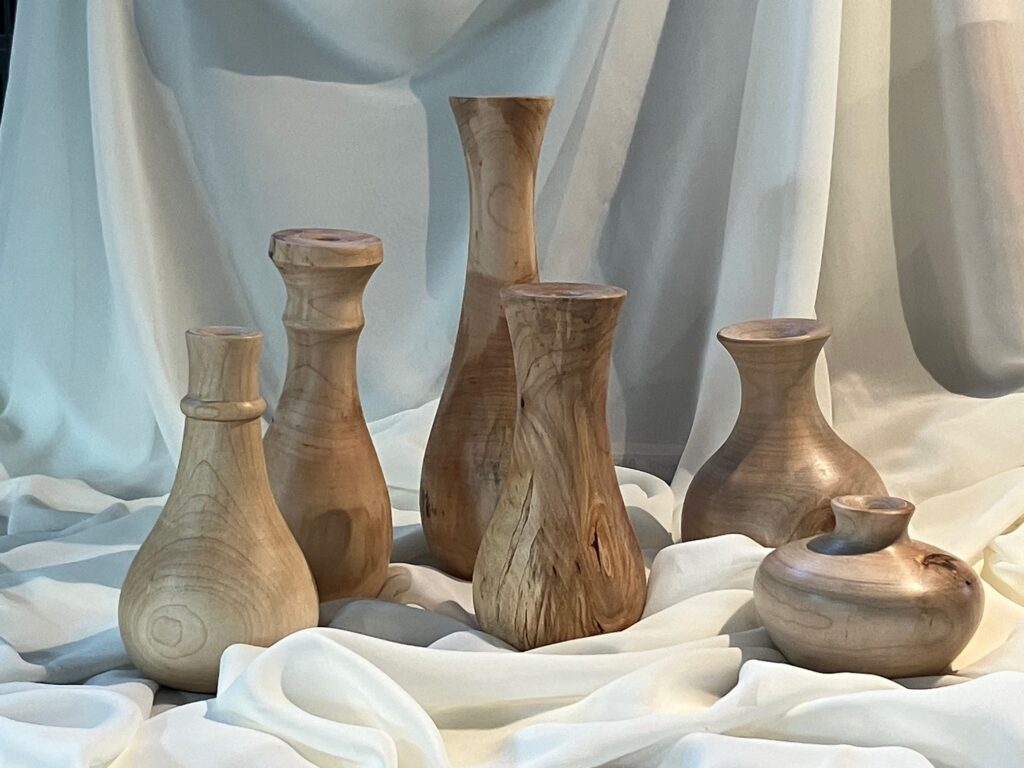
From left to right, we have one silver maple, three sugar maple, and two beech. These aren’t really meant for whole bouquets. They have only a smallish hole in the top that does not get wider as it goes down the vase. To do that would be to make a hollow form–a whole different turning project. These are meant to be decorative as they are, or maybe hold a simple stem or two (no water). But they can show off some pretty wood features, and look nice in groupings.
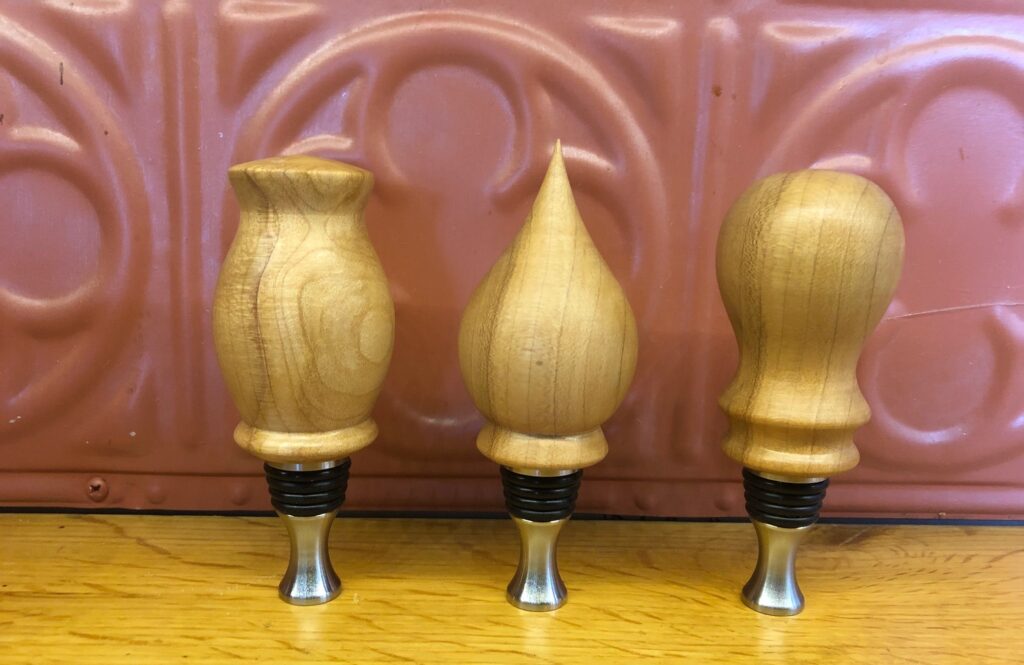
A few weeks ago, I traveled to have dinner with some long-time friends. We met at a BYO restaurant (quite common in NJ), and we were all planning who was bringing what wine. So I thought it would be fun to bring everyone their own wine stoppers.
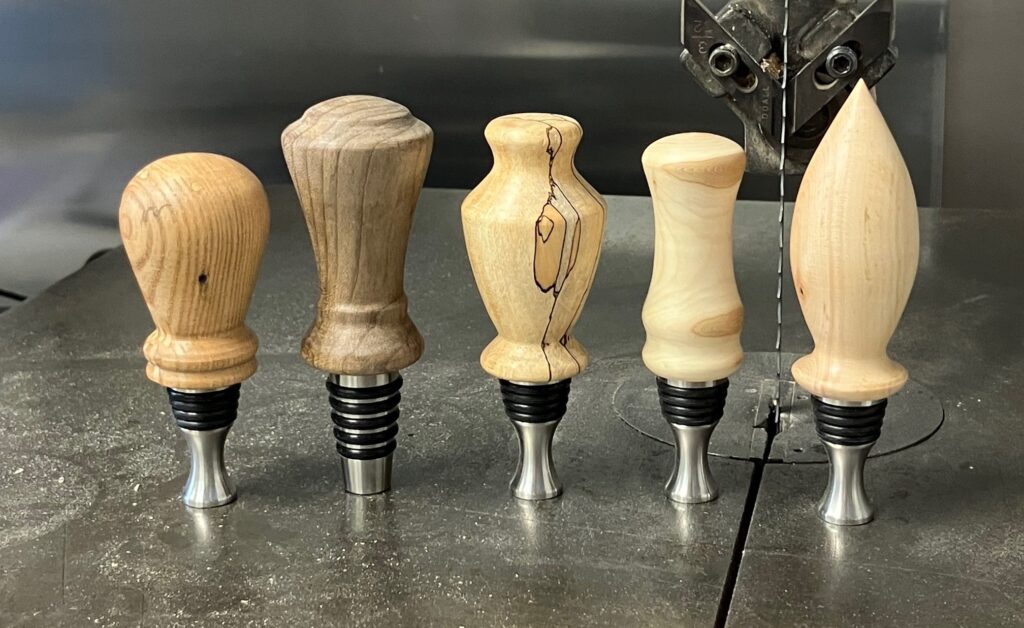
Left to right: 150 year old wood from barn, maple of unknown type, spalted sugar maple, lilac, sugar maple.
It was fun doing something simple and relatively quick. I think I’ll try to find time more often to do more of this. Besides, if I want to attend a craft market, I’ll need a decent stock of finished items to sell.
When I say relatively quick…. The steps in making a bottle stopper, are more than you might think:
1. Mount the rough stick of wood between two pointy centers and turn until it’s round. Make a tenon on one end.
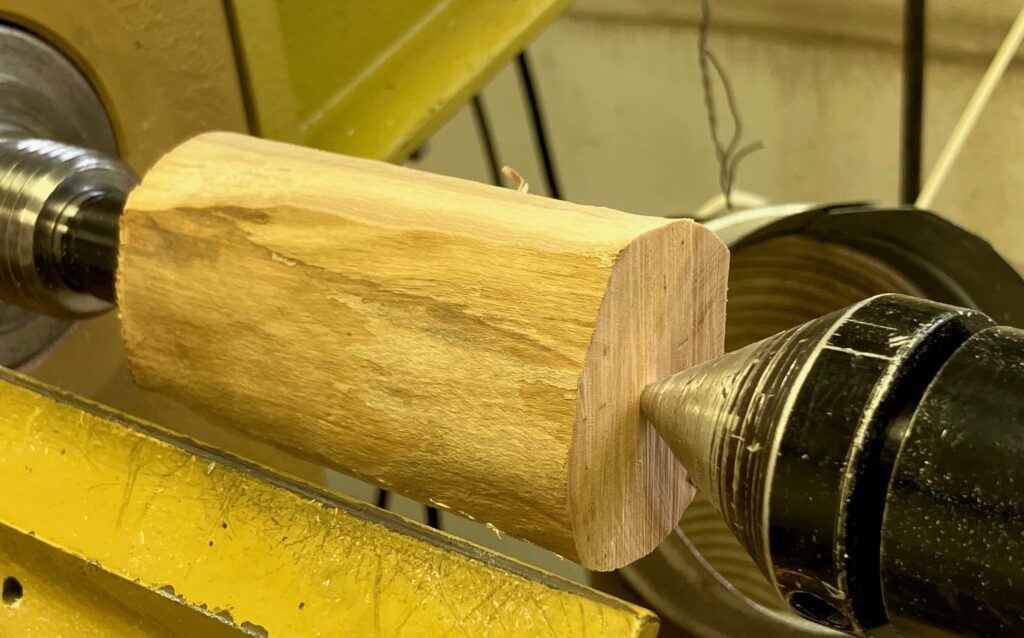
2. Remove the pointy centers from the lathe and put a chuck and jaws on the motor end of the lathe. The jaws will hold the stick more firmly than pinching it between two points, and they don’t require you to support the stick on the other end.
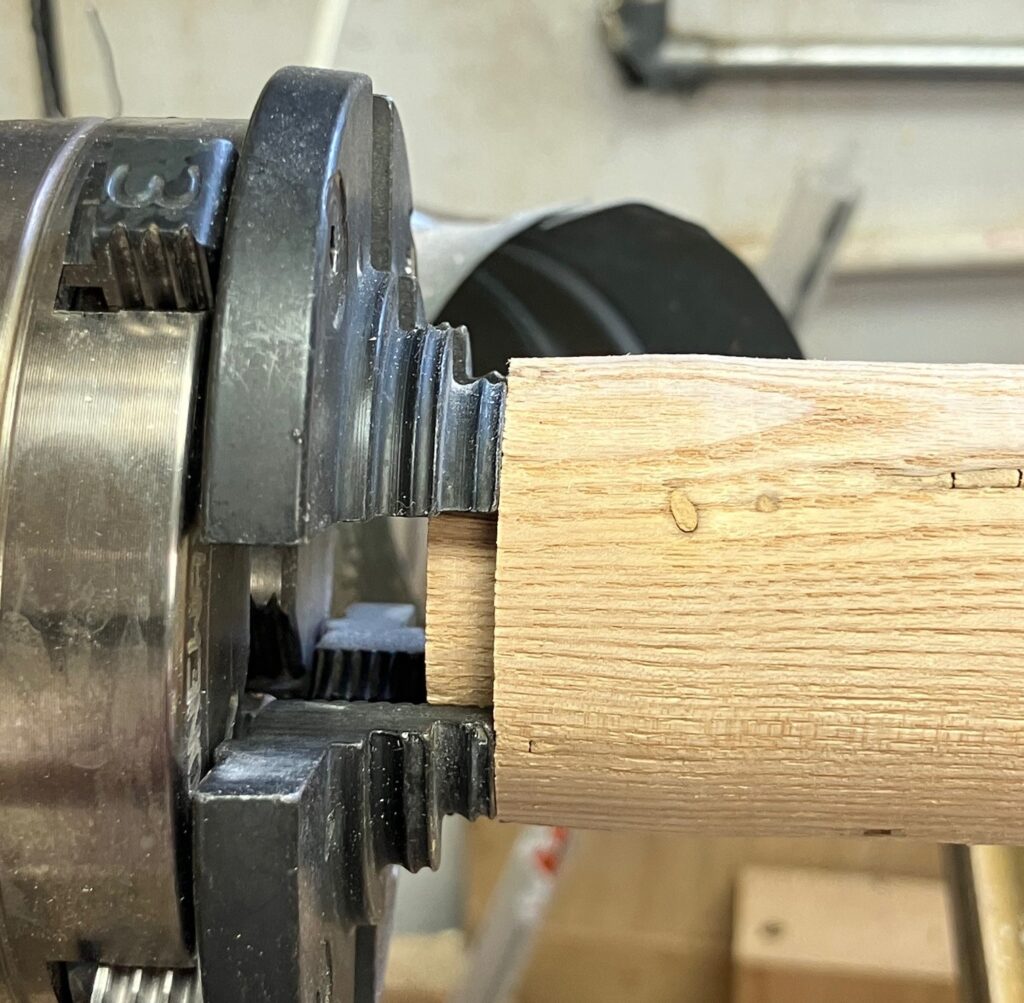
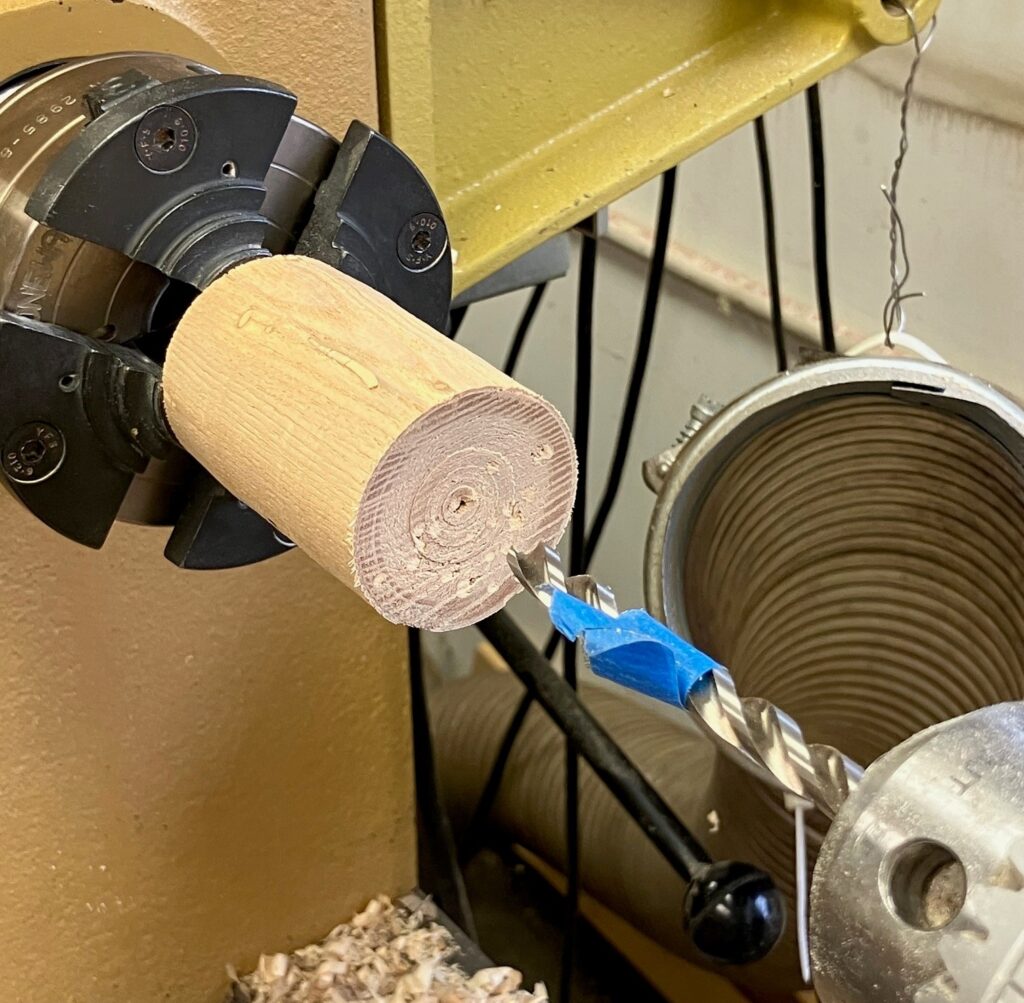
3. Now that the other end is freely accessible (no pointy center holding it up), drill a hole in the end of the round blank.
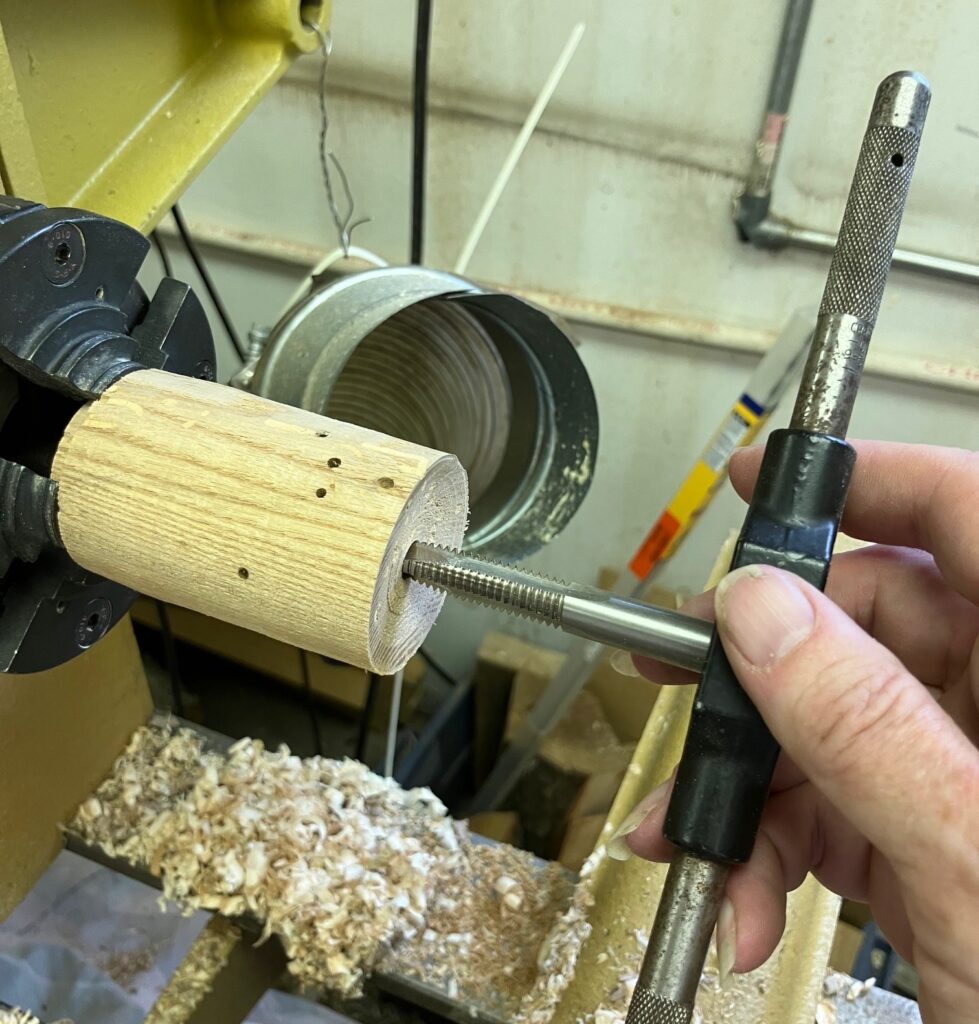
4. Put away your drill and grab a different tool to tap the hole (cut screw threads on the inside of the hole).
5. Remove the wood from the chuck and jaws, remove the chuck from the lathe, and mount a new fixture on the lathe that has a screw sticking out that exactly matches the threads you just put on the inside of the hole.
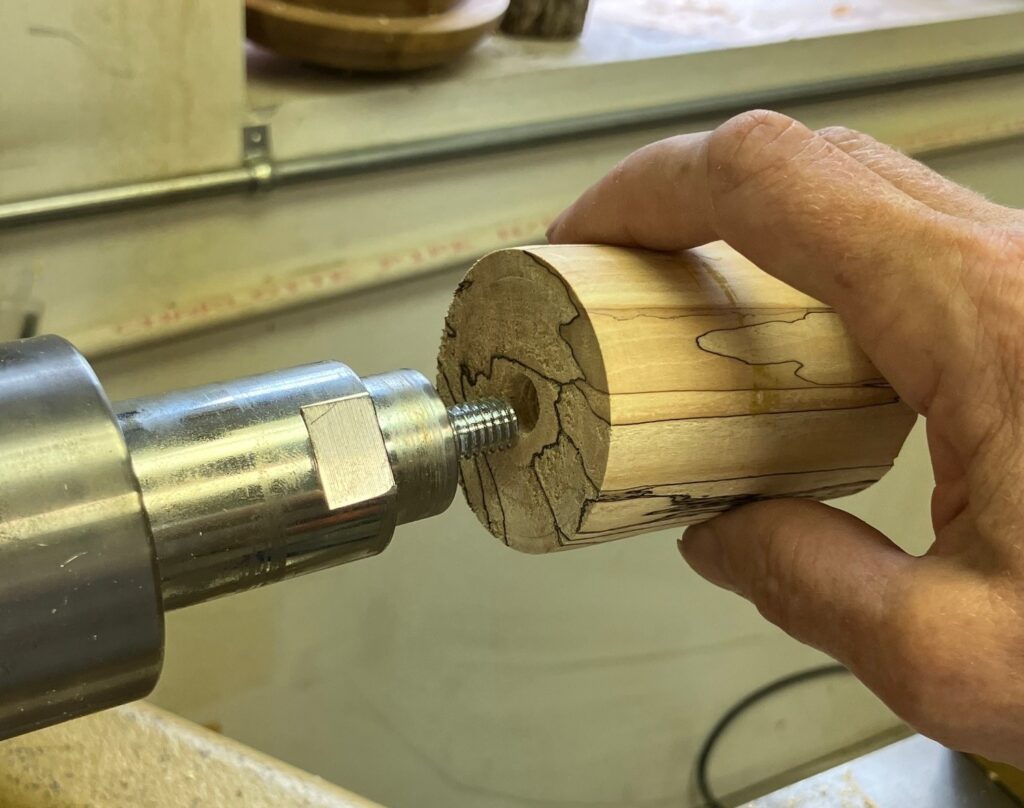
6. Thread your stick onto this new fixture. You can now turn the shape of the stopper.
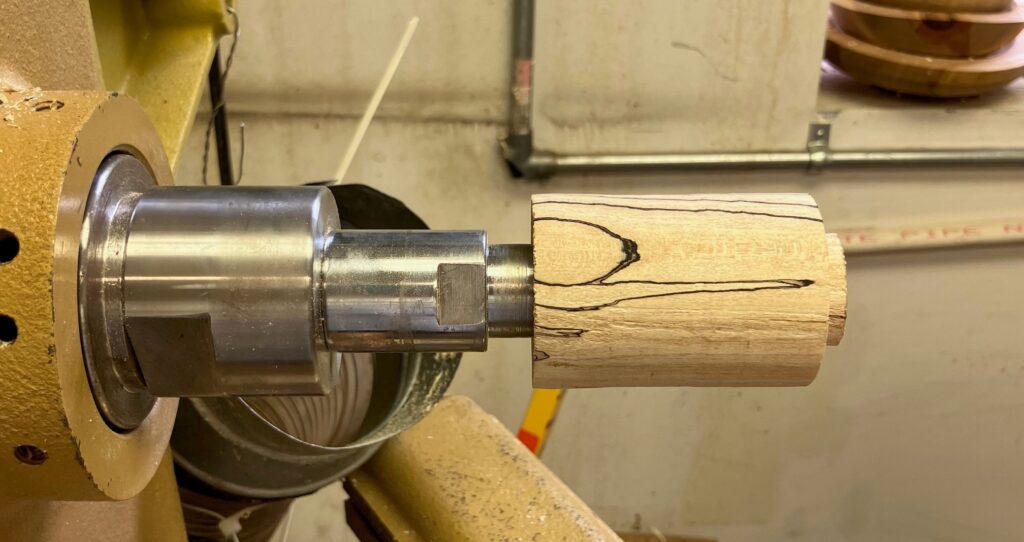
Sand and apply finish. Unscrew the finished wood from the lathe and screw in the metal piece.
A vase is similar, but you don’t have the steps to create threads or mount the wood on the threaded fixture. But the vase sticks out farther, so it’s a good idea to use the drilled opening as a place to put additional support, in the form of a pointy center.
Here’s the silver maple vase from above, mounted on the left in jaws, with added support of a cone-shaped center resting in it’s drilled opening. The live center should be comfortably snug, but not cranked in hard, and I promise you, that’s how I had it. But if you look closely, you’ll see that it cracked. (This is that same silver maple that keeps cracking on me–I think the tree was stressed when it fell.)
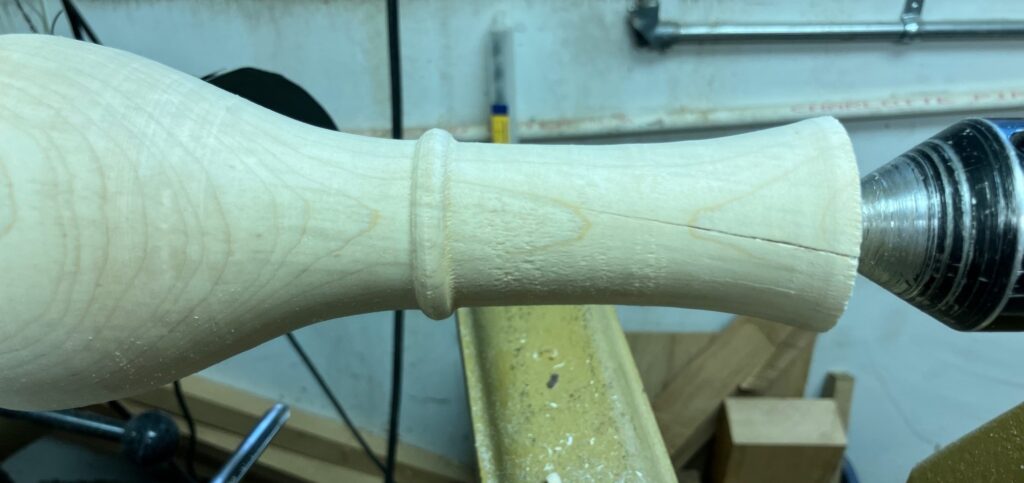
Can you see what I did to address the crack? Yup, made a shorter vase!
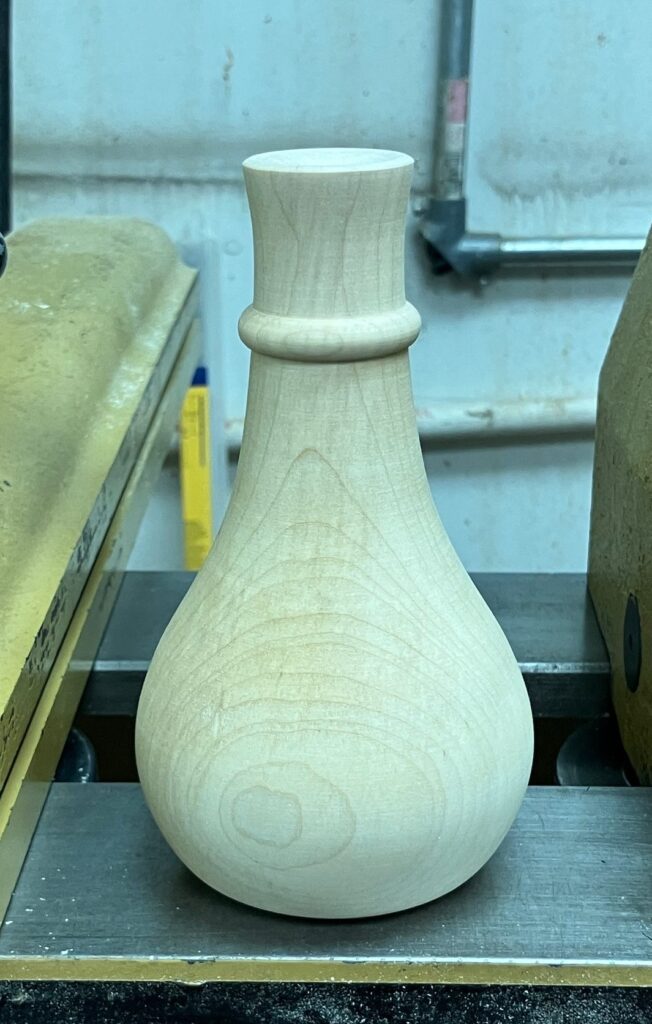
If you like these vases or bottle stoppers, I know a way you can get one of your own. Come over and turn one! I’ve already walked two people through turning their own vases. It’s fun! We would both get something out of it. I have a long term goal of teaching turning in a more formal setting, so I would love to get more experience teaching individually. And you get to try something new and go home with a nice project. For a total beginner, we’d need about 3 hours.
(These are also available for sale, but where’s the fun in that?!)
